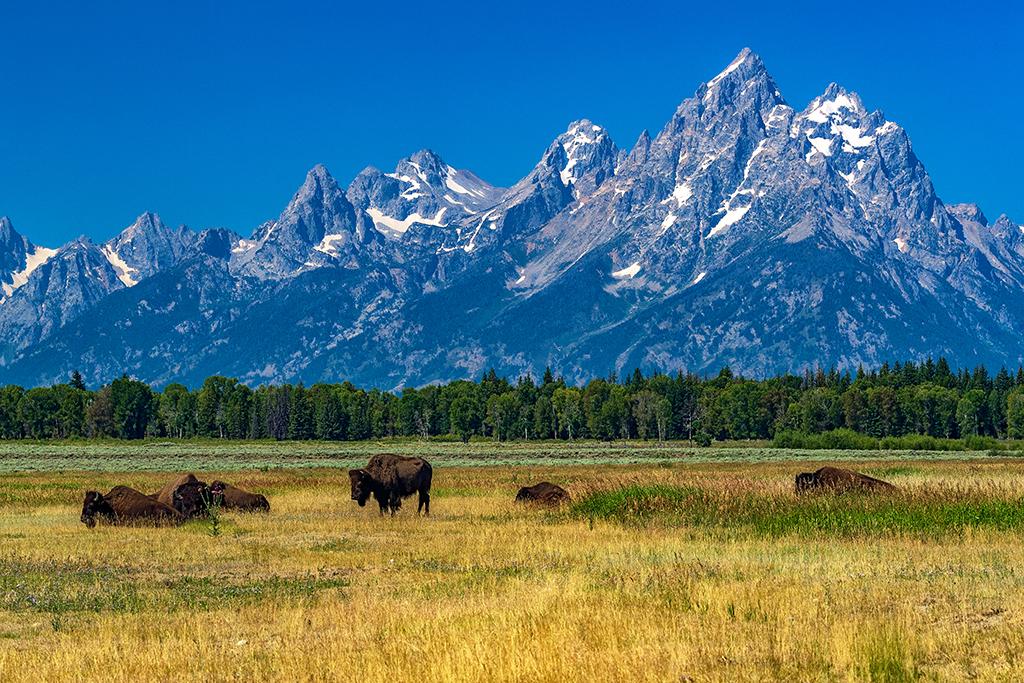
Bison at Elk Ranch Flats, Grand Teton National Park / Rebecca Latson
I first viewed images of Grand Teton National Park during my college days, when a geology professor of mine spent the summer touring through this national park. Dr. Clark returned with slides chock-full of geology and gorgeousness – enough to make me want to move from Kentucky to Wyoming right then and there. Fast-forward some 37 years to July 2018, when I deliberately included this park on my move route from Texas to Washington. While I didn’t get to visit every iconic location on my list (no, I did not get to Mormon Row), I did see scenery and wildlife enough to provide tips and techniques for helping you capture the most with whatever camera you use during your own tour of this national park.
Full disclosure: I do occasionally use point-and-shoot and smartphone cameras during my national park visits, but I’m really an SLR-kind of gal, so many of my tips are geared toward cameras with interchangeable lenses. As such, here's a piece of advice for you SLR users: Wherever you travel, you should bring two filters with you, a circular polarizing filter (CPL, or polarizer) and a graduated neutral density filter (grad ND).
Polarizers are like your sunglasses, shading against bright light to mitigate overexposure while removing glare and reflections in water. They work best when your camera is pointed at or near a 90-degree angle to the sun. As you rotate the ring on the filter, you’ll notice that reduction of glare and reflection as the colors become more saturated and textures more pronounced.
Grad ND filters work to even out the exposure of the entire composition of a scene that might entail a bright horizon on top of a shaded ground. They come in different shapes and are composed of resin or glass, half of which is clear and half of which is shaded. The shaded part works to keep you from overexposing (blowing out) the brighter horizon while you adjust your settings to lighten up the darker ground (to keep it from underexposing).
OK, with that out of the way, let’s start with the route from Jackson, Wyoming, up to Jackson Lake Lodge (U.S. Highway 191/89/26). If you stay on that road, instead of turning left at Moose Junction, you’ll see a number of pullouts and official view areas from which you can bring back some amazing shots, including an iconic Ansel Adams view of the Snake River (changed since his day, with the continued growth of trees). If you see rafters floating down that ribbon of water, get a photo to give your audience some reference and show them the scale of things out in the Cowboy State.
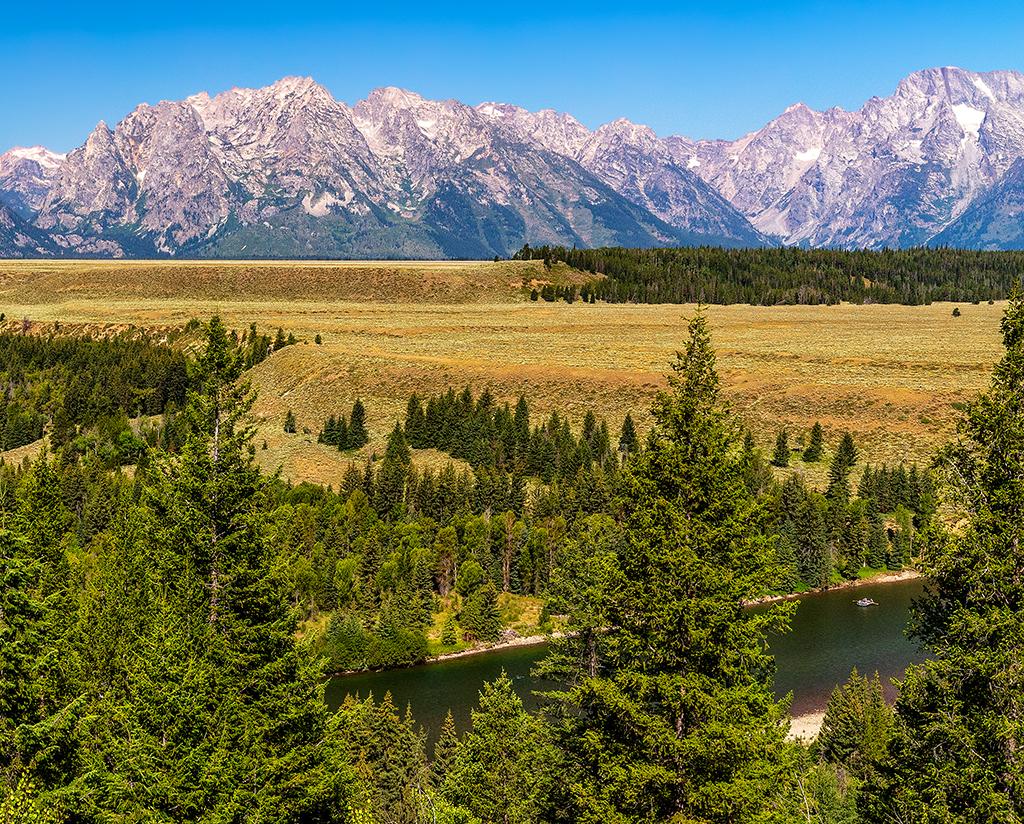
Floating down the Snake River, Grand Teton National Park / Rebecca Latson
Drive further, then stop at the Elk Ranch Flats turnout, where you can make use of your SLR's telephoto lens or your point-and-shoot's telephoto setting to capture images of any bison roaming or resting. Not only can you get great close-ups of the bison, but you can't ask for a better backdrop.
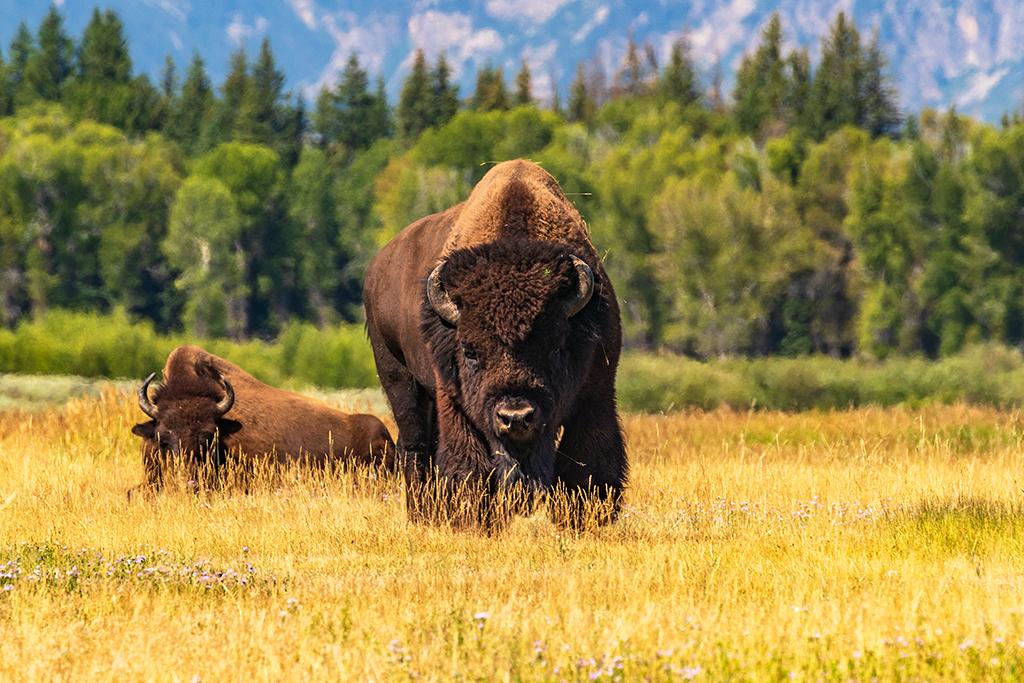
Behemoth, Grand Teton National Park / Rebecca Latson
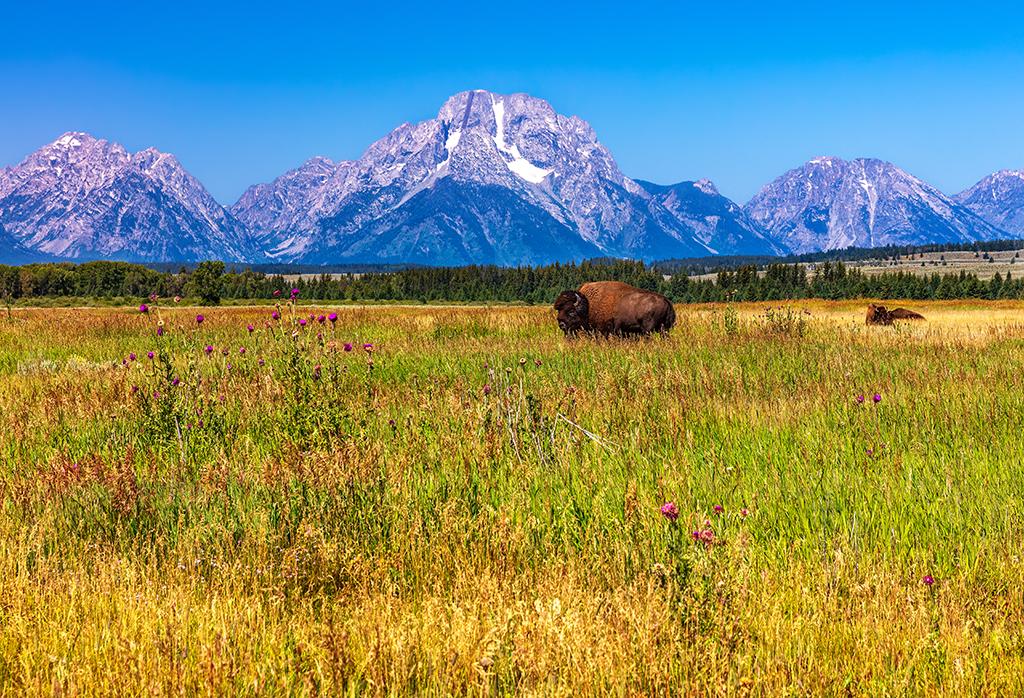
A home where the bison roam, Grand Teton National Park / Rebecca Latson
Depending upon the time of day you arrive to photograph at some of these stops along Highway 191, bear in mind that mornings create shadows that might include you or your car against the background. It’s up to you to decide if your shadow in the shot makes an interesting selfie, or just something to digitally remove during the edit stage.
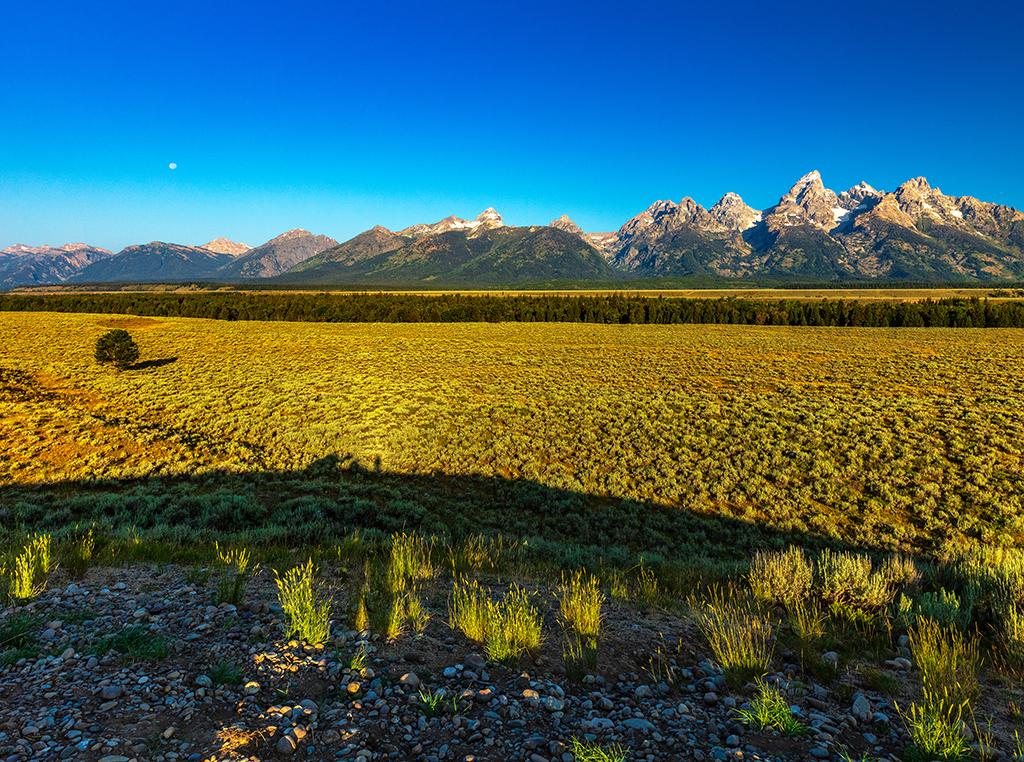
Mountains, valley, and a shadowed selfie, Grand Teton National Park / Rebecca Latson
If you enjoy capturing sunrises and are visiting this national park for the first time, like I did, then you might find it difficult to choose the right spot for beginning your day of Grand Teton photography. The road from Jackson cuts a south/northeast path, with pullouts along the way. Anywhere on that route produces a lovely dawn scene, with the sun rising behind or to your side, gilding the tops of the Tetons with pink, red, and gold light.
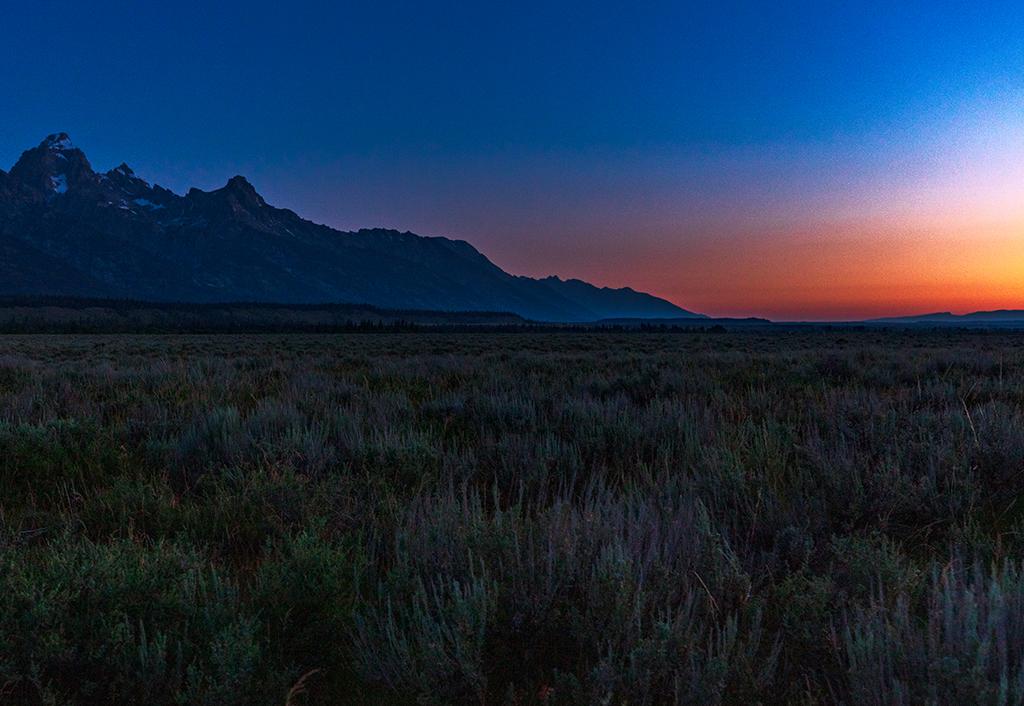
Waiting for sunrise, Grand Teton National Park / Rebecca Latson
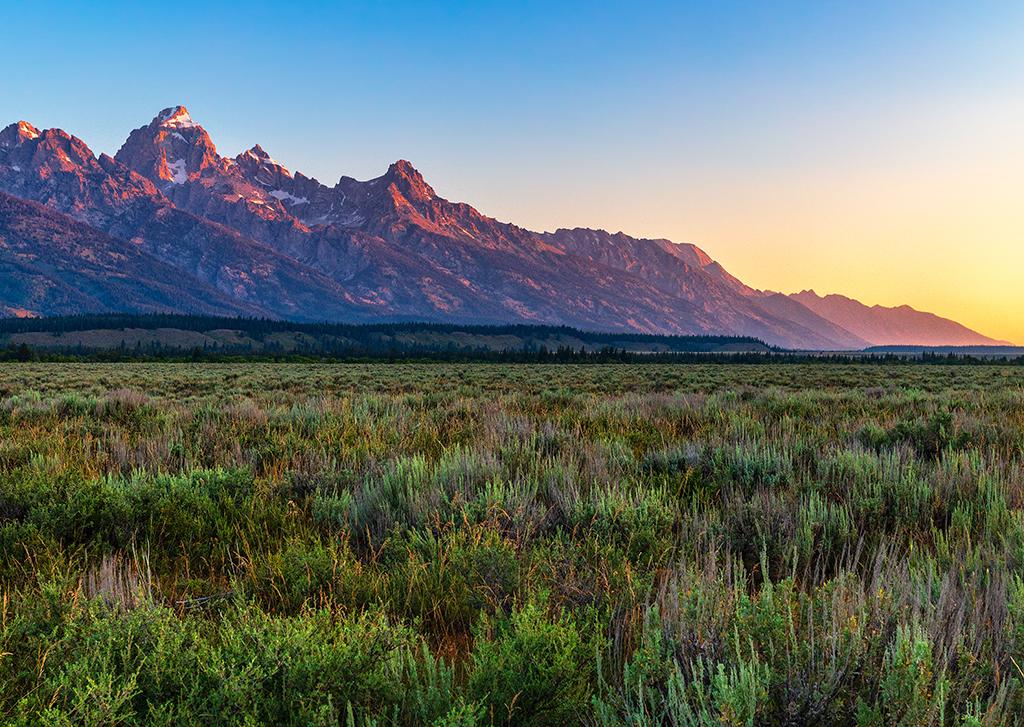
Sunrise over the Tetons, Grand Teton National Park / Rebecca Latson
Iconic locations for sunrise and early morning shots include Oxbow Bend and Schwabacher Landing. Get to Oxbow Bend during the pre-dawn hours, if you can, to stake out a spot for photographing the Teton Mountains as the rising sun behind you colors them pink, orange, and yellow. The small parking area fills quickly, but I personally thought parking along the wide (and marked) road shoulder paralleling the Snake River gave me better views.
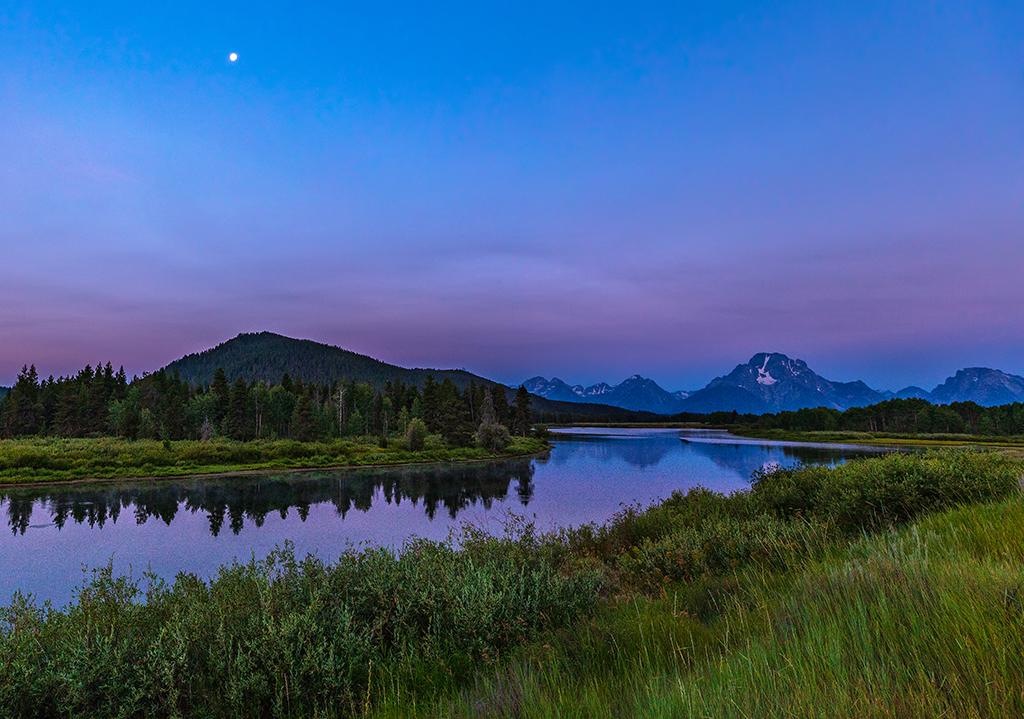
Dawn over Oxbow Bend scenery, Grand Teton National Park / Rebecca Latson
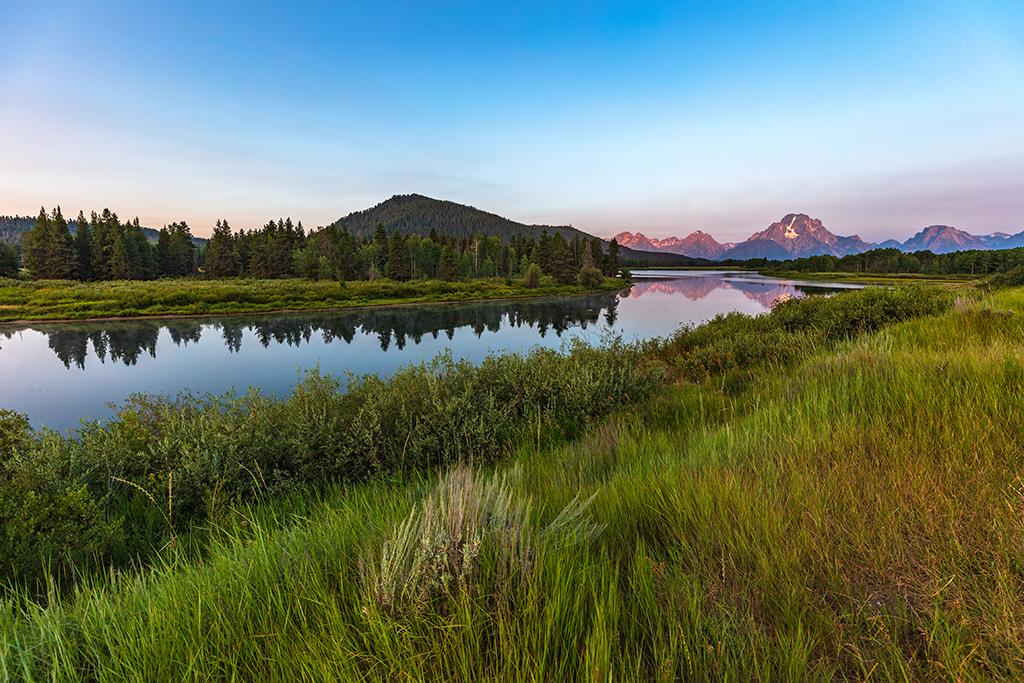
Sunrise at Oxbow Bend, Grand Teton National Park / Rebecca Latson
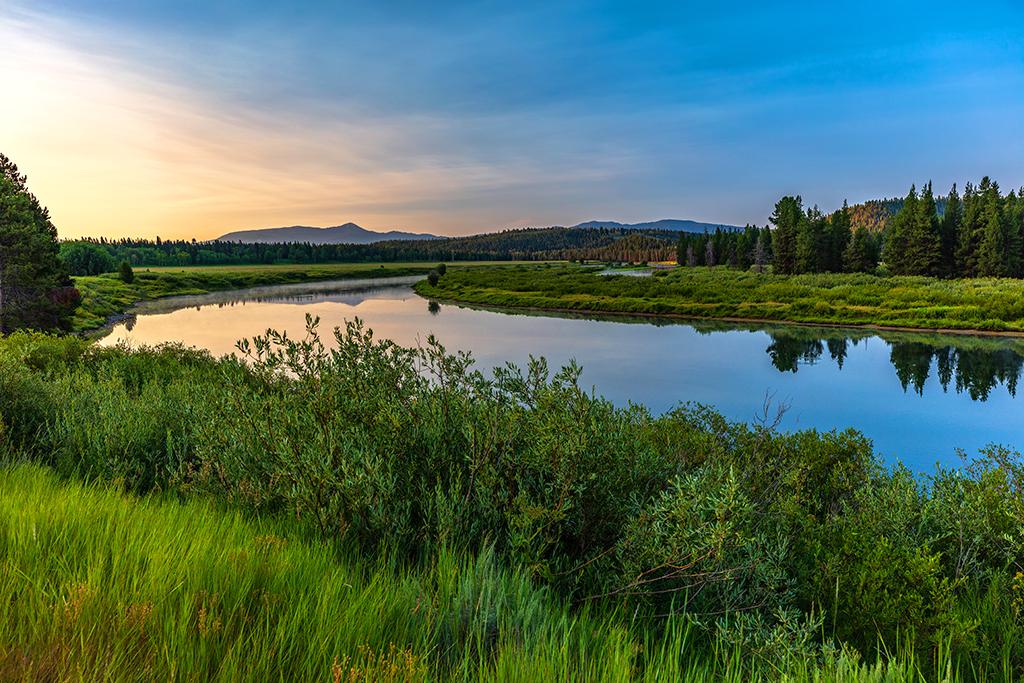
A sunrise view down the Snake River, Grand Teton National Park / Rebecca Latson
While I didn’t make it to Schwabacher Landing for sunrise, I did capture some beautiful morning views at this well-known and much-photographed location. I drove my loaded-down little Honda Fit over the potholed gravel road to the small parking area for a morning of lovely light and landscape.
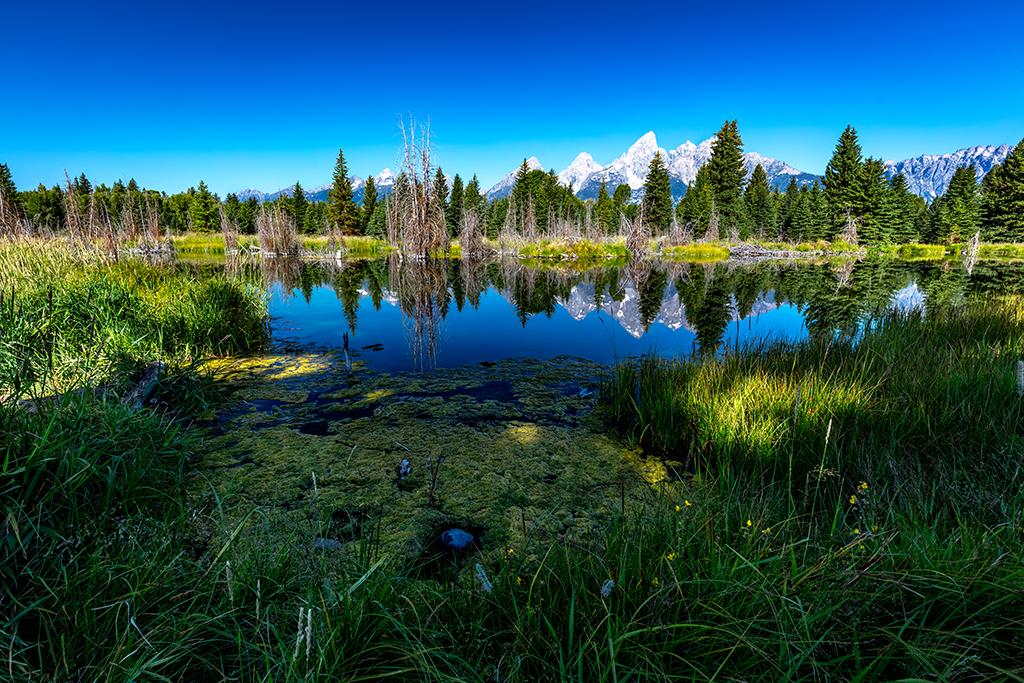
Morning at Schwabacher Landing, Grand Teton National Park / Rebecca Latson
Note: The turnoff onto Schwabacher Landing road is a bit sharp and it’s easy to drive past both sign and turnoff it if you aren’t watching, which is what happened to me. I had to turn around and retrace the route. If you are heading north on Highway 191 from Jackson, the turnoff will be to your left, about 5.5 miles south of the Snake River Overlook.
While wandering the trail, keep in mind that the distant mountains and scenery will be nicely-lit while the foreground may be shaded. This makes for intriguing compositions, but you may decide to lighten the shadows just a bit with your editing software to keep that part of your photo from looking underexposed.
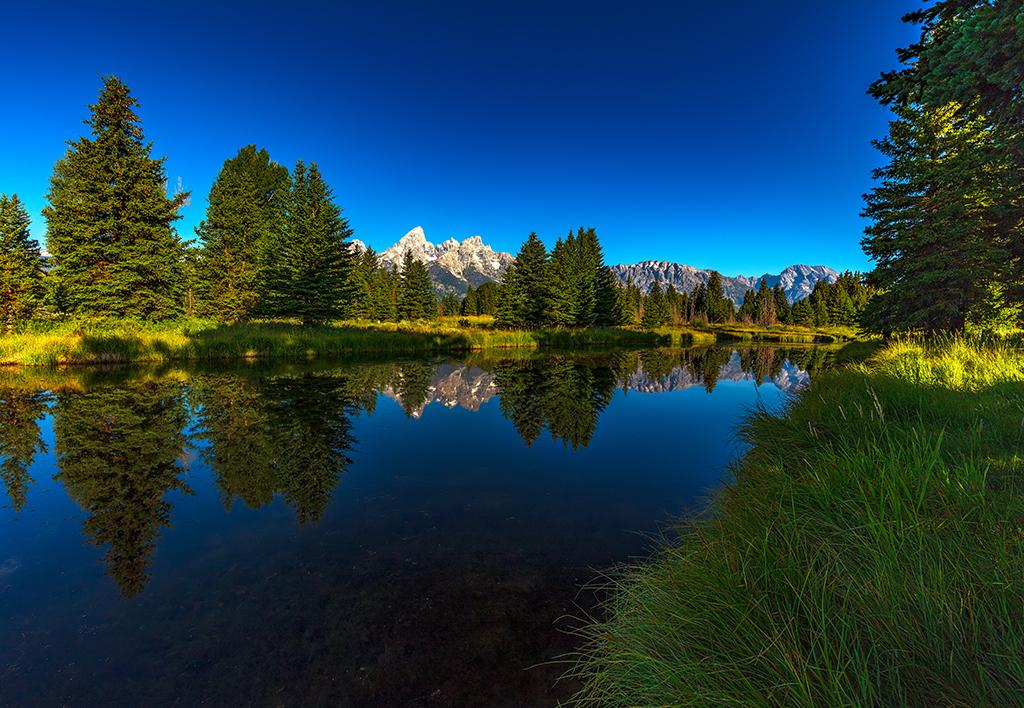
Schwabacher Landing scenery, Grand Teton National Park / Rebecca Latson
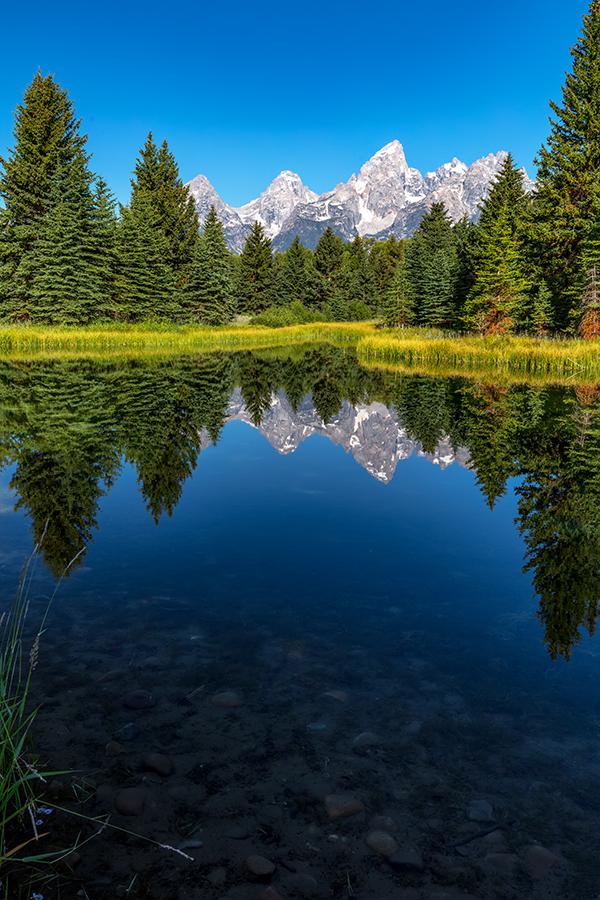
A quiet morning at Schwabacher Landing, Grand Teton National Park / Rebecca Latson
Another nice sunrise location can be found via the Lunch Tree Hill Trail, a 0.4-mile round trip hike starting beside the Jackson Lake Lodge, leading up to a lovely wide-angle view of Willow Flats and Jackson Lake with the Teton Range in the background.
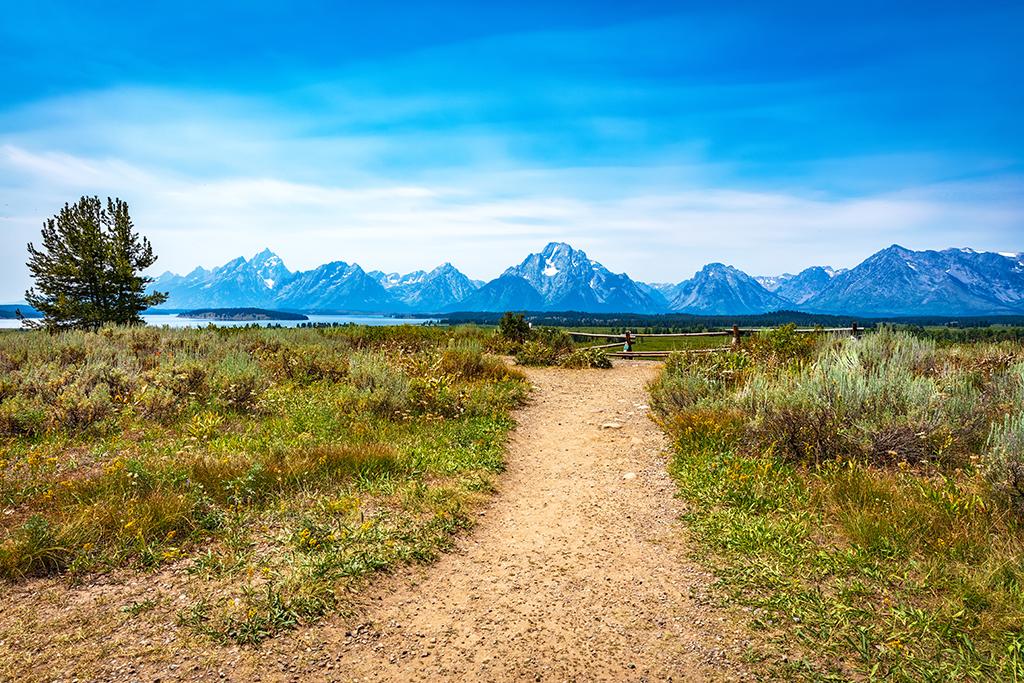
The view along the Lunch Tree Hill Trail, Grand Teton National Park / Rebecca Latson
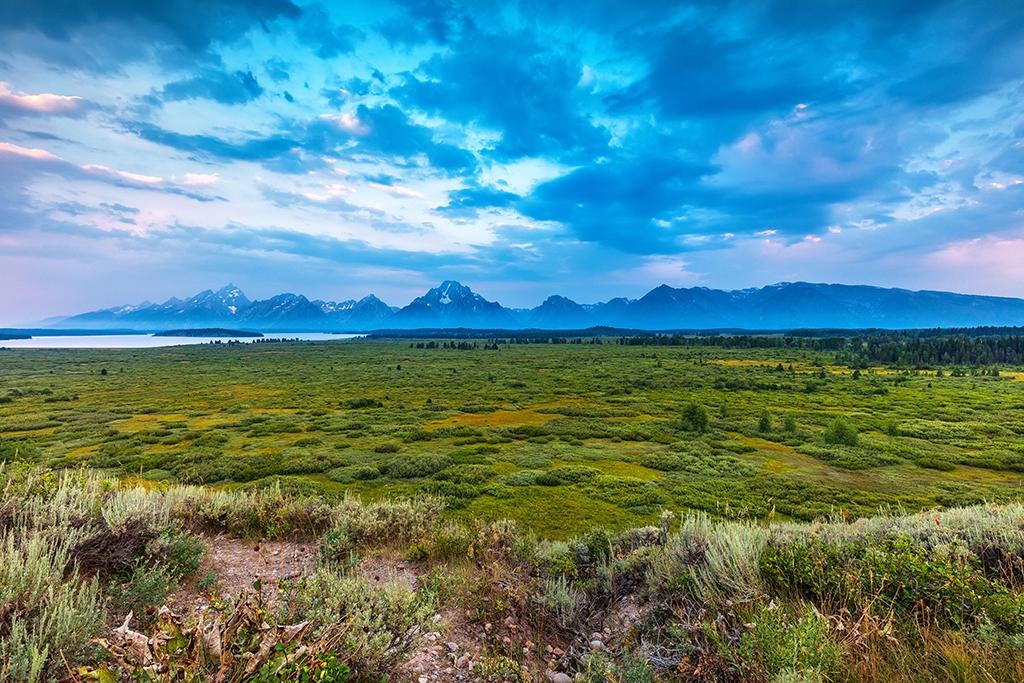
A muted sunrise over Willow Flats, Grand Teton National Park / Rebecca Latson
Wherever you photograph sunrise, I recommend the use of a tripod, particularly if you also want to capture pre-sunrise images during the “blue hour.” A tripod will let you use a lower ISO and a slower shutter speed to capture all of that delicious color and light without camera shake. For those of you who have never heard the term, blue hour is that short time before sunrise and just after sunset, when the sky is painted with hues of blue, mauve, purple, and pink. Everything below the horizon line will be darker than the sky above, so expose for the foreground while being careful not to overexpose your sky. Use of a grad ND filter is recommended as the sun continues to brighten the sky while the ground remains shaded.
If your camera has a 2-second timer, use that, or a corded or wireless shutter release remote, to avoid the vibration your finger causes as you push down on the shutter button. I know, it sounds a bit picky, but even that little bit of vibration can make a difference while your camera is on a tripod.
After you’ve gotten your fill of sunrise imagery, drive along Teton Park Road and stop at one of the view areas to photograph the expanse of sagebrush in the foreground with the mountains in the background. This compels your viewer to really look at your image, from front to back. It’s also a great reminder of just how important that sage is to the wildlife seeking food and shelter from the elements. To ensure both foreground and background are in focus, use a wide-angle lens and set your aperture to at least f/9. Or, you can use the lens of your choice, stand at a distance, then later crop the shot for a close view of the foreground.
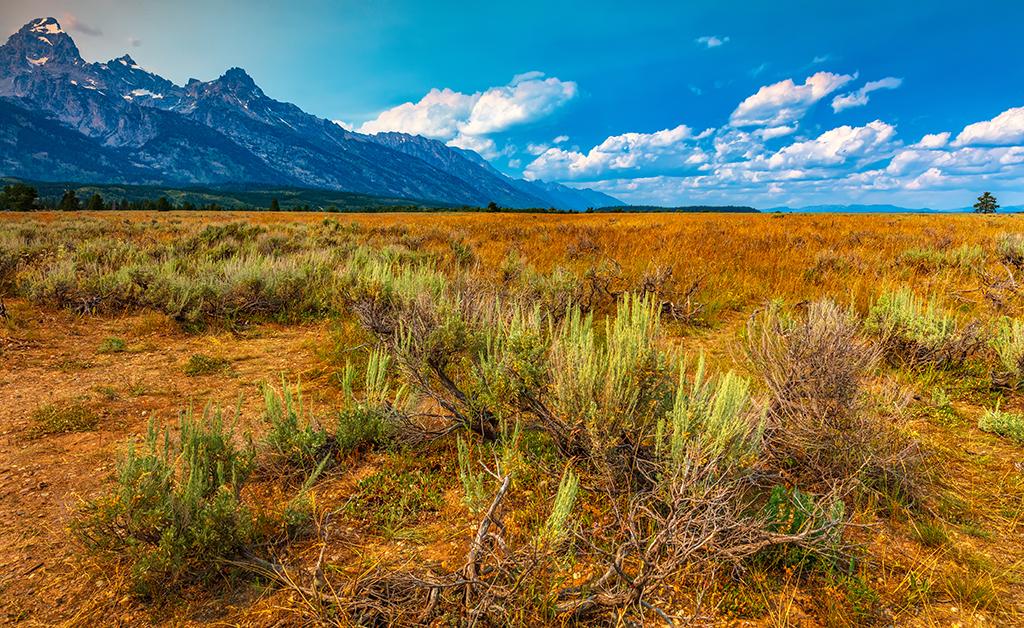
Sagebrush and mountains, Grand Teton National Park / Rebecca Latson
Continue on the road to Jenny Lake and hike along the east side of Jenny Lake Trail. You can get great leading line shots of the trail through the trees, some nice views of the mountains framed by those trees, and wonderful variations in light and color within the forest interior. Remember to set your exposure for the shaded environment within the forest.
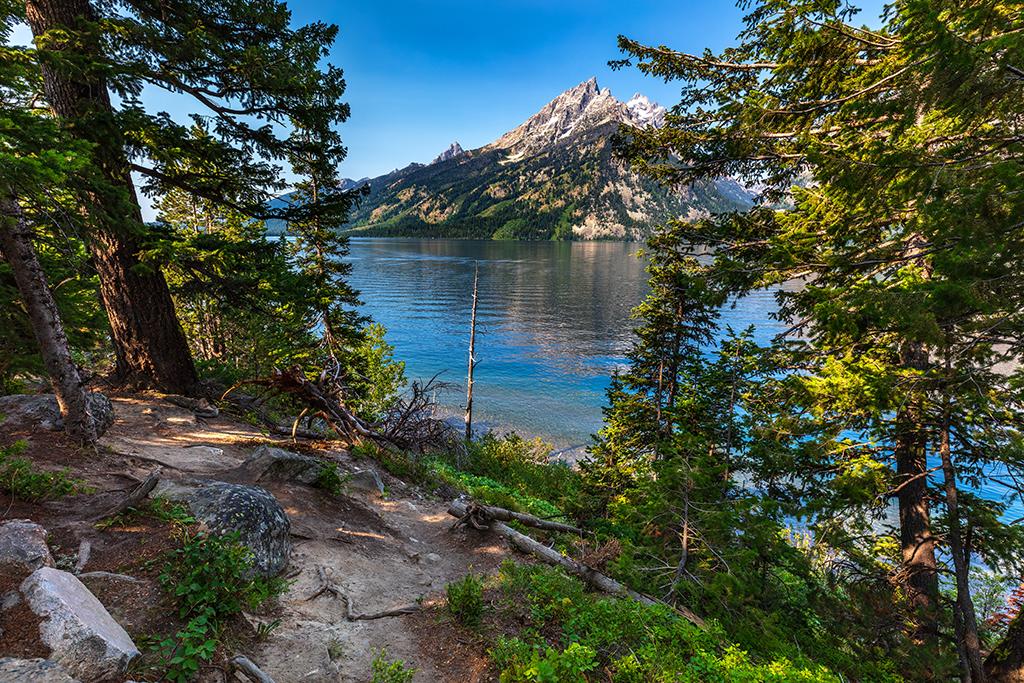
Jenny Lake scenery, Grand Teton National Park / Rebecca Latson
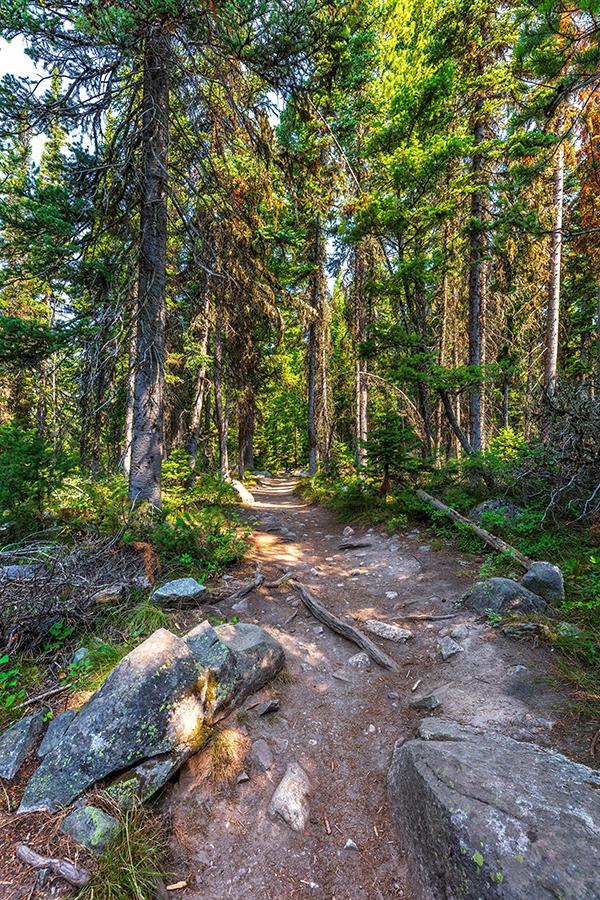
A quiet hike along the Jenny Lake Trail, Grand Teton National Park / Rebecca Latson
As you head north-northeast along the Teton Park Road, take the right turn to the summit of Signal Mountain. Not only will you photograph stunning vistas at that elevation, but you might observe some interesting wildlife, depending upon the season. Summers are great for dusky grouse sightings.
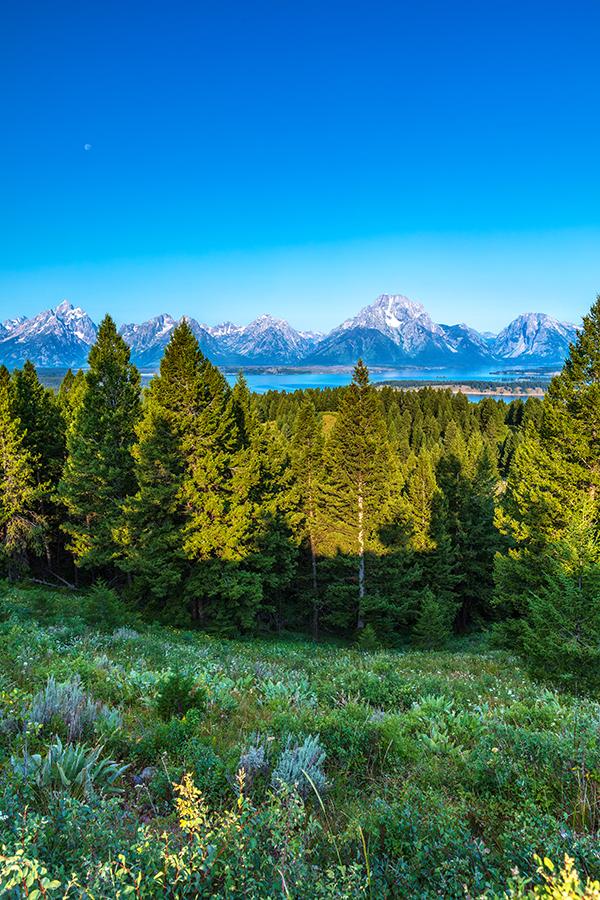
A morning view at the Signal Mountain summit, Grand Teton National Park / Rebecca Latson
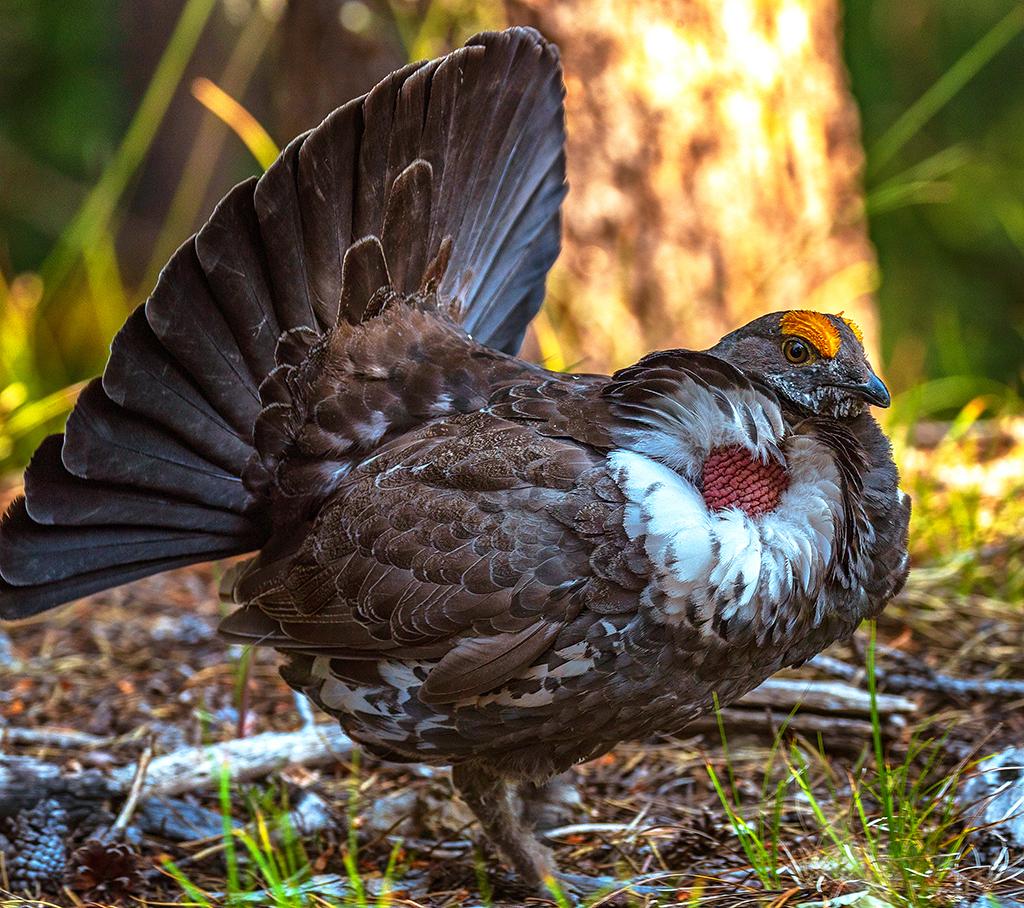
A Dusky Grouse display, Grand Teton National Park / Rebecca Latson
Speaking of grouse and wildlife, in general, set your camera’s focus to track movement, since critters don’t always obligingly pose for us. Apply the “burst method” of keeping your finger pressed down on that shutter button for 4-5 clicks. I guarantee that out of all those shots, you’ll manage at least one clear, sharp image. Of course, the burst method takes up memory card space, so have several cards in your pocket.
If you encounter smoky days due to forest fires, that smoke and haze, while possibly hindering long-range mountain views, still make for interesting sunrises, sunsets, and ephemeral vistas. If your hazy shots drive you nuts and you use Adobe Lightroom for your photo editor, there is a Dehaze slider that works wonders with reducing that haze.
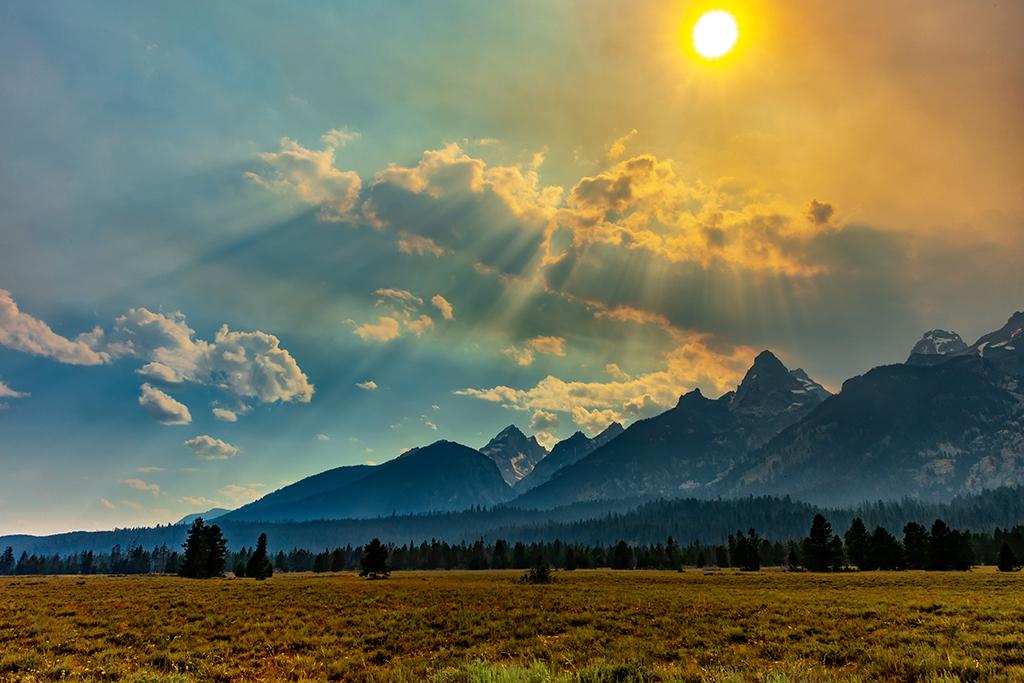
Evening haze from far off forest fires, Grand Teton National Park / Rebecca Latson
Photograph those little things you observe, too. Focus your SLR, point-and-shoot or smartphone on wildflowers, insects, berries, and birds on branches, and anything else that catches your photographic fancy. I’ve said it before and I’ll say it again: wide-angle landscape shots tell the Big Picture, but the little things flesh out the story.
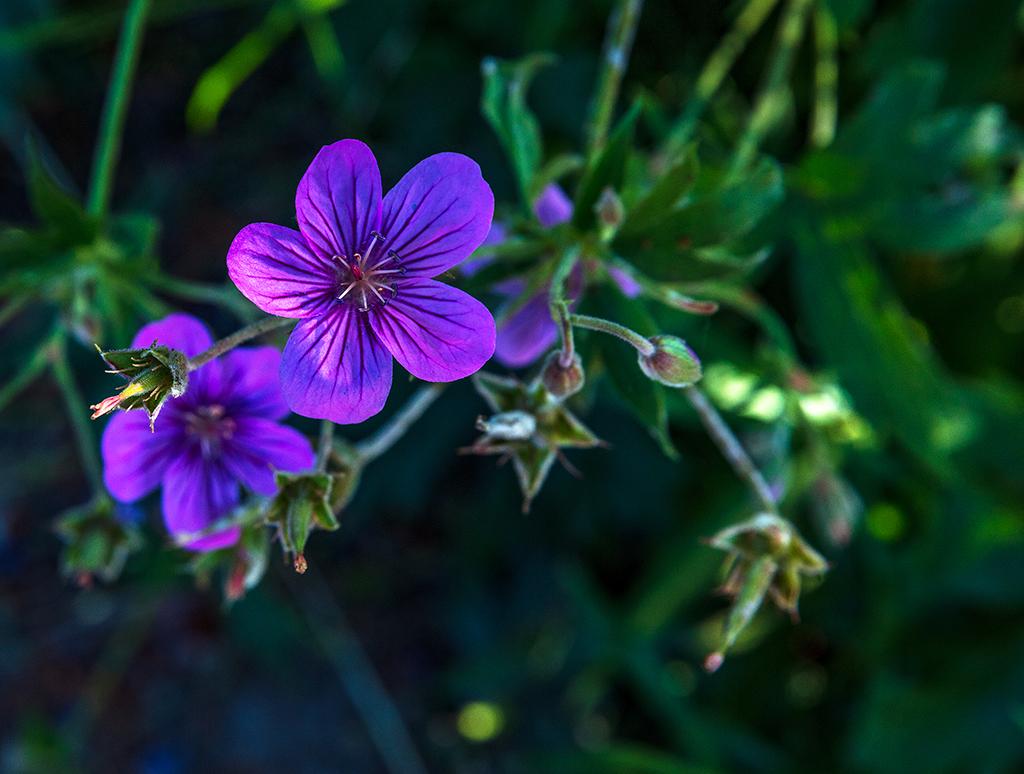
Purple geranium, Grand Teton National Park / Rebecca Latson
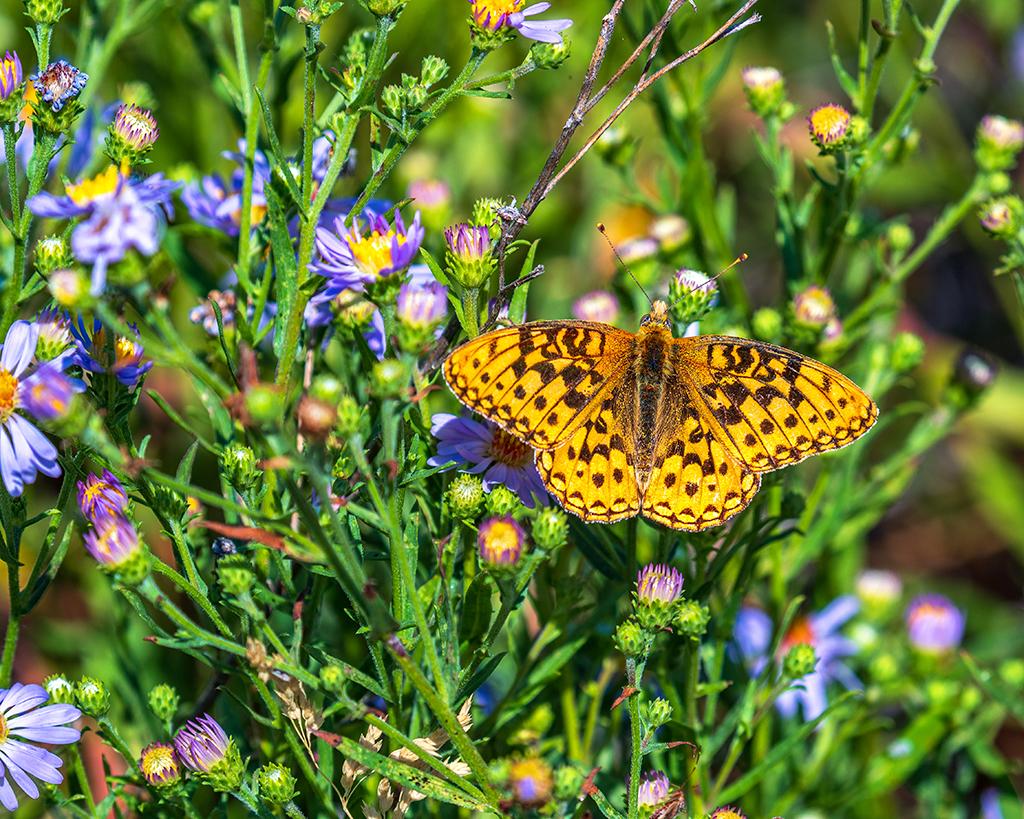
A fritillary on flowers, Grand Teton National Park / Rebecca Latson
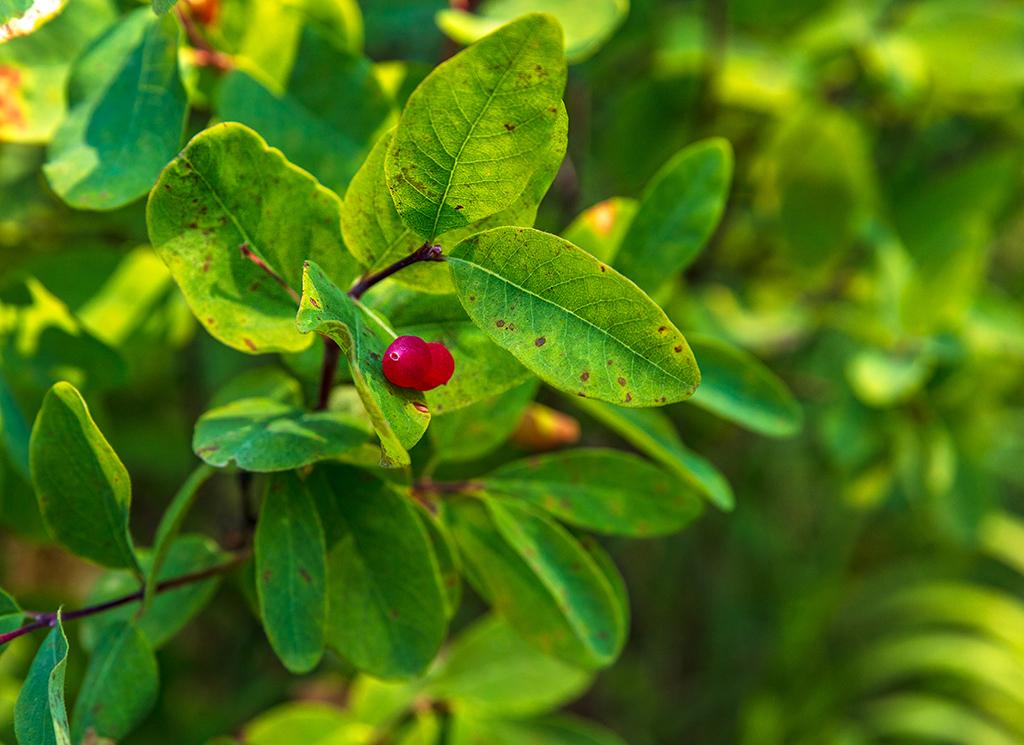
Little red berries, Grand Teton National Park / Rebecca Latson
Even if you only have 2-1/2 days, like I did, to explore this magnificent national park, you’ll come away with some wonderful images to show your audience the definition of “Grand” in Grand Teton National Park.
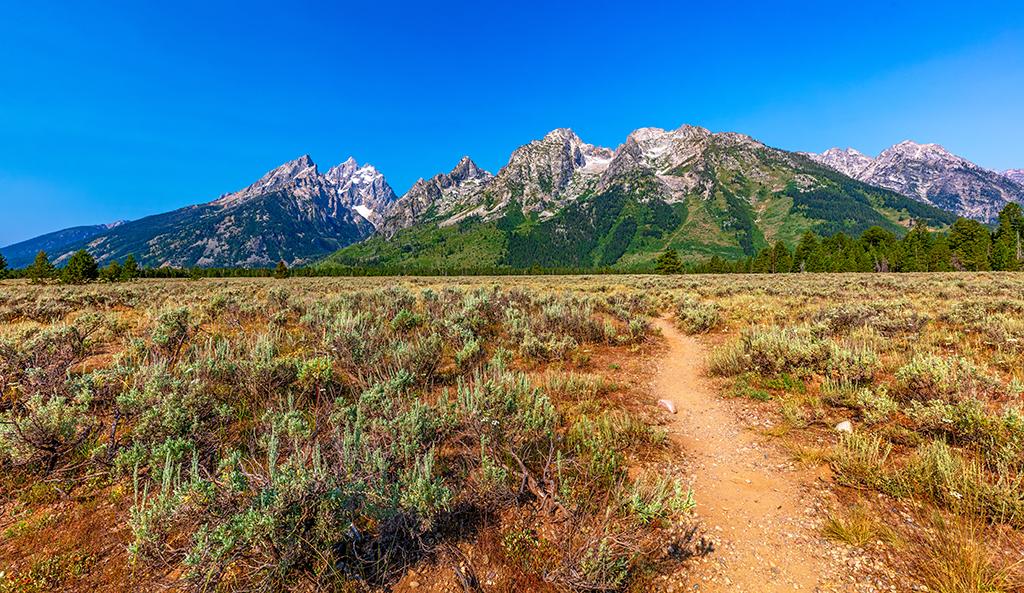
Where will the trail take you? Grand Teton National Park / Rebecca Latson


Comments
Nice article, Becky, with lovely photos, as usual. I do not see people in your photos, even on the long trails. Were there many people in the park, when you visited? I'm thinking that there just were not many typical tourist out in the very early morning hours, as has been my experience.
There were people there, Ken, since it was summer. It all depended upon the time of day. You are quite right: early in the morning, which is when I was out and about, there were fewer people. Later in the day, around 10 a.m. and after, there were plenty of people. When I first passed by Oxbow Bend upon arrival, which was sometime between noon and 1 p.m., the entire parking lot and all along the roadside was crammed with cars and people. Schwabacher Landing also became more crowded as the morning wore on. I learned quickly that early mornings and later in the evening was the best time for photography and fewer people. Of course, I had a pretty difficult time staying up later, which is why you see so many more sunrise images. ;)
Once again, I simply love and envy your images. As a young man growing up the visual standard for fine nature photography around our house was "Arizona Highways" magazine. You are setting a new standard.
Rick B. that is so kind of you. Thanks so much for the compliments!
Love the pictures. I wish I had been able to read this article before our trip to Grand Tetons and Yellowstone. I got a lot of great photos but I really like some of these.
Thanks, Kathy! You'll just have to go back there (hopefully sooner rather than later). Re-visits are great for capturing scenes you didn't think of before, or for getting photos of the same view during different weather conditions and seasons.
OK, now you've done it, I want to go back even more now:) We in Jackson back in 2013 and fell in love with the area, of course being able to also shoot 399 was a big plus. Thanks for this.