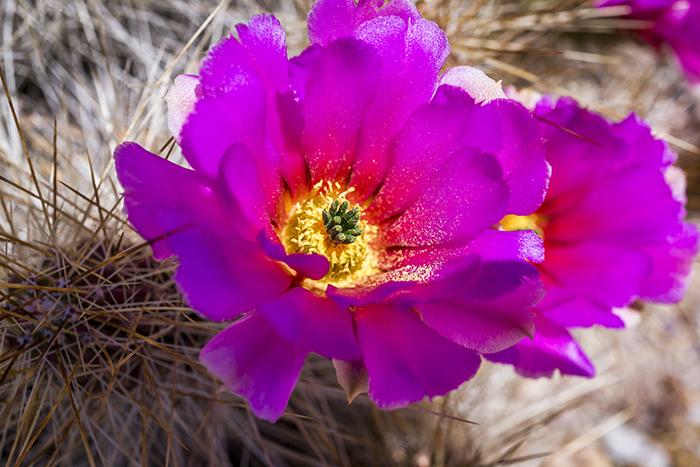
Strawberry Pitaya Bloom, Big Bend National Park / Rebecca Latson
Like the previous Glacier National Park armchair guide and Arches National Park armchair guide, I’ve geared this guide for those who cannot or do not wish to hike longer / steeper distances and are perfectly happy to capture incredible images from view areas, visitor center parking lots, pullouts and short jaunts along portions of established hiking trails. This is not a comprehensive guide to all of the stops within this HUGE national park. There are a number of other pullouts and trails at which I simply didn’t stop, so keep that in mind as you read through this.
The Park
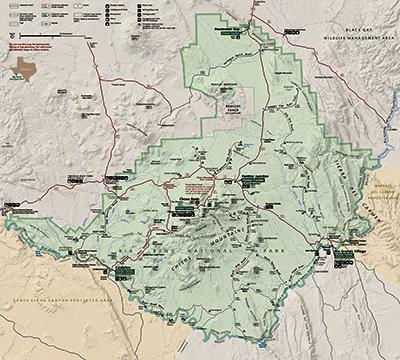
Big Bend National Park / NPS
Big Bend National Park is out in the middle of nowhere. Seriously. The only brick-and-mortar lodging within the park is the Chisos Mountains Lodge. In addition to the lodge, there are also three developed campgrounds: Chisos Basin (right next to the Chisos Mountains Lodge), Cottonwood, and Rio Grande Village.
Big Bend National Park is a remote national park, part of which shares a border with Mexico. Volcanic geology and Chihuahuan desert are on display here and it goes without saying that you need to carry plenty of water to keep you hydrated. Keep your eyes open for such denizens as rattlesnakes, scorpions (watch where you place your hands when hiking), bears and wildcats. Wear sunscreen and a hat. Take your tripod with you (hey, my tripod does double duty as a hiking staff). Carry a circular polarizer and graduated neutral density (grad ND) filter for your lens(es). Take along both a wide-angle lens (anywhere from 11mm to 35mm, prime or zoom, although a zoom allows for more choice of focal lengths) and a telephoto lens (again, a zoom gives you more choice on how close you wish to get to your subject). If you have extra room in your pack and extra “oomph” in your legs and back (or someone to carry all your gear for you), take along a macro lens for super close-ups of any cactus blooms you meet along the way. You see, in Big Bend National Park, it’s as much about the close-up view as it is the wide-open view when it comes to photography.
Oh, and remember: pack out whatever you pack in.
The few trails I have traversed within this park are, for the most part, steep and rocky and longer than .5 mile. If you don’t feel up to hiking the Windows Trail or the Lost Mine Trail (two of the most popular hikes in the park), you can still hike a part of each trail (or any trail within this park) and come away with some neat shots, like the one at the top of this article, taken along the Mule Ears Spring Trail where I spotted a strawberry pitaya cactus with gorgeous magenta-hued blooms. You need only keep your eyes open to the area immediately around you in order to capture spectacular images.
The Stops
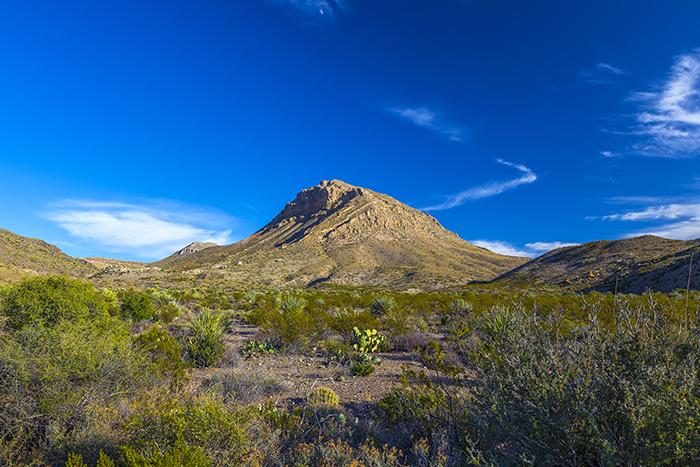
View of the moon way above the mountain at the Persimmon Gap Entrance, Big Bend National Park / Rebecca Latson
Stop 1: The Persimmon Gap Entrance – This is the northern entrance to the park, about 42 miles south of the town of Marathon. The small visitor center was closed when I visited in February 2014 due to budgetary constraints and lack of volunteers (remember, this is a remote location). If this remains the current case during your visit, the park service hopefully will still be maintaining the place and keeping the small cactus garden in front of the visitor center in shape. Park your vehicle and walk around the area. Be aware that – if the visitor center is still closed – there will be no available restroom; the closest one is at the Fossil Bone Exhibit.
If you visit this stop in the spring – even during late April – the cactus should still be in bloom in the garden area out front. Use your macro lens or close-up lens filter for images of the brilliant flowers, cactus needles, or any other interesting plant textures. You can even use a telephoto lens then crop the photo during the editing stage to get a great close view of your subject.
Walk a short distance along the road on either side to get a good first look at the vastness of this park. You might even catch a shot of the moon above the mountain, across the road from the visitor center, like I did in December.
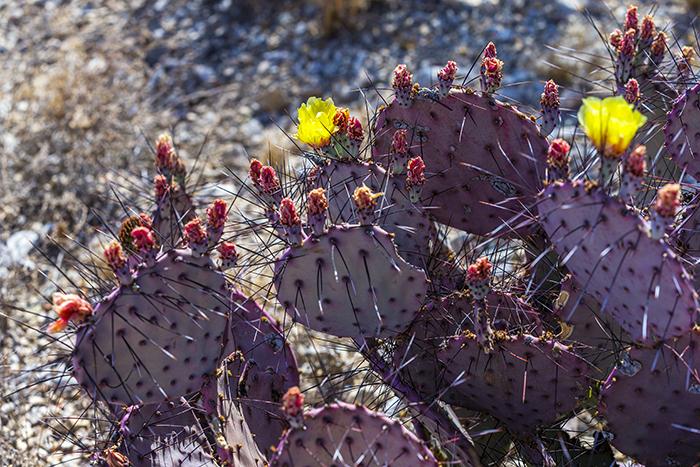
Blooming prickly pear cactus, Big Bend National Park / Rebecca Latson
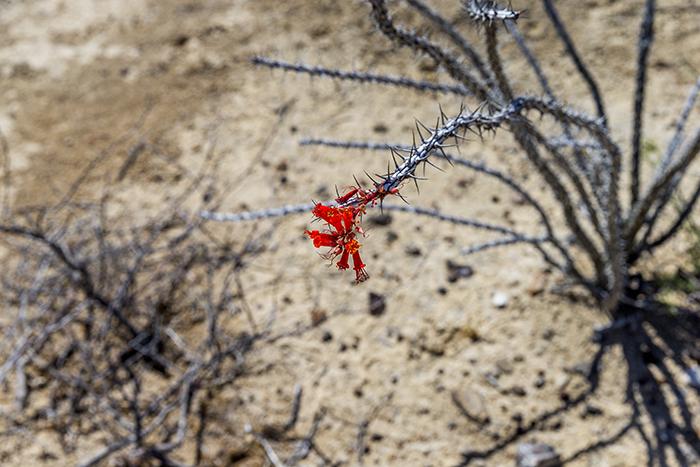
Ocotillo Bloom, Big Bend National Park / Rebecca Latson
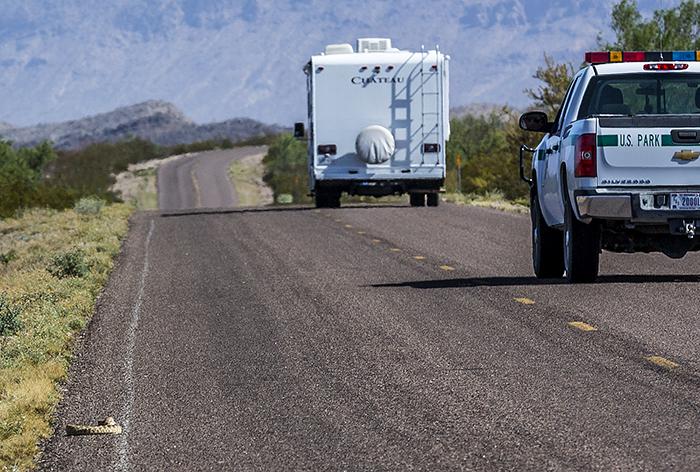
Rattlesnake hanging out on the side of the road, Big Bend National Park / Rebecca Latson
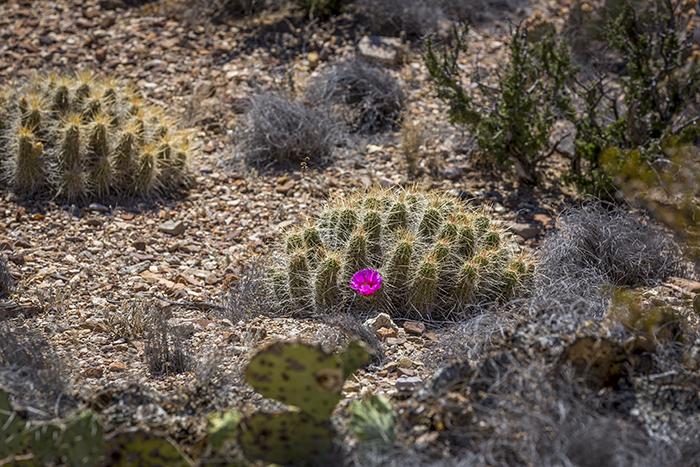
Pitaya cactus, Big Bend National Park / Rebecca Latson
Stop 2: Along The Road Toward Panther Junction – Everywhere you look is a chance for a photo op. I’ve stopped on the road shoulders to photograph blooming cactus, the mountains in the distance, and – using a telephoto – one angry rattlesnake alongside the road that was striking out at the wheels of every car slowly passing by. In the spring, you’ll see prickly pear blooms in shades of gold, orange and bright yellow. You’ll also see the bright red blooms on the tips of the very sharp-spined ocotillo. The ocotillo is a plant (not a cactus), indigenous to the Chihuahuan Desert.
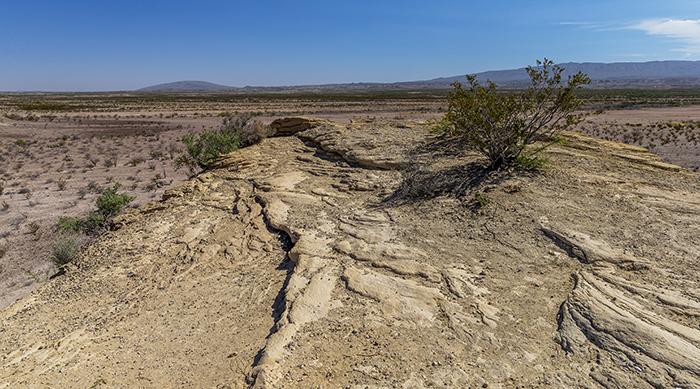
Wide open spaces as seen from the fossil bone exhibit, Big Bend National Park / Rebecca Latson
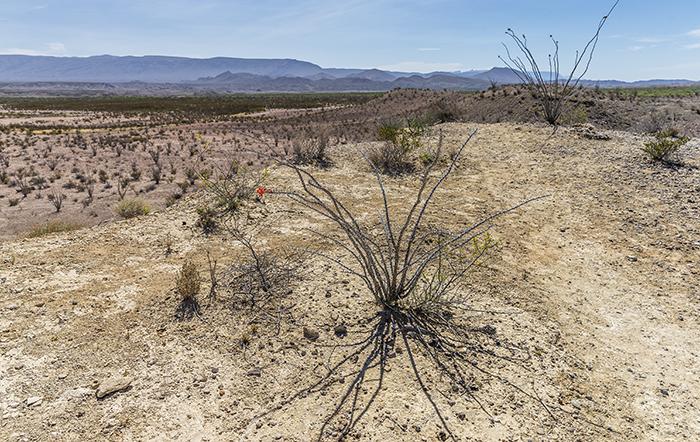
Sun-bleached wide open spaces at the fossil bone exhibit, Big Bend National Park / Rebecca Latson
Stop 3: The Fossil Bone Exhibit – Continuing your adventure south, about halfway between the Dagger Flat Auto Trail and the Panther Junction Visitor Center is the Fossil Bone Exhibit. This paved parking area has restrooms and a very short, well-maintained trail to the top of a hill. Along the trail is a small glassed-in exhibit displaying fossils found within the area. The top of the hill offers a nice, 360-degree view of the wide-open desert and arid mountains beyond. If you have not done so already, this is the perfect place to affix your circular polarizer to cut out glare and haze while saturating the blue sky and desert colors around you.
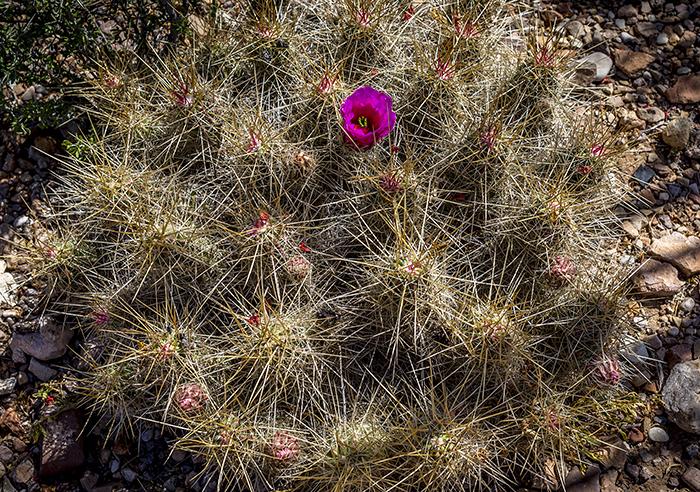
Strawberry Pitaya Cactus, Big Bend National Park / Rebecca Latson
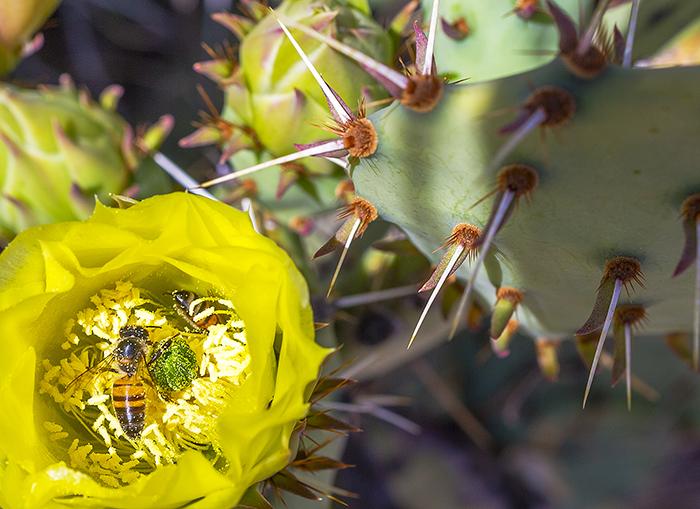
Filling the frame with two bees in a prickly pear cactus bloom, Big Bend National Park / Rebecca Latson
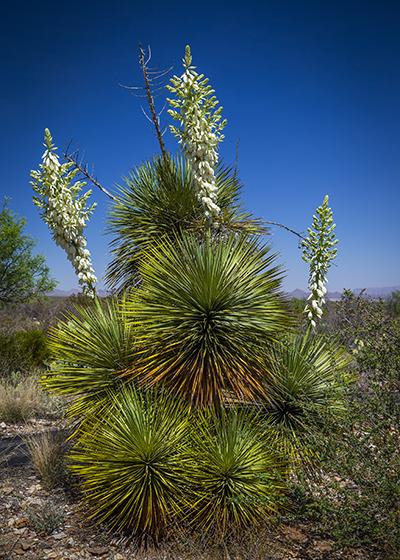
Blooming yucca, Big Bend National Park / Rebecca Latson
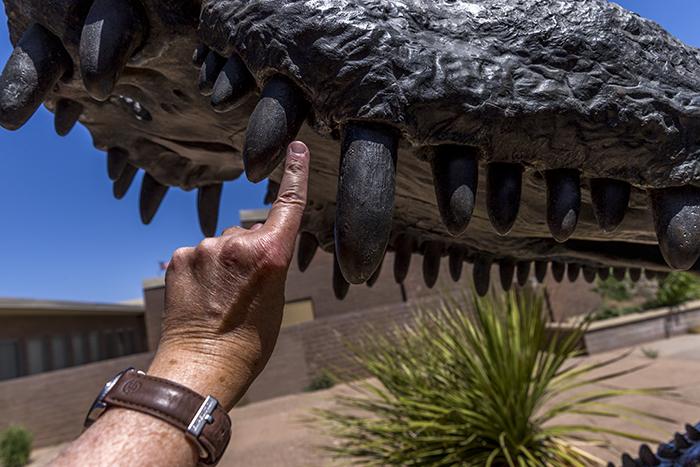
A tooth bigger than my finger, Big Bend National Park / Rebecca Latson
Stop 4: The Panther Junction Visitor Center – Do take the time to stop at this visitor center. There is a wonderful garden all around the building with cactus, plants and trees common to this national park and the Chihuahuan Desert. In the spring, the cactus will be flowering with bees buzzing deep within each bloom, filling their pollen sacs practically to bursting. Practice getting photos of the bee in the bloom. You can use either a telephoto lens or a macro lens, since the bees will be so busy collecting pollen, they won’t really care how close you and your camera approach. My suggestion is to put your camera’s focus on “servo mode” so that the bee will be in focus as it moves around. Otherwise, you’ll have a lovely clear image of the flower but the bee itself may be a bit blurred. Think, also, about “filling the frame”. Fill your viewfinder with just the flower and/or the flower and bee and cut out distracting things such as parts of concrete or your foot or something not conducive to the composition you aim to create.
Walk around to the back of the visitor center to see if they still have the bronze statues of prehistoric beasts, skeletons of which have been found within the park. During my February visit, I was told that the statues were eventually destined for the proposed fossil exhibit to be set alongside the current fossil bone stop.
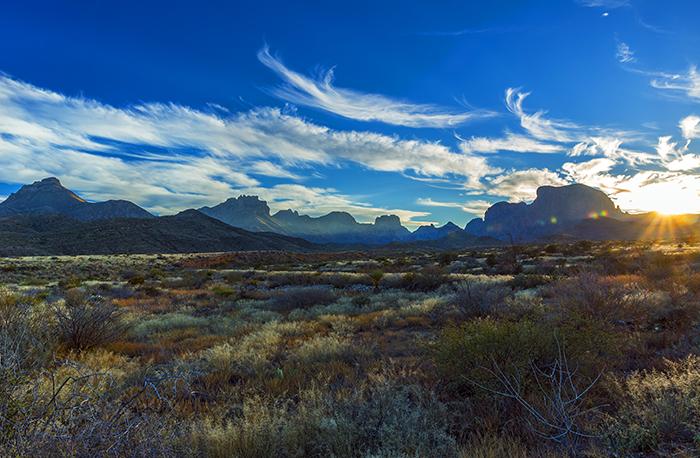
Sunset over the Chisos Mountains, Big Bend National Park / Rebecca Latson
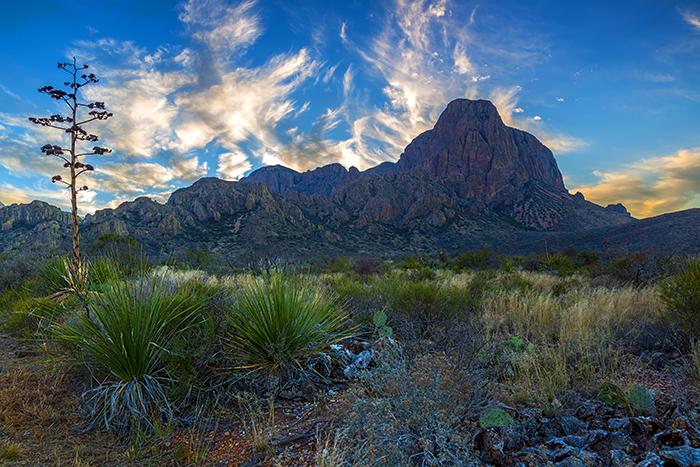
Evening in the Chisos Mountains, Big Bend National Park / Rebecca Latson
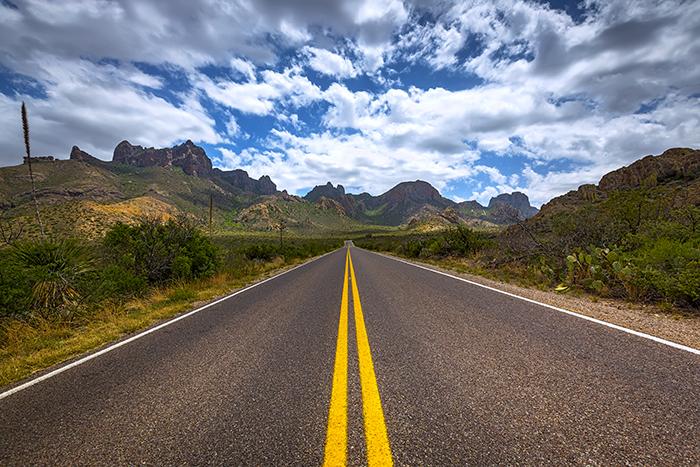
The road toward the Chisos Mountains, Big Bend National Park / Rebecca Latson
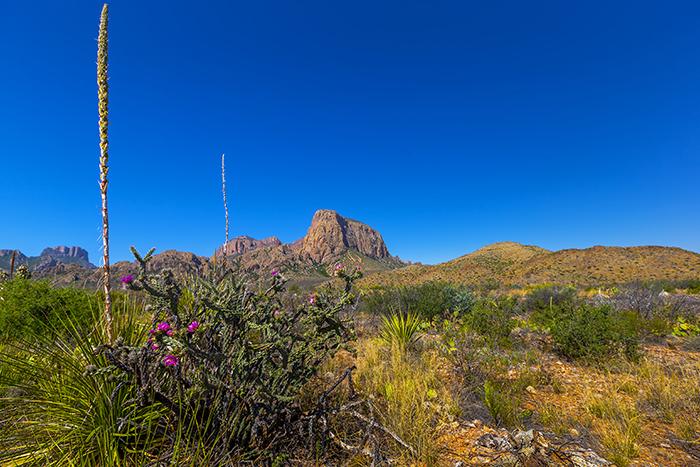
Cholla, sotol and Big Bend scenery, Big Bend National Park / Rebecca Latson
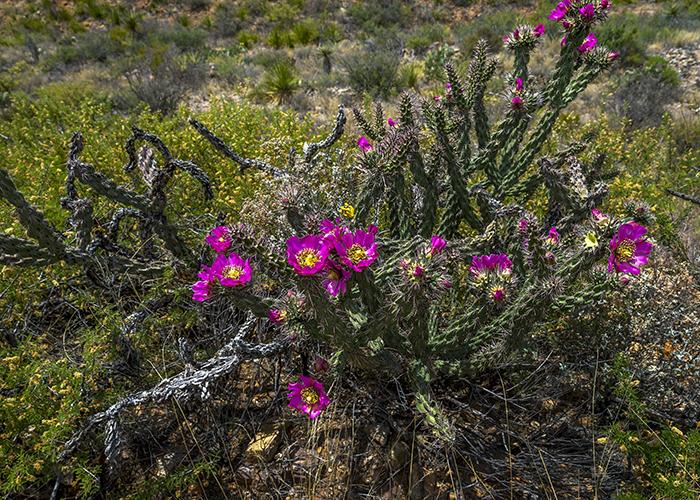
Blooming cholla cactus, Big Bend National Park / Rebecca Latson
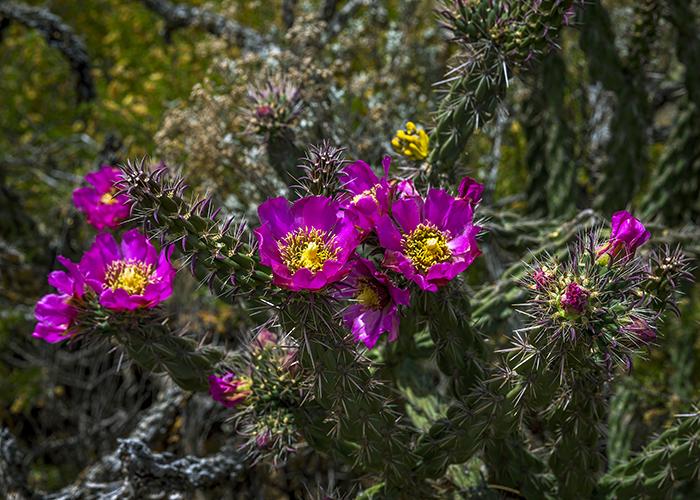
Blooming cholla cactus, Big Bend National Park / Rebecca Latson
Stop 5: Chisos Basin Road – Head west from the Panther Junction visitor center and drive 3 miles to the left turnoff onto Chisos Basin Road. Along this road, you’ll find the Lost Mine Trail, the Chisos Mountains Lodge, Chisos Basin Campground and a gazillion photo ops. Park at one of the official view areas or simply on the wide shoulder of the road as you head south into the Chisos Basin to capture images of mountains, desert, plants, birds, and flowers. If there is no sight or sound of an oncoming vehicle, pull out your tripod, go stand in the middle of the road and get some nice leading line shots. Traffic is practically non-existent in the early morning and tends to get heavier in the evening as vehicles wend their way toward the lodge or campground for dinner, a sunset view of the Window and a good night’s rest after a busy day of hiking, sightseeing and photography. Note: I am not advocating careless disregard of the traffic you may encounter on the road in an effort to get that leading line shot. However, knowing the actions of photographers such as myself, if one exercises an abundant amount of caution, it is possible to stand in the middle of the road for a short period of time to capture a photo or two.
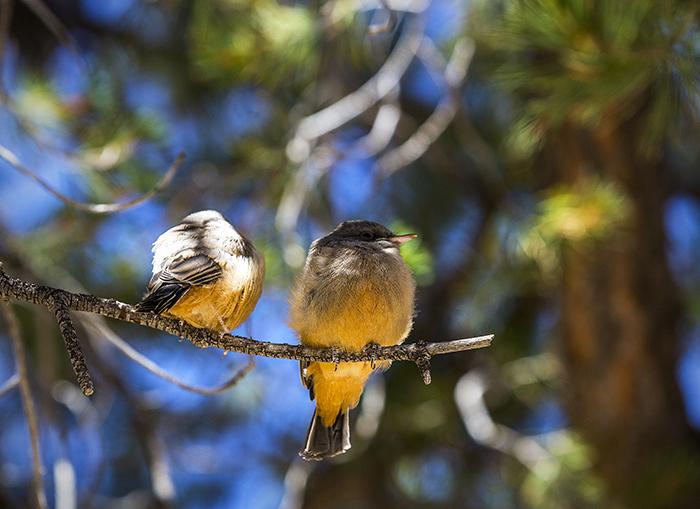
Fledgling Say's Phoebes, Big Bend National Park / Rebecca Latson
Stop 6: Chisos Mountain Lodge Outdoor Patio – Not only is this outdoor patio a lovely place for a respite and a meal with a great view of the park scenery beyond, but it also offers a chance to spy some of the birdlife within the park (so make certain your telephoto lens is on your camera). The photo above is of fledgling Say’s Phoebes perched precariously in a tree right beside the patio. Their mother flitted two and fro, still feeding her growing babies. I would actually have never spotted these birds, much less figured out their name had I not been standing next to an avid bird photographer who enjoyed chatting with me about these pretty little birds. You never know who you might meet in a national park.
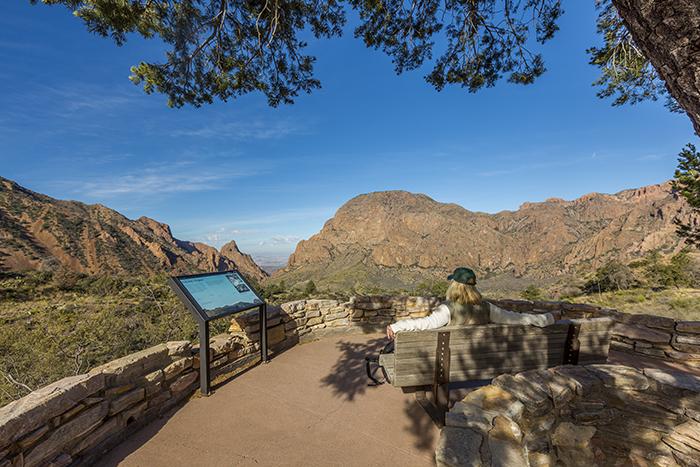
Chillin' at the Window view area, Big Bend National Park / Rebecca Latson
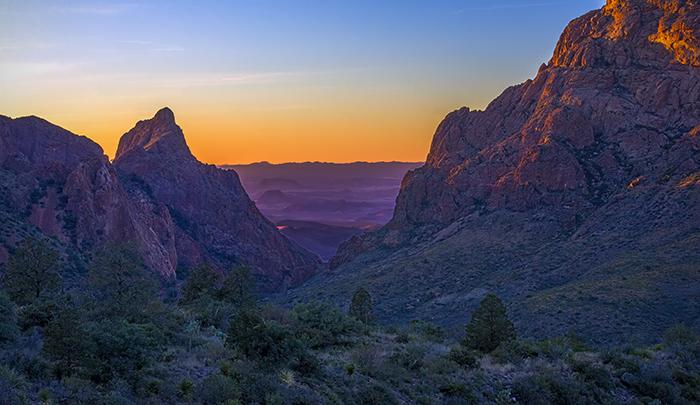
A December sunset at the Window, Big Bend National Park / Rebecca Latson
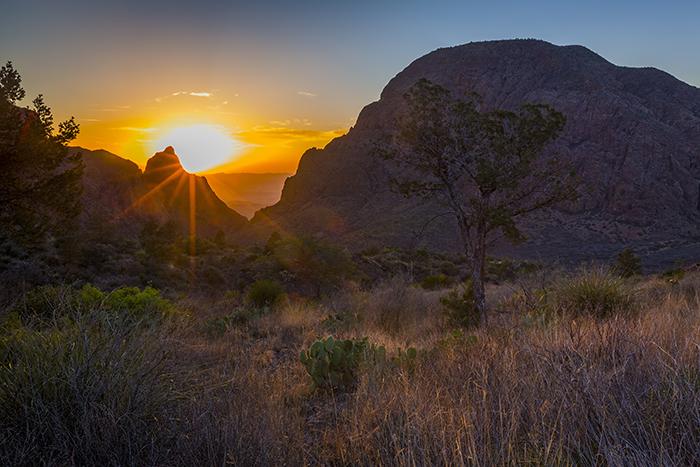
A late April sunset at the Window, Big Bend National Park / Rebecca Latson
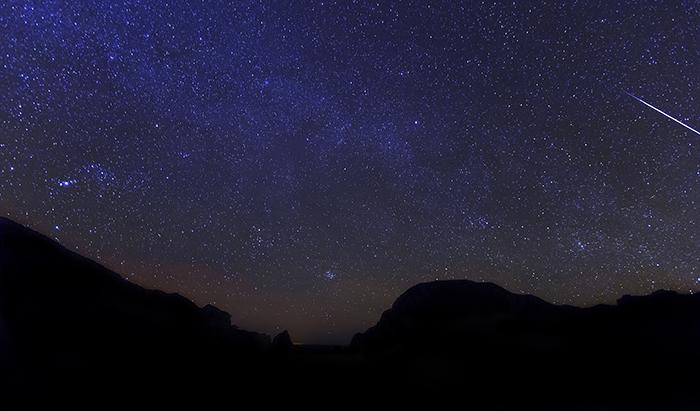
Early morning falling star at the Window (as seen from my room's balcony), Big Bend National Park / Rebecca Latson
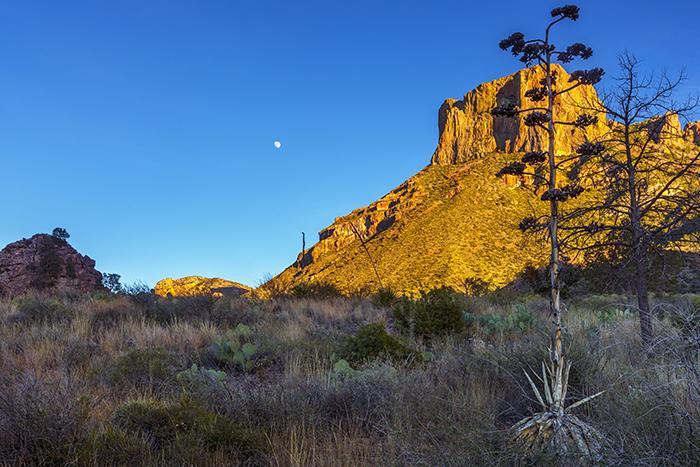
Casa Grande and a gibbous moon, Big Bend National Park / Rebecca Latson
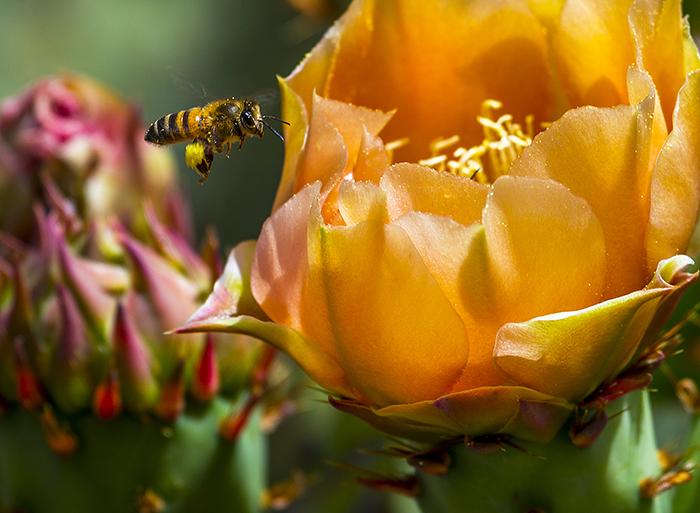
A bee and a prickly pear cactus bloom, Big Bend National Park / Rebecca Latson
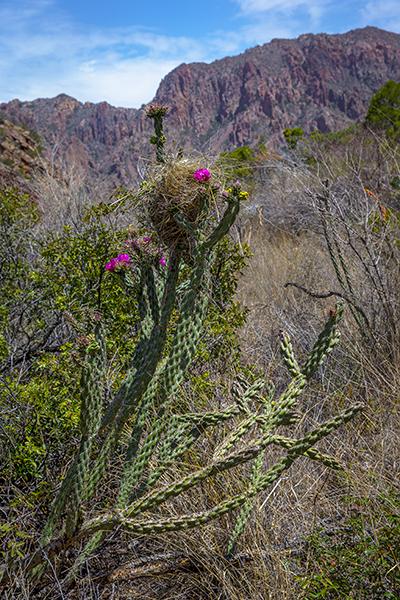
Bird's nest in the cholla cactus, Big Bend National Park / Rebecca Latson
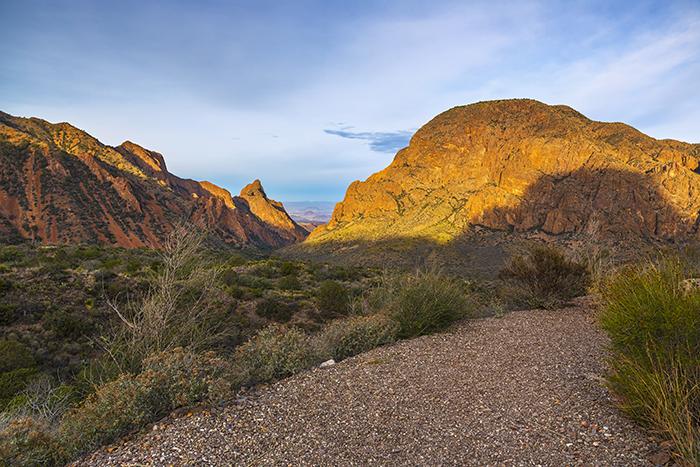
Morning view along the Window Trail, Big Bend National Park / Rebecca Latson
Stop 7: The Window View Area – The Window is one of the most-photographed scenes in Big Bend National Park. Most of the photographs show the sun setting directly in the middle of the “V” formation. Be aware, though, depending upon the time of year you visit the park, the sun might not set in the middle of the “V”. I visited in both December of 2013 and late April 2014. As you can see, the sun set in slightly different positions for each photograph and, as you can see, no matter what time of year you visit, the sunset view of this formation was gorgeous.
To see the Window, you may undertake a 5-mile roundtrip steep hike to the “V” of the Window itself, or, you can simply traverse the paved walkway from the Chisos Mountains Lodge parking lot to the Window View Area (complete with comfortable park bench beneath the shade of a large tree). The scene is stunning no matter what time of day and no matter what part of the paved walkway you choose to station yourself, tripod and camera. If you intend to get a sunset photo, though, get there relatively early because the entire walkway will be lined with other viewers all wanting to witness that silent descent of the sun.
Before or after the sun sets, turn your camera away from the Window and photograph Casa Grande (another popular photo op). Walk the paved trail. In the spring, this is another great spot for bee-in-bloom imagery and as you look at all the blooming prickly pear cactus, take the time to note the slight differences in flower color. I remark upon this because, while hiking the Lost Mine Trail, I met a Dutch scientist who studied cactus in his spare time. He and I had a lovely conversation on cactus cross-pollination.
Remember, you don’t need to hike an entire trail’s length to get super shots. The Window Trail is a great example. The trail is accessed either from the Chisos Mountains Lodge parking lot or the Chisos Basin campground. You can photograph and walk along a nicely-maintained, relatively level portion of the trail before it begins its steep descent toward that “V” formation.
I’ll end Part 1 of this armchair guide for Big Bend National Park here at the lodge and bid you a good evening. Next month, I’ll take you east, west and south of the Chisos Basin Road for some great stops and great shots.
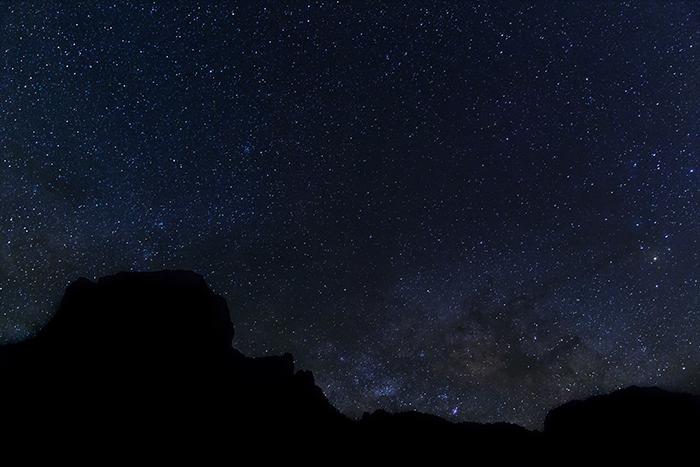
Night sky over Casa Grande, Big Bed National Park / Rebecca Latson


Comments
Thank you for taking the time to give people this information. My husband is mobility impared so he is limited on where he can go. I'm an avid photographer and often looking for places that allow him to join me in my photography walks.