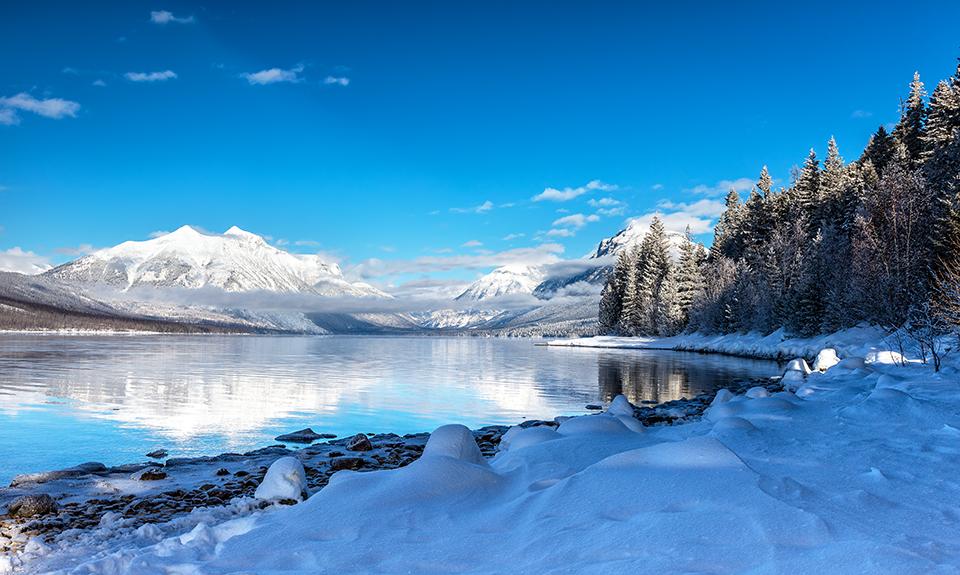
A winter wonderland, Glacier National Park / Rebecca Latson
Not too long ago, the Traveler published an article about exploring winter in the National Park System. To accompany that article, this month’s photo column is about winter photography within the National Park System. Oh sure, I’ve written about this before, and while I don’t want to sound too redundant, I do want to talk about this subject again, if for no other reason than it’s a nice little refresher course and a good introduction to winter imagery for those of you new to the Traveler.
When I think of winter, the first thing that comes to mind (aside from cold temperatures) is snow. That’s not always the case, depending upon what national park or other public land you visit. Winter in Glacier National Park is very different from a winter sojourn at one of the beaches in Olympic National Park or a trip to someplace warmer, like Hawai'i Volcanoes National Park or Big Bend National Park.
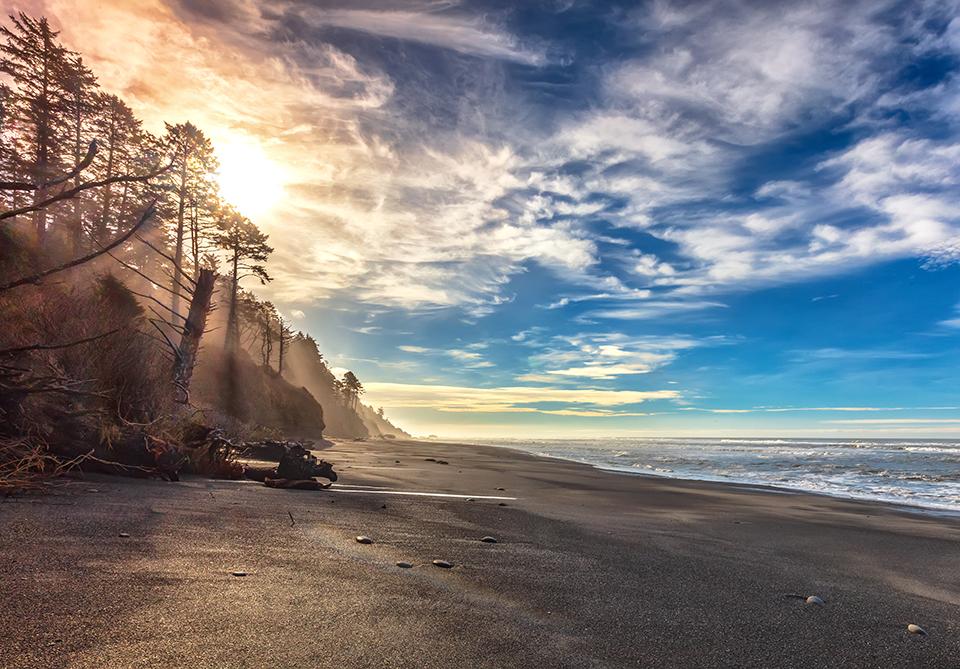
A winter mid-morning along the beach, Olympic National Park / Rebecca Latson
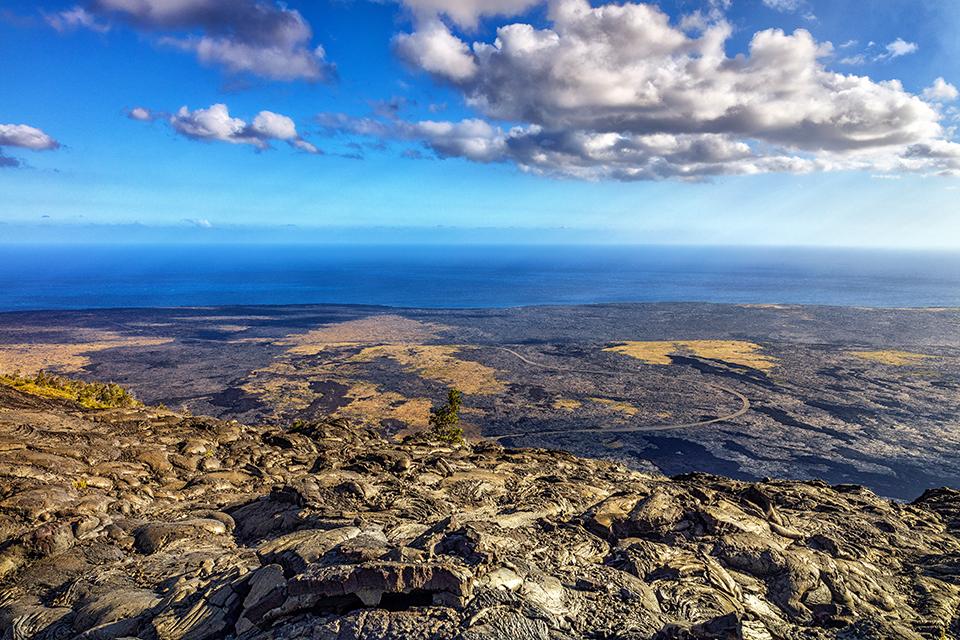
A winter view beyond the lava flows, Hawai'i Volcanoes National Park / Rebecca Latson
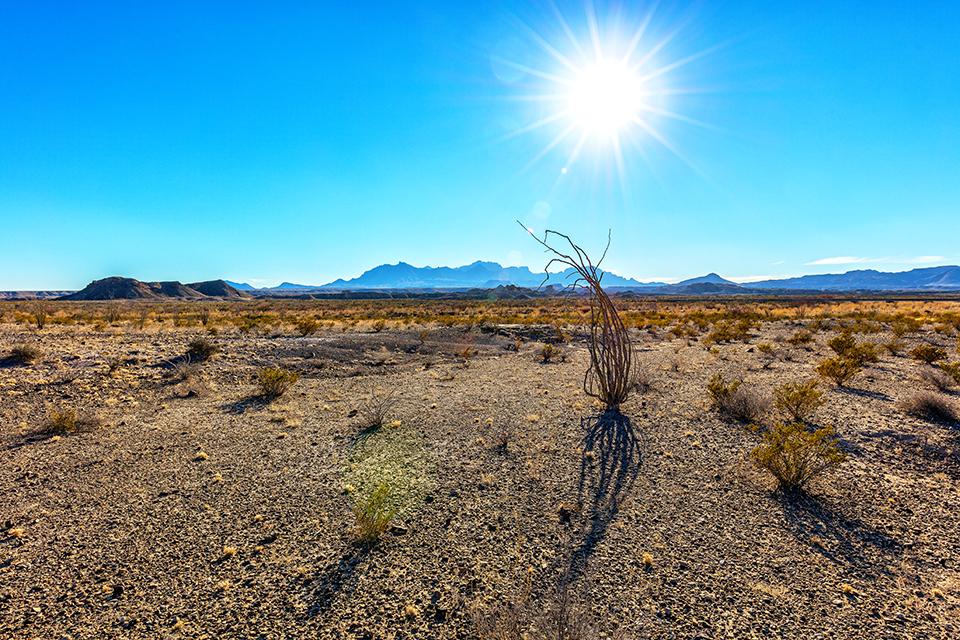
A lonely winter vista, Big Bend National Park / Rebecca Latson
Winter is one of my two favorite seasons during which to visit a national park. There are fewer people, the vistas are much clearer due to fewer water molecules in the atmosphere, and the landscape looks so much different than it does during the warmer seasons of the year.
Winter has its caveats, though.
Roads may be closed for the season, which means you can’t get to all parts of a park. Some trails may be totally tucked in beneath a thick blanket of snow, closing them off to access unless you have snowshoes.
Note: Snowshoes, which can be rented or purchased, are a very important – shall I say, necessary - winter accessory. I’ve experienced more than my share of “post holing” (having a part or all of my leg fall through the snow) and an injury from that can really ruin your whole trip. Having some sort of ice traction device for your boots, like Yaktrax or Kahtoola, is pretty handy, too.
Regardless of which National Park System unit you visit during the winter, there are a few important preparations you should make.
Batteries
Three years ago, I traveled to Glacier National Park. It’s the first time in decades that I experienced temperatures ranging from the upper teens to a little below zero. “Exhilarating” was the first word that came to mind, followed by “biting” and “numbing,” in that order. If you aren’t prepared for really cold temps yourself, then your cameras may not be prepared, either. Yes, I was prepared, but it was still a bit of a shock to my fingers and face.
I brought forth my iPhone for a video panning around my spot on the southern shore of Lake McDonald. After about 20-some seconds, the phone went black because the battery died. Batteries and cold don’t play well together. So, I stuck the phone back in my pocket and captured the winter scene with my other cameras before returning to the rental car to warm up the phone (and myself) and recharge the phone’s battery. Lesson learned.
No matter what kind of camera you have, be it smartphone, point-and-shoot, or SLR, make sure you have extra camera batteries and/or a car charger for the phone. And, keep those spare camera batteries in your pocket next to your body. I started doing that with the iPhone, bringing it out for short periods of up to 15 seconds for video capture before placing it snugly back in my warm(er) pocket. Those little air-activated hand warmers for your pockets are great, but don’t place your camera battery right next to them, because those warmers get pretty hot.
Extreme Temperature Variations
Speaking of warming things up, here’s something else to think about that I (thankfully) never experienced myself because I already knew better. Don’t expose your camera to extremes of temperatures, such as getting some shots in the freezing great outdoors and then suddenly moving said camera into a very warm car or building without first wrapping the camera in either a Zip Loc-type bag or your camera pack. Cameras need to experience temperature changes gradually, so no condensation forms within the lens elements or the camera electronics.
Camera Protection from The Elements
So, let’s say you are enjoying the beach on a national seashore, where there is not one hint of winter snow or ice. You still need to protect your camera. If you’ve spent any time on a beach, you know that sand gets everywhere. Windblown sand will get into your lens elements and camera interior if you switch lenses often out on the beach. Best you have the lens you want for your seashore shots before you set foot on the beach. If you absolutely need to change lenses, then make sure your back is to the wind and you’re changing your camera lens over something covering the sand, such as a camera bag or towel. When you go in for the evening, inspect both lens and camera and do a gentle wipe down with a soft, clean cloth.
If you are capturing dramatic winter storm images on the beach, make sure not only you are protected from the elements, but your camera is too. A quick search on the internet using key words “camera rain protection” will bring up all sorts of options and price ranges. That rain protection for the beach is great for snow protection, too, btw.
Filters
Make certain you bring along two very important filters that no photographer should be without: a circular polarizer (CPL) and a graduated neutral density (grad ND) filter. Working along the same principal as your sunglasses, a CPL comes in handy for reducing glare and reflections on snow and water, The majority of CPLs screw onto the lens front (some do fit into an opening near the rear of the lens). You then rotate the filter’s outer ring until you observe the glare and reflections disappear, the colors deepen, and the textures pop.
Grad ND filters are pieces of round or square/rectangular glass or resin, half of which is shaded gray and the other half which is clear. The shaded portion keeps the bright horizon from totally blowing out while you expose for the darker portion of your composition. The round filters screw onto the front of the lens, just like a CPL. Square or rectangular ones require a different type of holder, or you can simply handhold them flush against the lens. I found this helpful online article by Barry J. Brady explaining the use of a grad ND filter.
Smartphone and point-and-shoot users, don’t feel left out, because there are CPLs for you, too. Singh-Ray has a line of filters specifically for your cell phone, but be warned, they aren’t exactly inexpensive. In addition to simply running a search for a point-and-shoot CPL that pulls up a number of options, there’s also an interesting article I found about point-and-shoot filter mounting.
Winter Compositions
Now, let’s talk about framing your winter compositions. If you take a moment to think about how you want to frame your image, a pretty picture can turn into a stunning shot.
If you are in a snowy winter wonderland, look for a spot of color – something that really pops out in an otherwise almost monochromatic scene to grab your viewer’s attention.
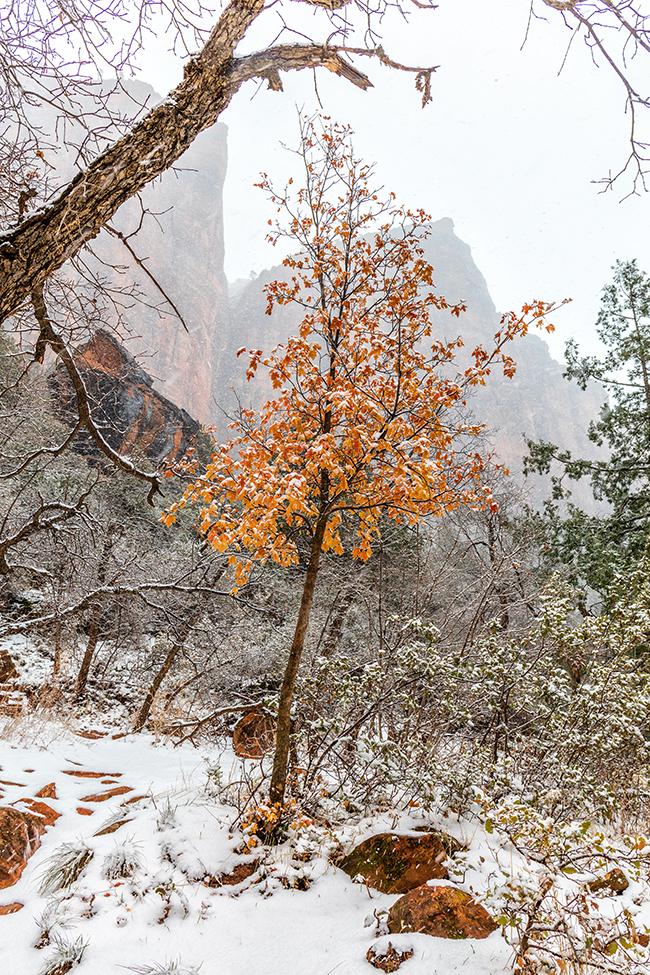
A little bit of color during a snowfall, Zion National Park / Rebecca Latson
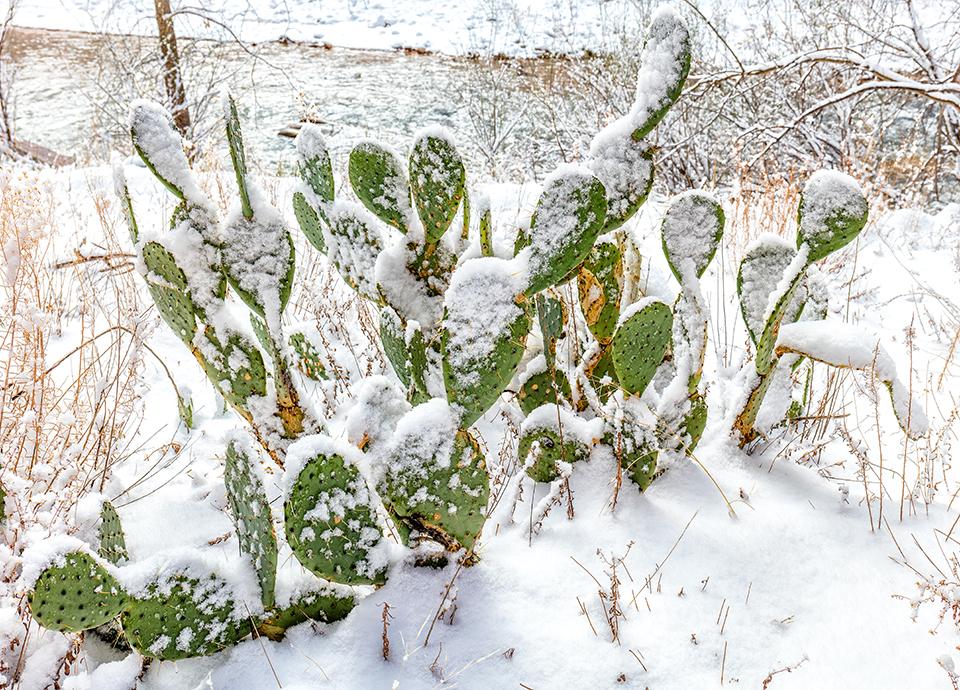
Your photo might even be something of an oxymoron: snow on cactus, for instance, like the image below captured during a February visit to Zion National Park.
Look for contrasts in white snow and red rock. That red really shows up against the white.
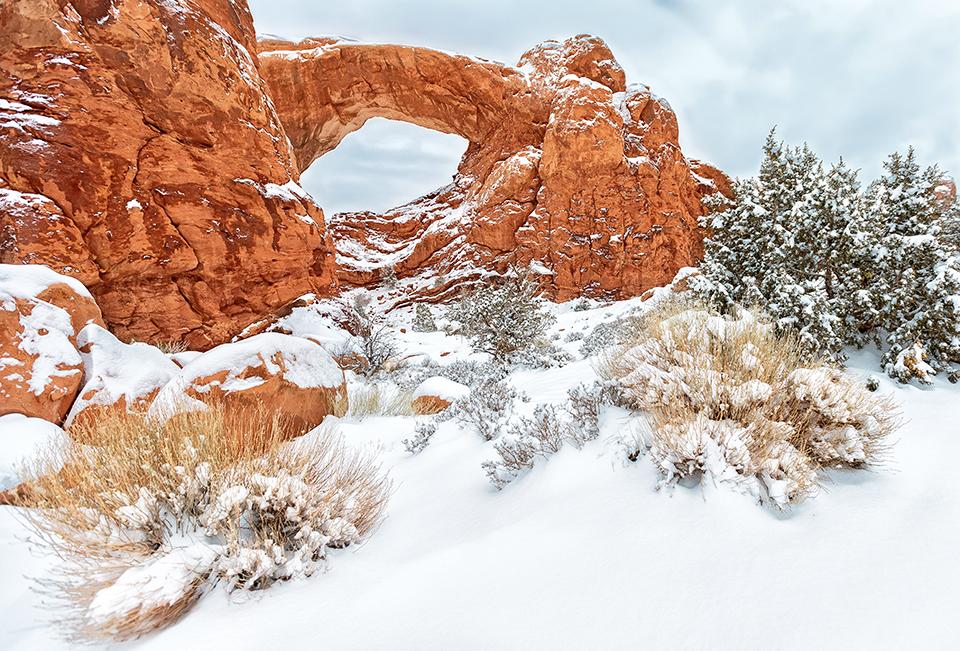
Snow day at the South Window, Arches National Park / Rebecca Latson
Look for different textures and patterns, too.
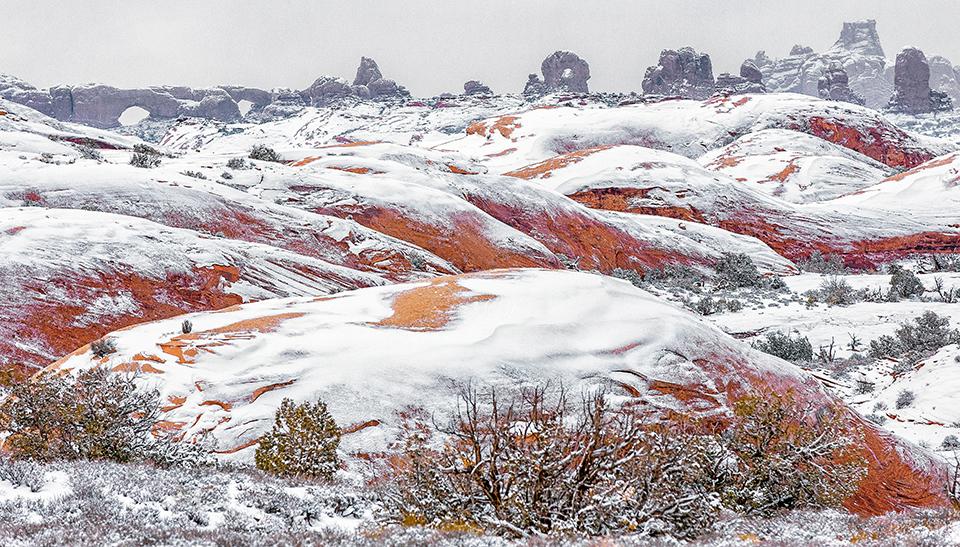
Snow on the petrified sand dunes, Arches National Park / Rebecca Latson
Look for layers, especially if you are around a lake. You can see layers of water, fog, snow, a line of trees, and the sky.
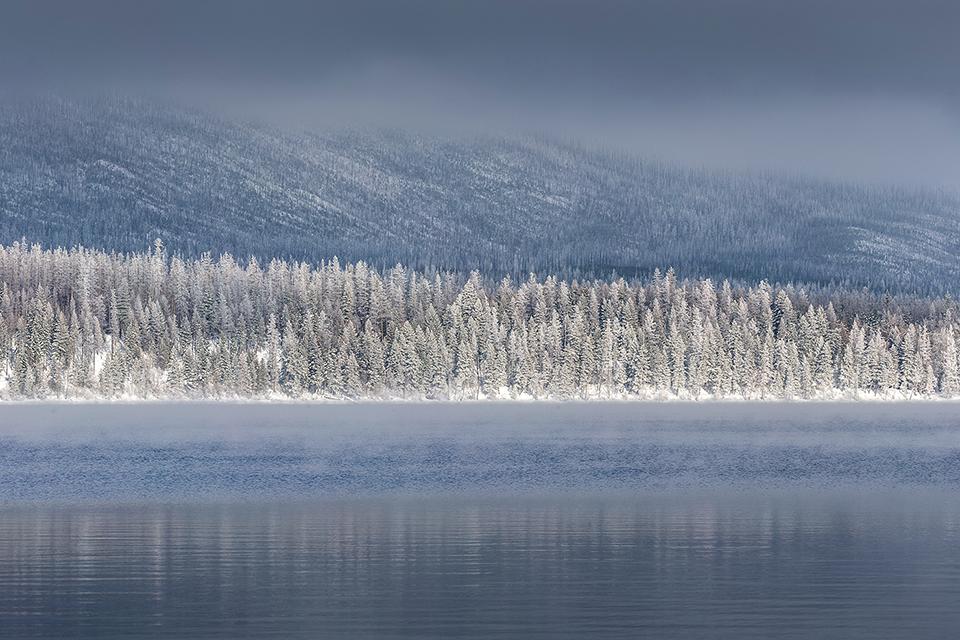
Lightly frosted, Glacier National Park / Rebecca Latson
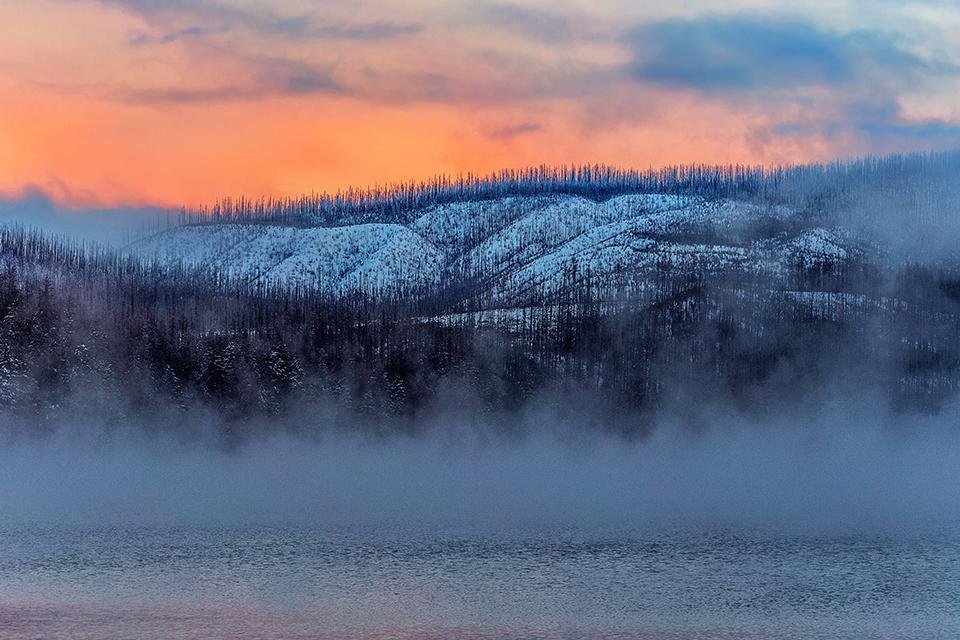
A winter morning glow over Lake McDonald, Glacier National Park / Rebecca Latson
If you want to capture a photo that shows it’s snowing, then you’ll need to take your settings off of auto and onto something like manual or shutter priority. Capturing a snowfall means you need to slow down your shutter speed. Too slow of a shutter speed, though, will make the snowflakes look like white lines, so spend some time playing around with those settings.
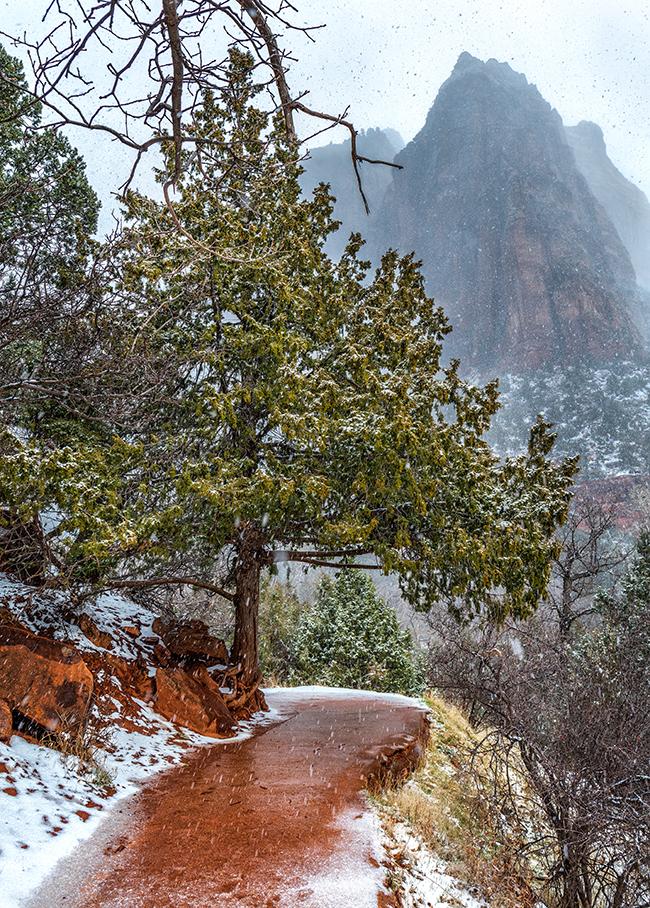
A light snowfall along the trail to Lower Emerald Pool, Zion National Park / Rebecca Latson
Sometimes, winter doesn’t look cheerful. If you are trying to create a more haunting or lonely mood with your composition, then bare trees against a dark, cloudy sky during the early morning or evening hours will fit the bill.
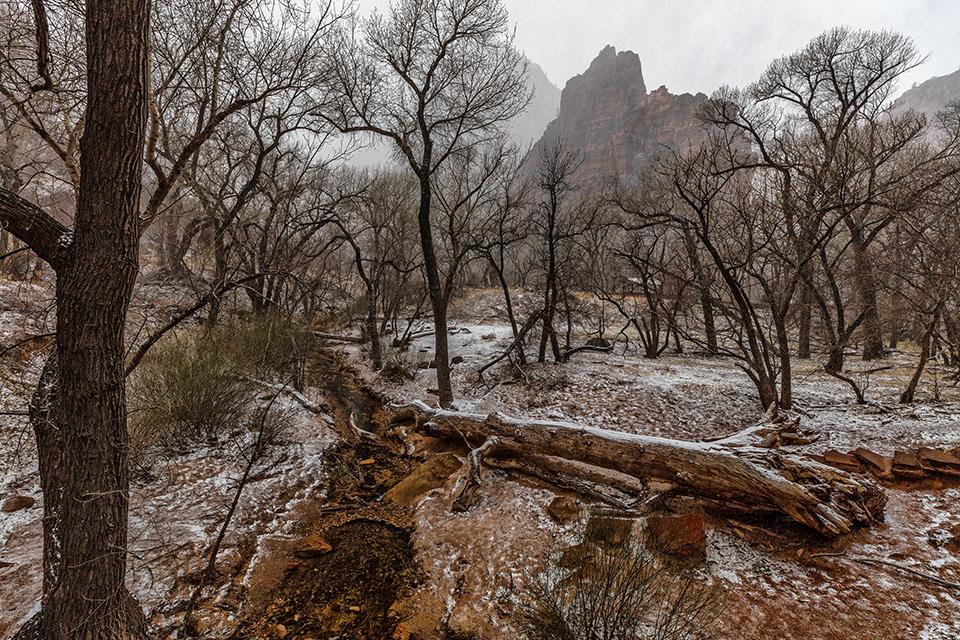
An early morning winter snowfall, Zion National Park / Rebecca Latson
If you are out in the mountains, stick around after sunset for a little alpenglow.

Alpenglow over Lake McDonald, Glacier National Park / Rebecca Latson
Where ever you are during the winter, try to catch a little bit of the "blue hour," just before sunrise or just after sunset, when the landscape from sky to ground is bathed with shades of blue, purple, and mauve. FYI, "blue hour" doesn't really last an entire hour, so it's always a good idea to have your photo spot staked out at least 30 minutes prior to that time of day.
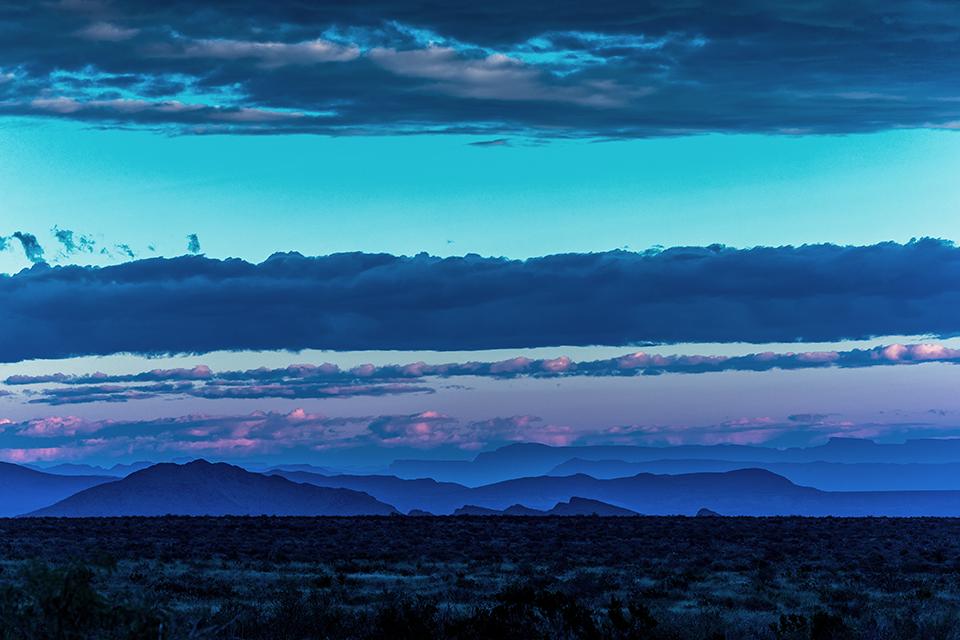
A layered winter morning blue hour, Big Bend National Park / Rebecca Latson
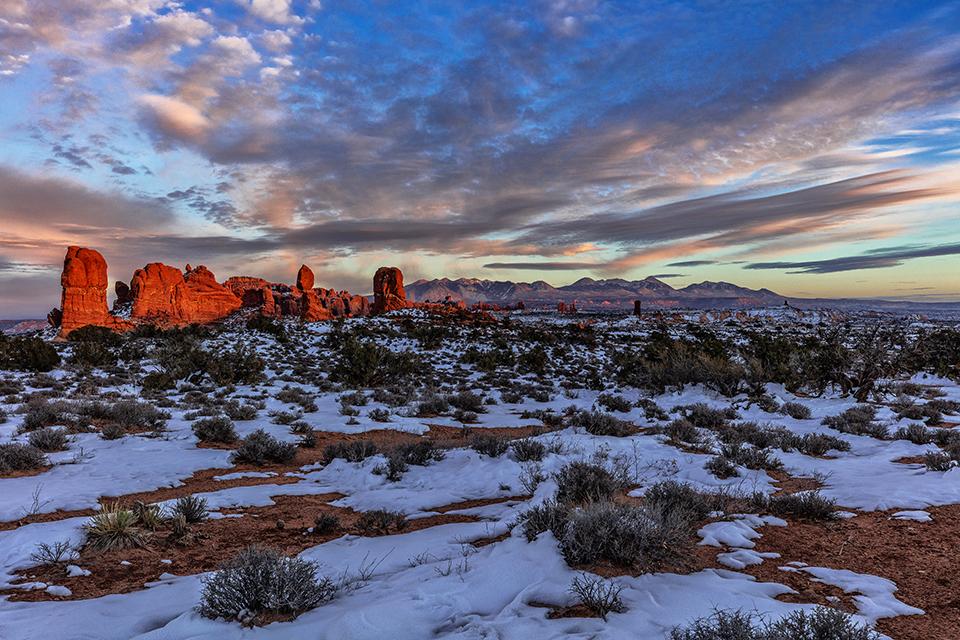
A January sunset and the onset of blue hour over Balanced Rock scenery, Arches National Park / Rebecca Latson
Look for compositions that show your viewers just how cold it really is. The image below is of the boat dock on the south end of Lake McDonald in Glacier National Park. On that particular day, the temperature was sub-zero. The ice and snow, the gray sky, and the little icicles convey coldness to the viewer.
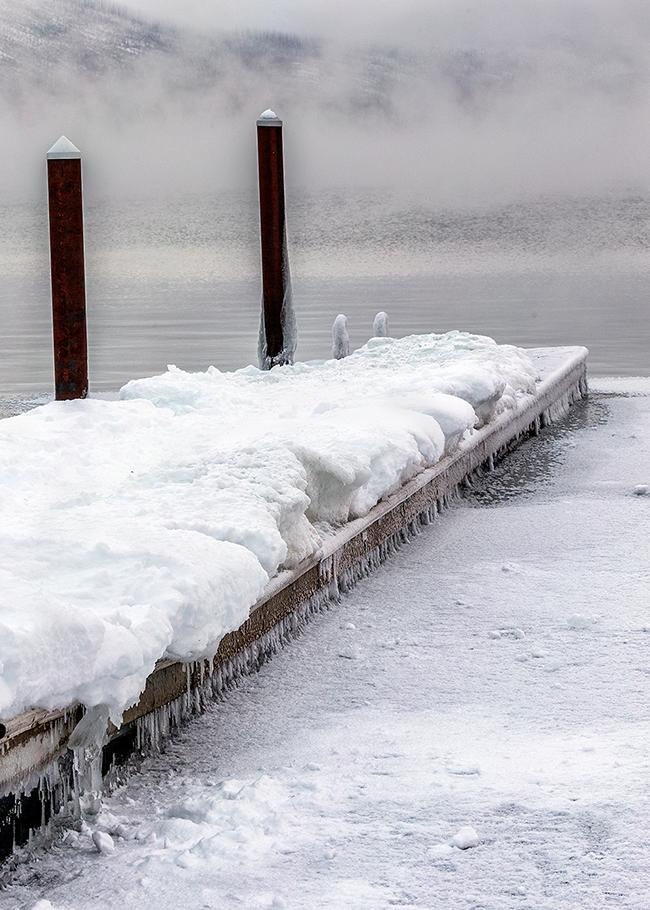
Icy and cold, Glacier National Park / Rebecca Latson
This leading line image guides the viewer’s eye from the front of the photo to the back – all snowy, with a cold sky and icy lake. Brrrr!

Sub-zero temperatures, Glacier National Park / Rebecca Latson
Of course, it goes without saying, if you can capture bird or other wildlife images during the winter, by all means do so. Sometimes, the wildlife will be right out there and easy to spot. Other times, the wildlife will blend in with the landscape and you’ll have to carefully observe your surroundings.
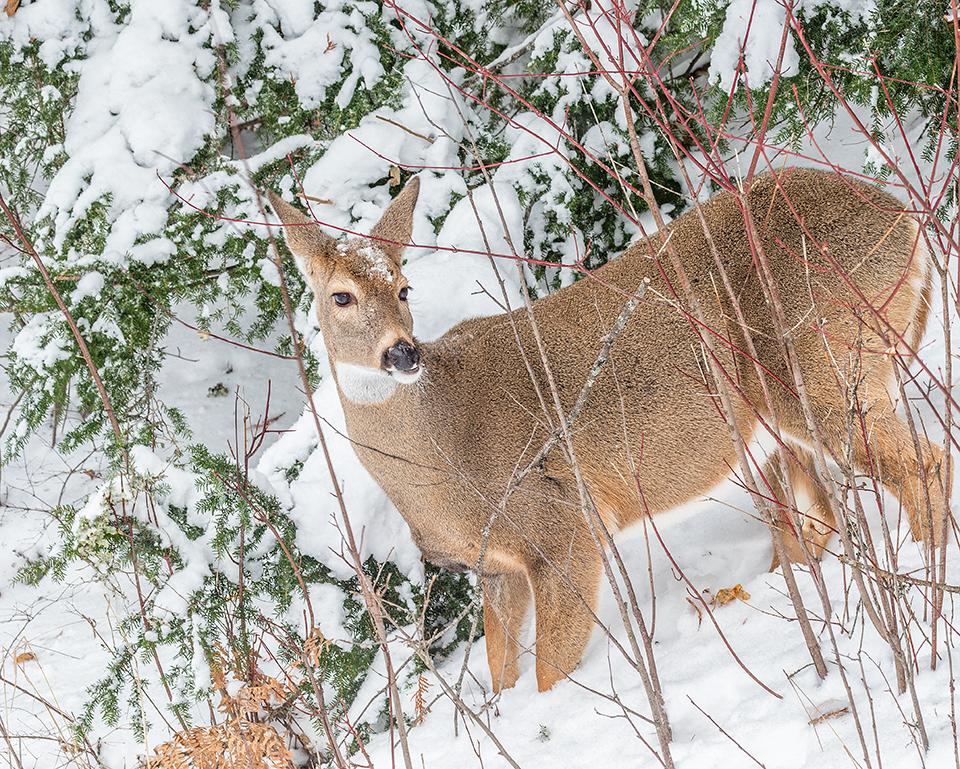
A doe in the snow, Glacier National Park / Rebecca Latson

I spy with my little eye a camouflaged doe in the woods, Glacier National Park / Rebecca Latson
End-of-Year Photographic Soul Searching
The Traveler provides, on a daily basis, all sorts of wonderful articles and stories about national parks and other protected lands. Reading these should encourage you to see these places for yourself for the first time, or view them anew with each return visit. We're not out of the woods yet, though, folks. The coronavirus pandemic rages on, but vaccines are coming. It may be a bit of a wait for the shots to trickle down to those of us who are not frontline/essential workers or people with underlying health conditions. Until then, if you do travel, play it safe, keep your distance, wash your hands often (if you use sanitizer packets, remember to pack out what you pack in), and wear a mask. Protect yourself as well as the rangers, park staff, concession staff, and anybody you meet out on the trail. Stay safe, Travelers, and continue planning for those future park trips. Planning is half the fun.
I wish you safe and happy holidays, and I hope these winter tips are helpful and you capture plenty of memorable photos of any winter travel you embark upon to a national park or other protected area.

A winter sunset over Kalaloch Beach, Olympic National Park / Rebecca Latson


Comments
As always, I tend to enjoy the accompanying photos with your how-to articles as much as I do your more in depth galleries.
Rebecca, once again you've hit a home run! Super article and some really good photos along with it! Thanks again for all your efforts!