
A summer afternoon at the North Rim, Grand Canyon National Park / Rebecca Latson
My 2018 summer move from Texas to central Washington took me through Arizona. Grand Canyon National Park was on my list. I’d spent several days on the South Rim back in 2009, but had yet to visit the North Rim. I’d already heard the 1,000-foot elevation gain from the South Rim made the North Rim stand out in terms of cooler temperatures, more trees, and fewer visitation numbers (only 10 percent of all visitors to the Grand Canyon travel to the North Rim). So, I booked a couple of nights in a rustic little cabin at the lodge and enjoyed some grand photography in the Grand Canyon.

Panoramic map of Grand Canyon National Park / NPS

North Rim map, Grand Canyon National Park / NPS
When you travel to the North Rim, the first thing you’ll notice are all the trees. More than what you see along the South Rim. So many trees, in fact, that it might be difficult to get an unencumbered shot of the colorful canyon scenery below you. Now, you can always get the photo then crop away anything non-canyon, or, you can make use of those trees (and shrubs and rocks) as natural frames around your canyon scenes. Natural frames provide a pleasing border emphasizing your subject.
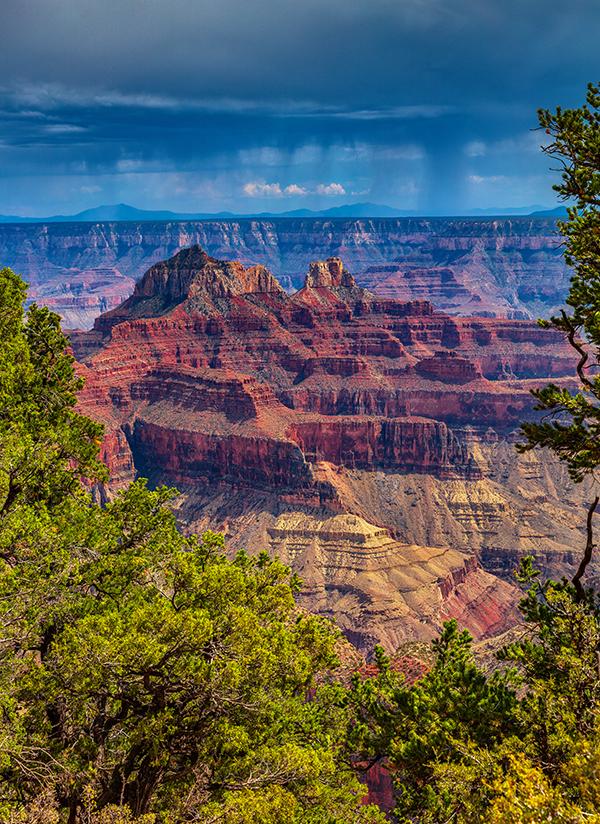
Monsoon rains and natural frames, North Rim, Grand Canyon National Park / Rebecca Latson
Hike the short (.5-mile roundtrip) Bright Angel Point Trail in the late afternoon/early evening hours for shots of the sun gilding the canyon geography. Again, make use of the boulders and trees for natural frames.

A view along the Bright Angel Point trail, North Rim, Grand Canyon National Park / Rebecca Latson

The view beyond the boulders, North Rim, Grand Canyon National Park / Rebecca Latson

Sunset and moonrise, North Rim, Grand Canyon National Park / Rebecca Latson
Don’t forget to photograph the trail itself for a nice leading line shot, guiding your viewer’s eye from the front to the back of your composition while taking in all your image’s detail.

Hiking the Bright Angel Point Trail, North Rim, Grand Canyon National Park / Rebecca Latson
Carefully wend your way over the uneven rock surfaces onto one of the two, small, guard-railed viewpoints just below the Grand Canyon Lodge. Both are nice for sunrise and sunset photography. Depending upon when you arrive, though, you might have to squeeze in between others viewing the scenery at these points.
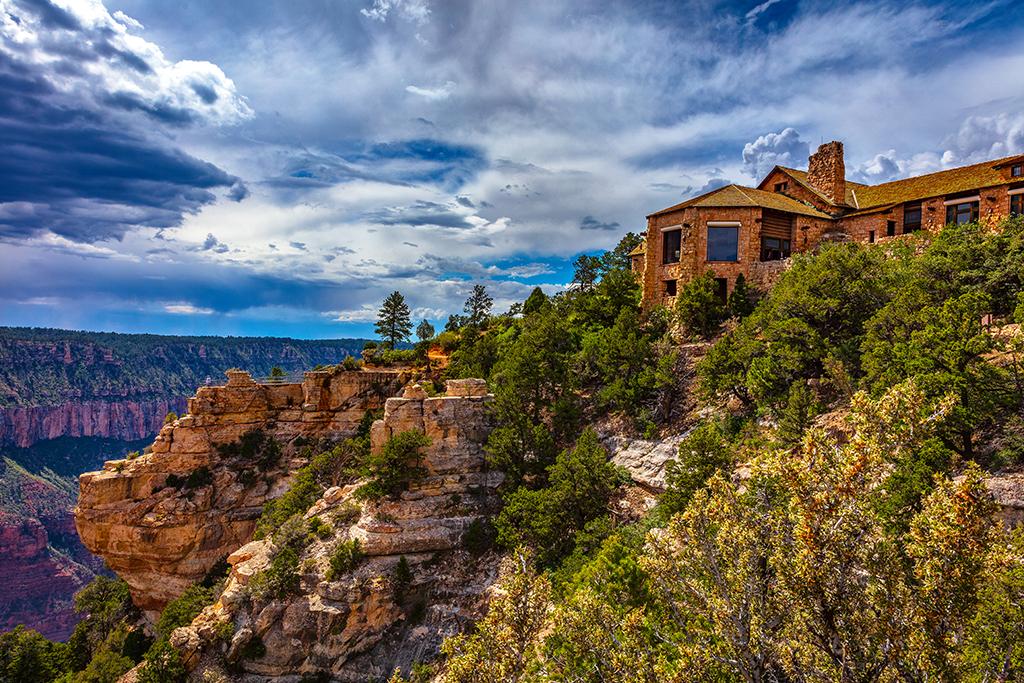
The Grand Canyon Lodge and North Rim scenery, Grand Canyon National Park / Rebecca Latson

One heck of a North Rim view, Grand Canyon National Park / Rebecca Latson

Sunrise over the North Rim, Grand Canyon National Park / Rebecca Latson

Late afternoon storm clouds and North Rim forest fires, Grand Canyon National Park / Rebecca Latson
Both viewpoints face the landscape at an angle to the sun, so it’s a great opportunity to use your polarizing filter. Working along the same lines as your sunglasses, when you affix that polarizer to the front of your lens and rotate the outer ring, you’ll remove some of the haze, reduce bright glare, saturate the canyon colors and bring forth the cloud and craggy canyon wall textures. Polarizers (aka CPLs) are one of those necessary tools every photographer using an SLR should carry in their packs.
You might want to take a break from your hiking and stop for a while at the Grand Canyon Lodge.

Enjoying the North Rim scenery, Grand Canyon National Park / Rebecca Latson
Sit a spell on one of the deck chairs outside to soak in the stunning scenery, or relax on the soft, leather couches in the picturesque Sun Room. That room beckons you to photograph the rustic interior with those large picture windows looking out onto the canyon. It’s a little tricky, though, trying to expose for the darker interior and the bright scenery outside. You can place your camera on a tripod and take two shots of the scene, exposing one for the dark interior, then changing your settings and exposing the next shot for the bright scenery outside the windows. In your photo editor, you can then combine the shots, resulting in a single image with optimal exposure. Or, you can take a single shot exposing for the room only, then reduce those bright window highlights using something like Adobe Lightroom’s Highlight slider. That’s how I captured the image below.

The Grand Canyon Lodge Sun Room, North Rim, Grand Canyon National Park / Rebecca Latson
It’s also tricky photographing through the people roaming and resting in that very popular room. Early mornings are great times for empty Sun Room photography, but it doesn’t hurt to get yourself, your friends or family, or someone else standing or sitting in that room, because a human form adds scale and reference to the scene.
Take a scenic drive along the Cape Royal Road, stopping at such overlooks as Vista Encantada, Roosevelt Point, and Walhalla Overlook. Make use of interesting trees or shrubbery as foreground objects. A wide-angle lens or point-and-shoot wide-angle mode and an aperture setting of at least f/9 will help ensure your foreground is as focused as your canyon background. Or, use a standard lens or point-and-shoot setting, photograph from a distance, and crop the shot to get a totally sharp photo edge-to-edge.

Vista Encantada scenery, North Rim, Grand Canyon National Park / Rebecca Latson

A hazy morning at Roosevelt Point, North Rim, Grand Canyon National Park / Rebecca Latson
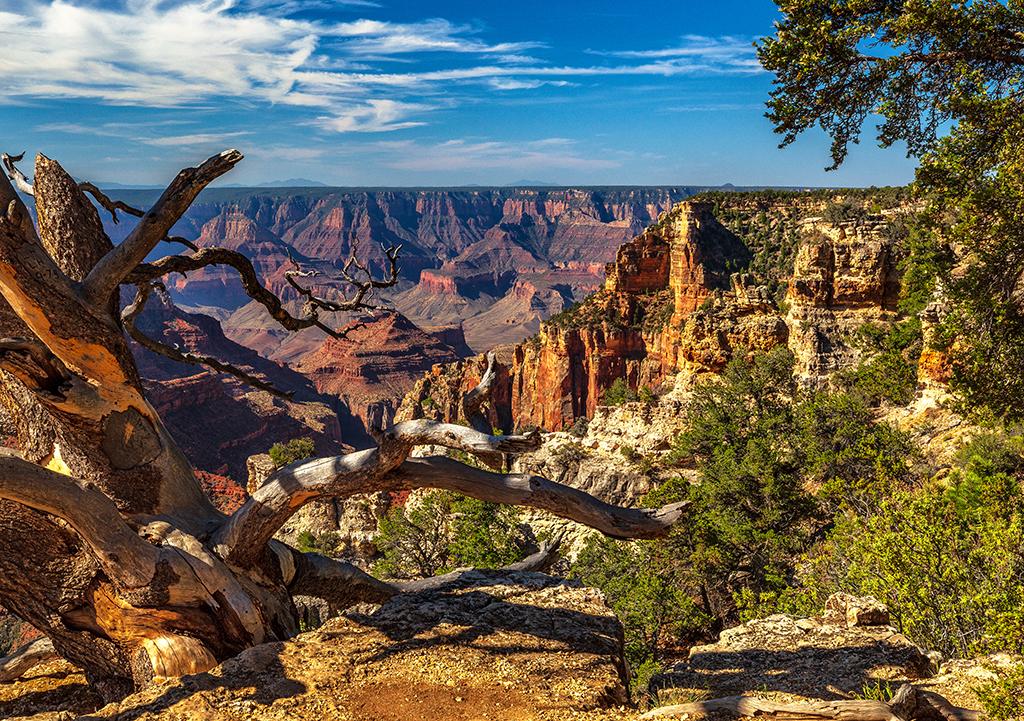
The view at Walhalla Overlook, North Rim, Grand Canyon National Park / Rebecca Latson
Break out your SLR's telephoto lens or use the telephoto setting on your point-and-shoot to capture some telephoto landscapes. Wide-angle vistas are fantastic for showing the overall width and breadth of a national park's scenery, but close-ups of that scenery give your viewing audience a nice grasp of the topography.

A telephoto landscape at Walhalla Overlook, North Rim, Grand Canyon National Park / Rebecca Latson

Interior canyon scenery at Walhalla Overlook, North Rim, Grand Canyon National Park / Rebecca Latson
Drive further to the Cape Royal trailhead and walk the short, scenic trail to views of the Angels Window natural arch, as well as expansive vistas looking toward the South Rim.

Angels Window and North Rim scenery, Grand Canyon National Park / Rebecca Latson

A natural frame surrounding Vishnu Temple, North Rim, Grand Canyon National Park / Rebecca Latson

The vista along the Cape Royal trail, North Rim, Grand Canyon National Park / Rebecca Latson
Your canyon scenery might look a little hazy with a blue tinge to it, if you photograph between noon and 2 p.m. Any forest fires in the area will also add to the haziness. You can either keep that haze in your photo for a ghostly, ethereal composition, or mitigate most of that smoggy veil by using Adobe Lightroom’s Dehaze slider (yes, I’m a fan).
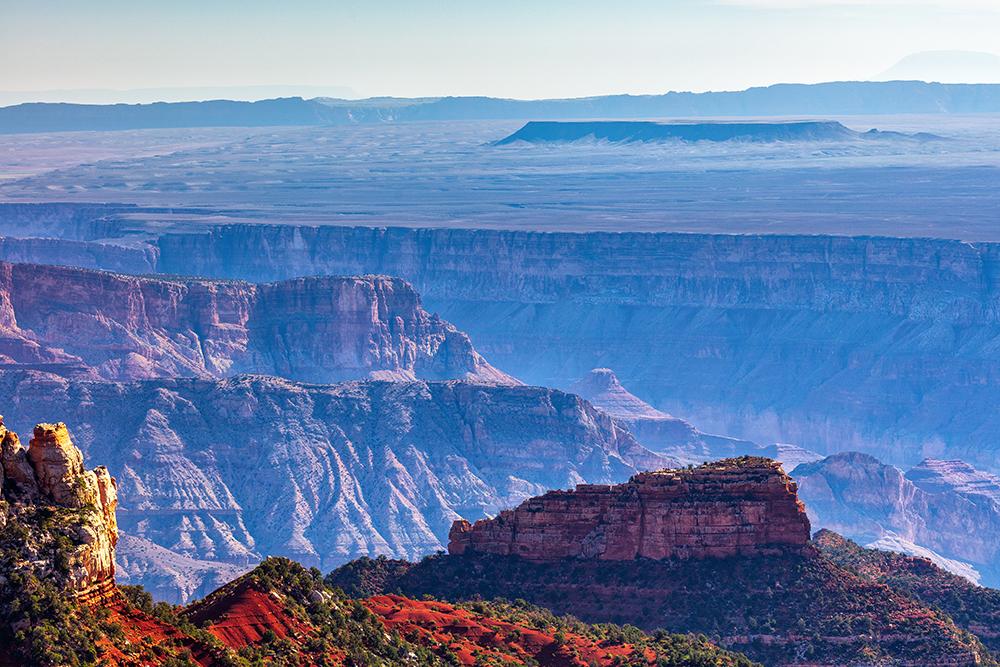
A hazy view at Roosevelt Point, North Rim, Grand Canyon National Park / Rebecca Latson

Forest fires and thunderstorms on the North Rim, Grand Canyon National Park / Rebecca Latson
For all these big vista photos, another must-have filter for your camera pack is the graduated neutral density filter (aka grad ND). Made of resin or glass, these filters come in round, square and rectangular sizes and are half clear, half shaded. The shaded part acts as a counterbalance to the bright horizon while you expose for the darker area below that horizon.
As you walk the trails, look at the rocks and plants. Peer within those shadowed depths. What do you see? A green bush with limbs that look like ferns, or perhaps a Steller’s jay perched on a branch, or a brilliant flame skimmer delicately balanced on the tip of a plant stem, or a curious little critter sizing you up, hoping for a handout? Capture those compositions to flesh out the Big Picture of canyon landscape.

Fernbush, North Rim, Grand Canyon National Park / Rebecca Latson

Steller's Jay, North Rim, Grand Canyon National Park / Rebecca Latson
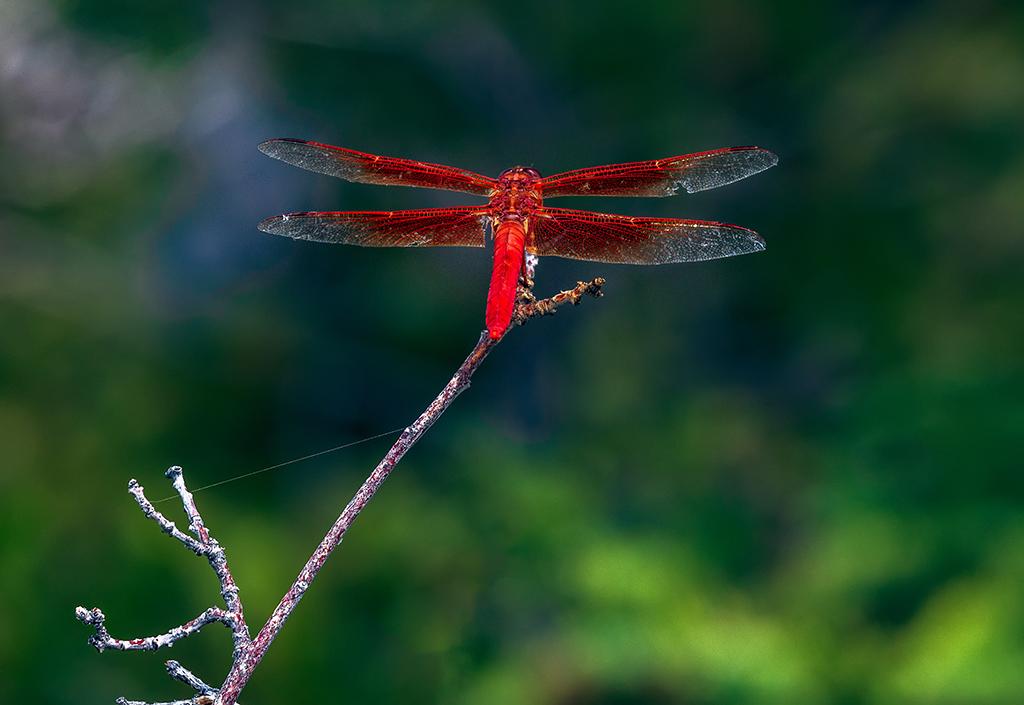
Flame Skimmer, North Rim, Grand Canyon National Park / Rebecca Latson

Looking hopeful, North Rim, Grand Canyon National Park / Rebecca Latson
On my way out of the park, just prior to passing through the entrance/exit booths, I encountered a small herd of bison crossing the road. I love bison. I think they are the neatest creatures. I pulled off the road onto a paved pullout and spent a good 20-30 minutes photographing the herd. I saw little “red dawg” calves and a couple of big dudes pawing the ground and sparring with each other.

Why did the bison cross the road? North Rim, Grand Canyon National Park / Rebecca Latson

Lil "red dawgs," North Rim, Grand Canyon National Park / Rebecca Latson

I dare ya! North Rim, Grand Canyon National Park / Rebecca Latson

A little sparring match, North Rim, Grand Canyon National Park / Rebecca Latson
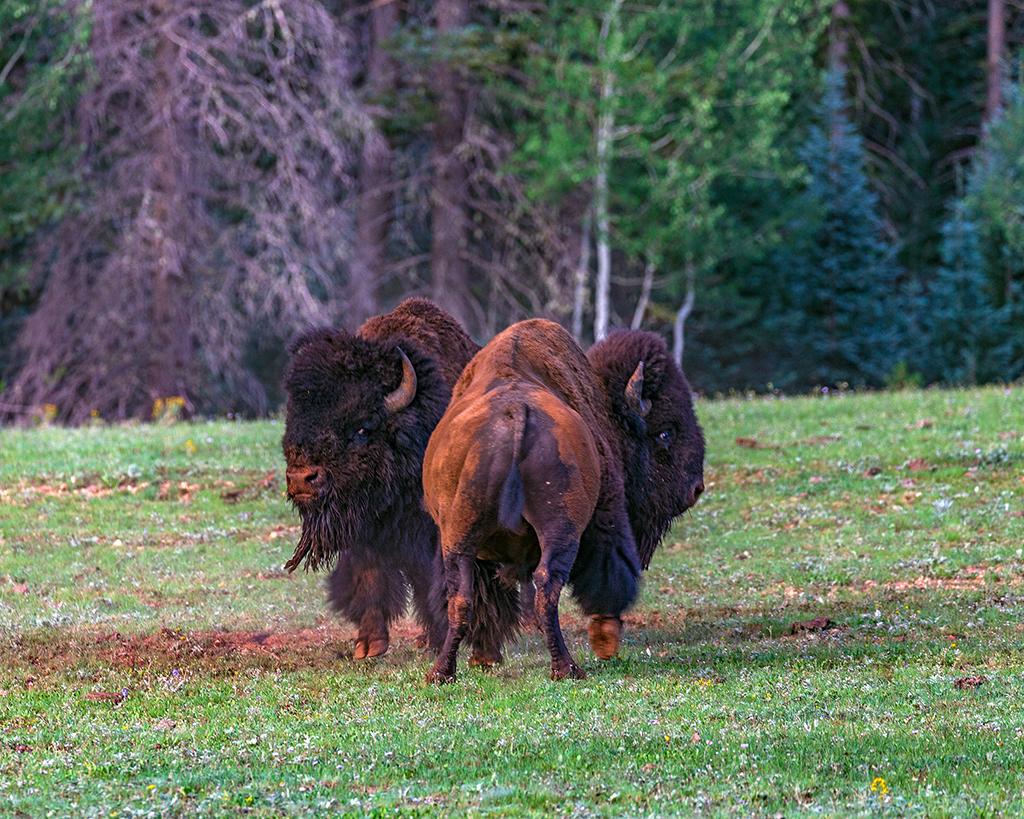
Let's be pals, North Rim, Grand Canyon National Park / Rebecca Latson
If you visit the North Rim, you might see the small herd, yourself. Make sure your telephoto lens is handy or set your point-and-shoot to its telephoto mode for nice close-ups from a safe distance. Adjust your camera’s focus setting for tracking movement (Canon calls it AI-Servo, Nikon and Sony call it AF-C and Pentax calls it AF.C) and apply the burst method of holding down that shutter button for several clicks of the shutter. Out of all those clicks, you’ll come away with at least one sharp, clear shot. Make sure you have spare memory cards, since the burst method eats up space on those cards.
I’m glad I’ve seen both North and South Rims in this national park. I and my photos definitely saw a difference between the two locations. If you travel to the Grand Canyon, carve a day or two for your own trip to the North Rim, where both you and your camera can also appreciate the difference 1,000 feet can make.

"Leave it as it is..." North Rim, Grand Canyon National Park / Rebecca Latson



 Support Essential Coverage of Essential Places



Comments
I've not been to either rim, a glaring bit of overlook, so to speak. Have often mused that the North Rim would suit me better than, or as well as, the South. This scenic intro appears to confirm that!
While staying at the South Rim years ago, I got a ride over to the North Rim. We entered the first day they opened for the season, following the snow plow to there. Backpacked down to campground at Phantom Ranch that night. Then the next day hiked out to South Rim on the Bright Angel Trail. Still remember that hike and agree that the North Rim is so much nicer than the South Rim.