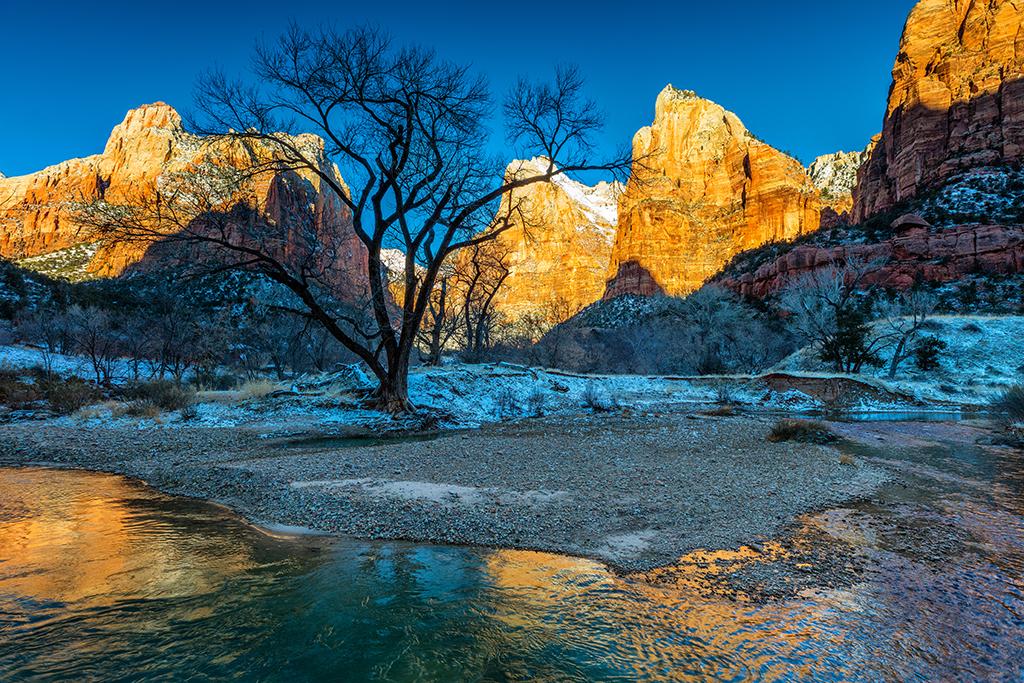
Holding winter court at the Court of the Patriarchs, Zion National Park / Rebecca Latson
Back in 2013, I wrote a winter photography article for the Traveler. I wanted to revisit this subject because it’s the season for winter visits to national parks, when visitation is low(er) and the face of the landscape may have markedly changed. In addition to all the neat winter activities you can enjoy in a national park, such as snowshoeing, cross-country skiing, dog sledding and ice fishing, you should remember to include photography in the mix.
If you've visited a national park during the winter, you will have experienced crisp, beautifully clear days full of light and color that are perfect for photography. While reveling in all that gorgeousness, have you ever wondered why the atmosphere is clearer and more color-saturated than during the summer? Cold air holds less moisture than warm air, so during those summer days, when you look across a slice of Grand Canyon National Park, the scene in your camera’s viewfinder will probably look a little hazier, with maybe a blue-ish cast to it. The winter air, however, feels drier because it is drier, with fewer water molecules, making for a much clearer, sharper composition, like the one of Buck Canyon Overlook below, in Canyonlands National Park.
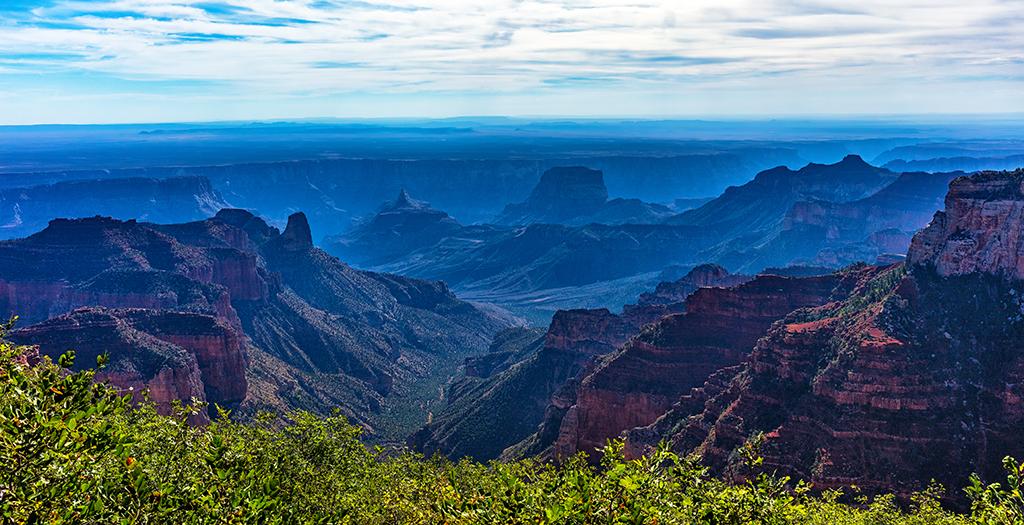
A hazy, summer day at Roosevelt Point, North Rim, Grand Canyon National Park / Rebecca Latson
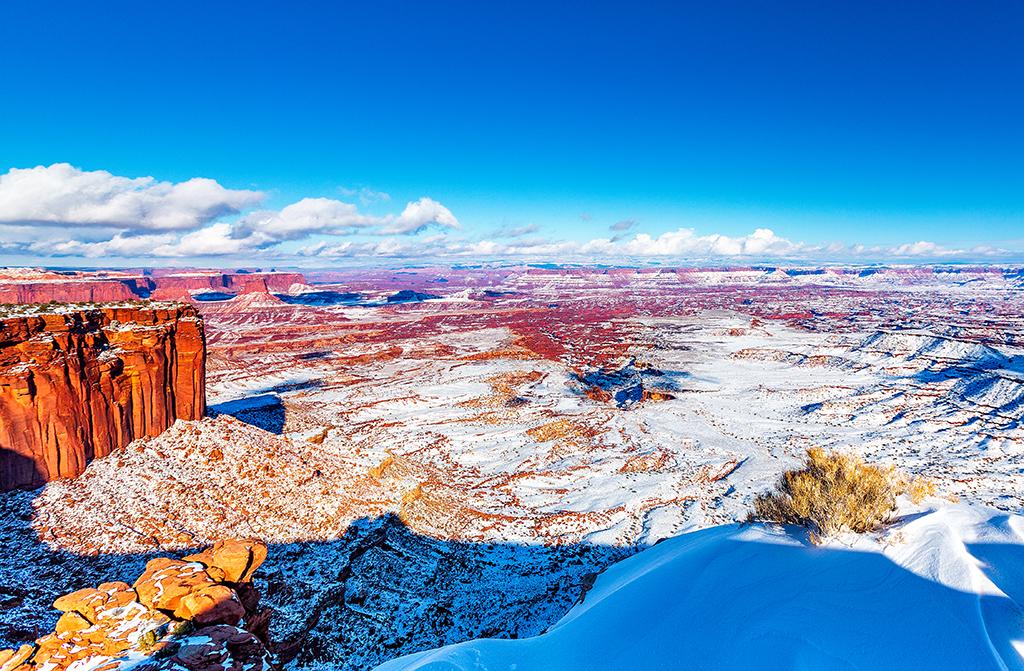
A clear winter's day at Buck Canyon Overlook, Canyonlands National Park / Rebecca Latson
Speaking of compositions, if you’ve visited the same national park more than once, and one of those times was in the winter, then you probably also saw scenery normally hidden by the leaves of deciduous trees. Did you make use of those spindly branches as accessories to your composition? With few-to-no leafy trees and shrubs during the winter, scenes such as those in Zion National Park definitely come out from hiding.
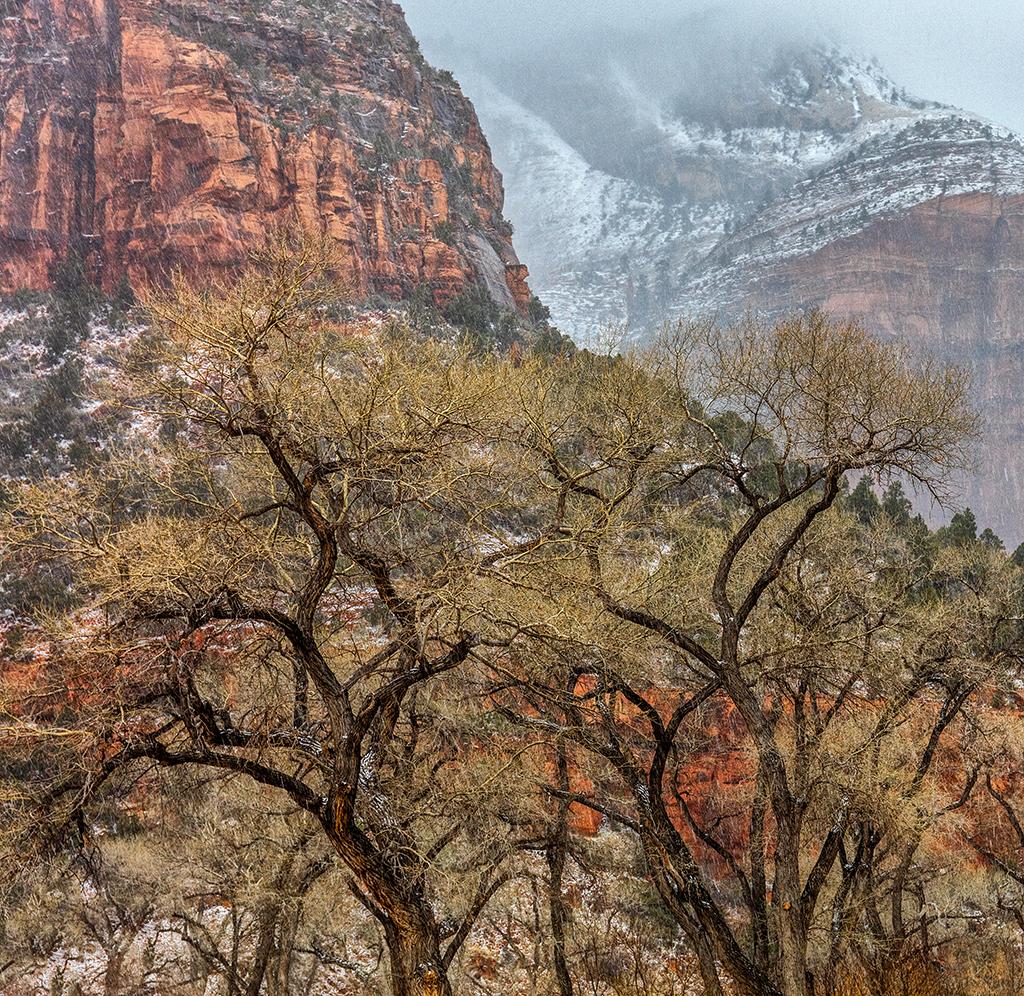
Leafless trees and winter weather, Zion National Park / Rebecca Latson
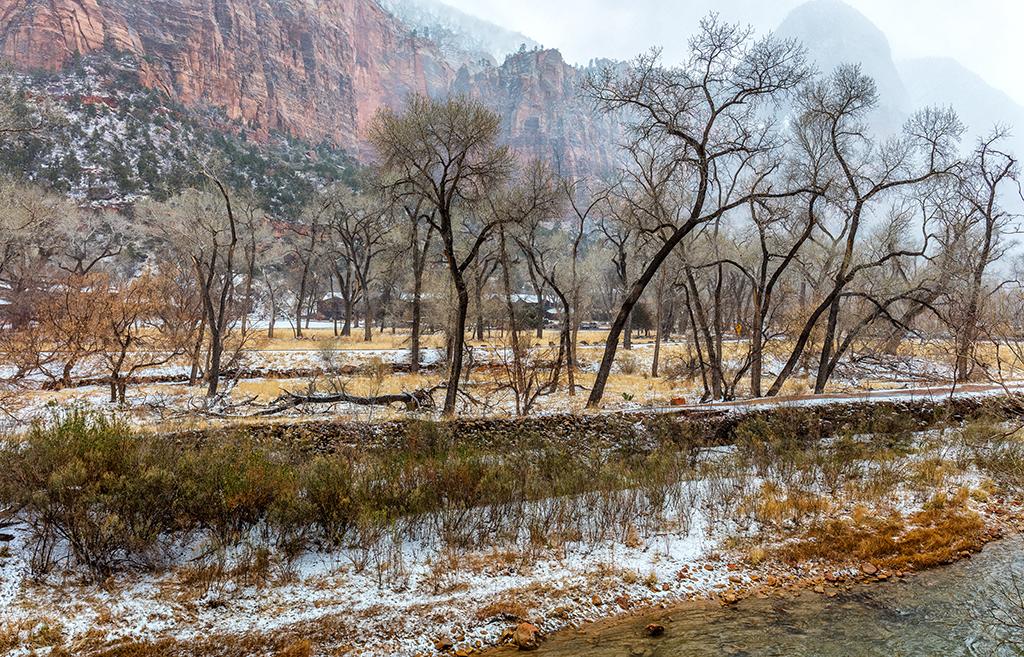
A winter view of Zion National Park Lodge, Zion National Park / Rebecca Latson
If you’ve ever admired Old West portraiture, you’ll have noticed what is called "vignetting", wherein the sides and edges of those images are darkened in order to emphasize the subject. You might want to add a little judicious vignetting to your national park winter shots, not only to emphasize whatever your subject is, but also to darken those winter-bright corners. How much vignetting you wish to add is entirely up to you. Instagram, and photo software like Lightroom and Photoshop, have vignette tools and sliders for this purpose.
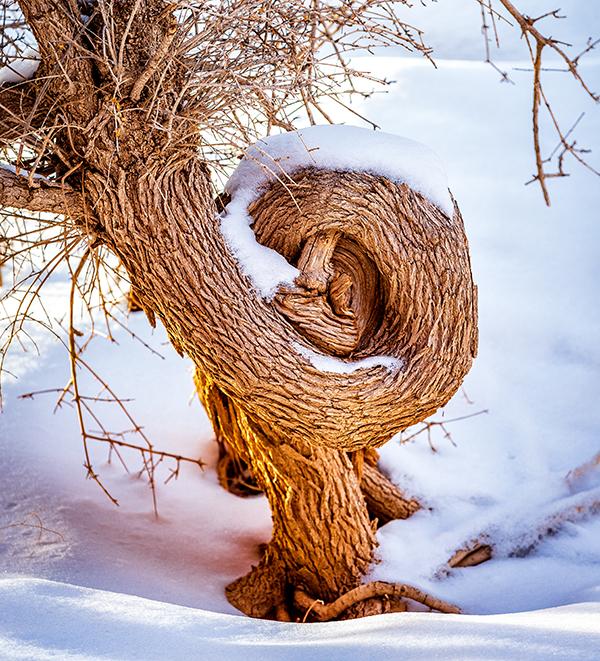
Whorled wood - original, Arches National Park / Rebecca Latson
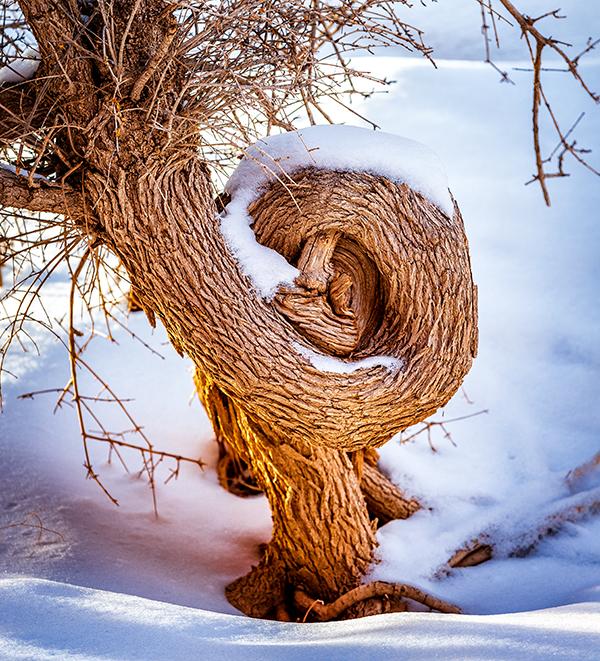
Whorled wood - vignetting added, Arches National Park / Rebecca Latson
If you are visiting a national park for more than a single day, or for multiple times during the winter season, then return to a sight you photographed previously. As I've mentioned in previous articles, weather, time of day, and a dusting of snow can completely change the composition.
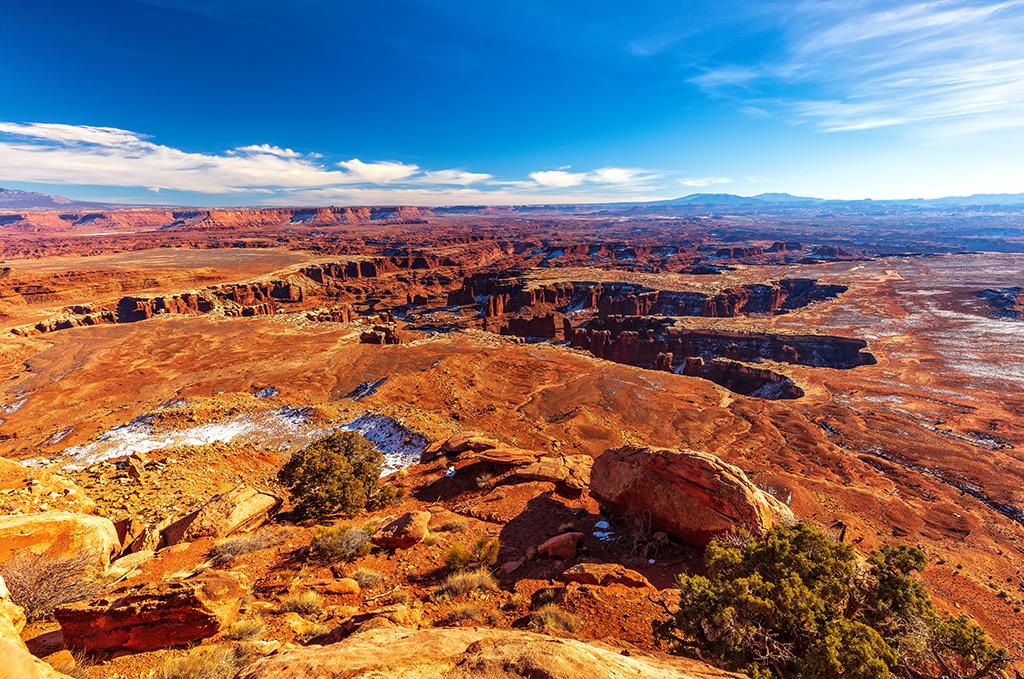
A January view of Grand View Point, Canyonlands National Park / Rebecca Latson
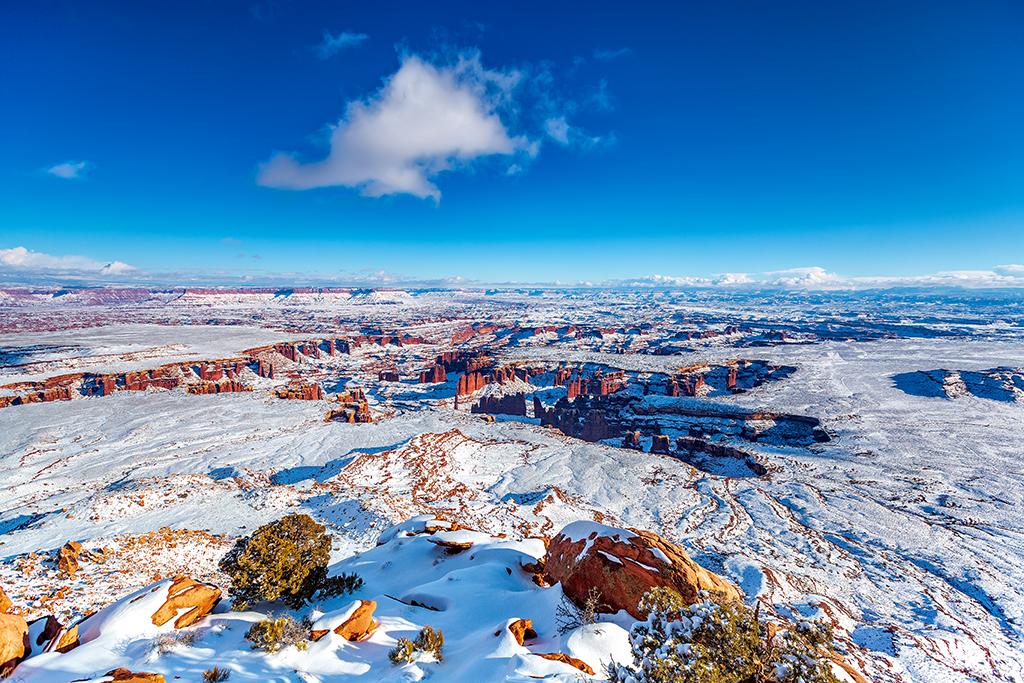
February winter snow over Grand View Point, Canyonlands National Park / Rebecca Latson
Look for creatures that might be hidden behind trees and bushes during the summer. Birds are easier to spot on the bare branches, and at Big Bend National Park, the winter season brings tarantulas out of their burrows to look for love. You might even get lucky and spot a little fox at someplace like Mount Rainier National Park, since foxes don’t hibernate in the winter. For wildlife, remember to put your camera on a setting that tracks and focuses on moving subjects. For Canon, that’s AI-Servo. For Nikon and Sony users, it’s AF-C. You might also want to use the tried-and-true “burst method” of holding that camera button down for several clicks of the shutter. Out of 4 or 5 shots, one will be nice and sharp. Just remember to have plenty of memory cards handy, since the burst method takes up more than a little space on those cards.
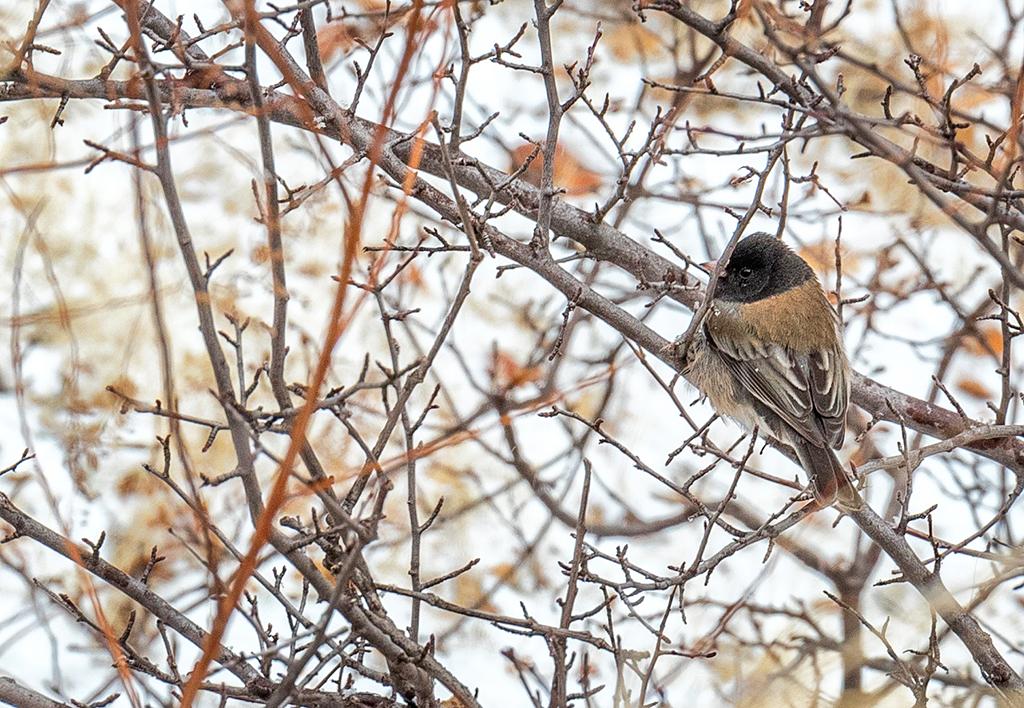
Perched in the snowstorm, Zion National Park / Rebecca Latson

Crossing the road to look for love, Big Bend National Park / Rebecca Latson
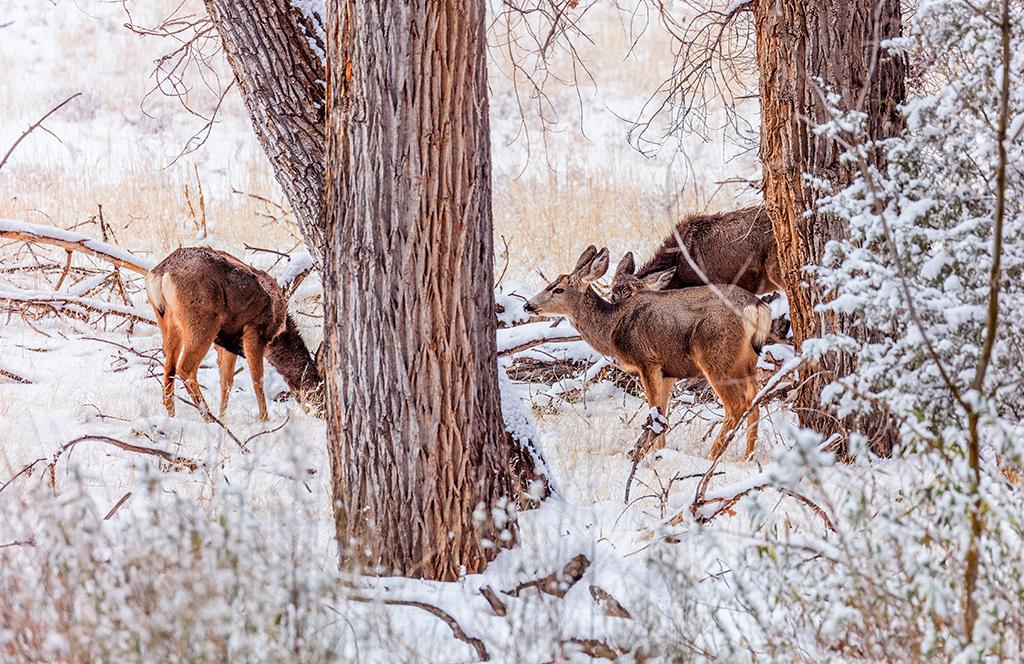
Winter foraging, Zion National Park / Rebecca Latson
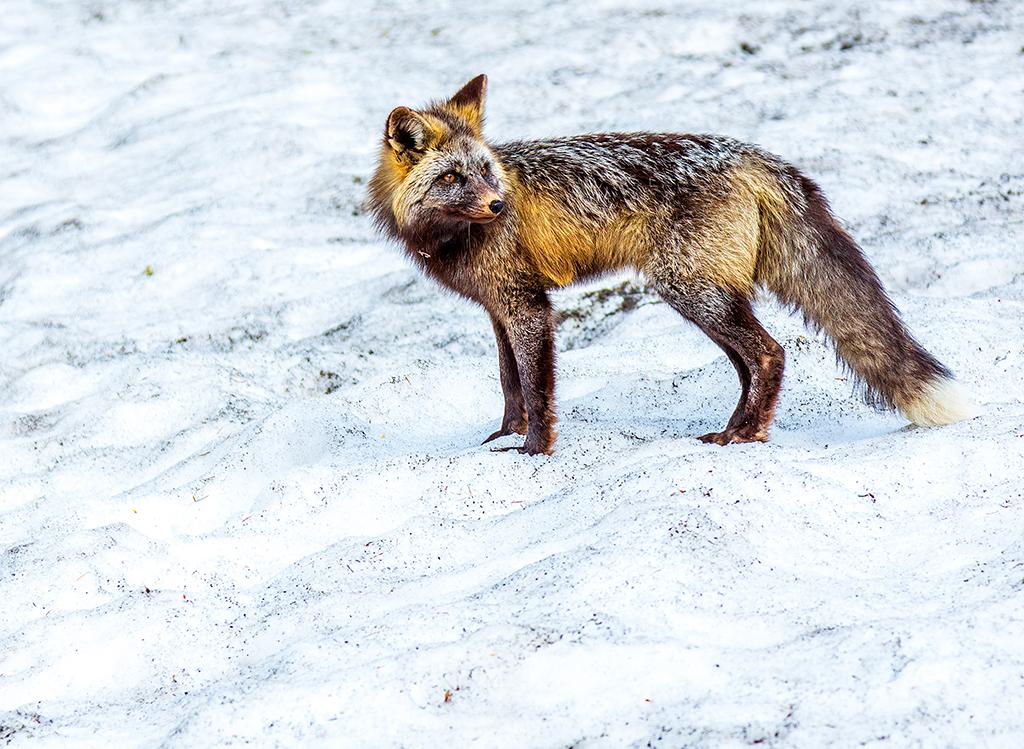
Pretty little fox, Mount Rainier National Park / Rebecca Latson
It goes without saying to bring along your tripod if you have one. No, you don't always have to use a tripod, but it is still the best way to stabilize your camera for sharp, clear shots and to apply certain techniques, such as using a slower shutter speed to make flowing water silky and highlight falling snow.
On a sunny day, if you use an SLR camera, don’t forget to bring along your circular polarizing filter (CPL or polarizer) and your graduated neutral density filter (grad ND). The CPL acts like your sunglasses, reducing/removing glare and reflections, saturating colors and enhancing landscape textures. Simply screw the CPL onto the front of your lens, aim your camera at an angle from the sun, and rotate the filter’s outer ring to view the difference.
The grad ND filter, with its half-shaded/half-clear glass or resin, is great for preventing overexposure (aka blowing out) of the bright sky while you expose for a shaded foreground. Grad ND filters can be screwed on the front of the lens or, if using a square or rectangular (4x6) filter, slid into a special holder attached to the front of the lens or simply held flush against the lens.
Sometimes, you might want/need to use both the CPL and grad ND at the same time.
Change your perspective, occasionally. This piece of advice works for all seasons. Focus on your subject from different angles (stand up, hunch down, view from the side) and different distances.
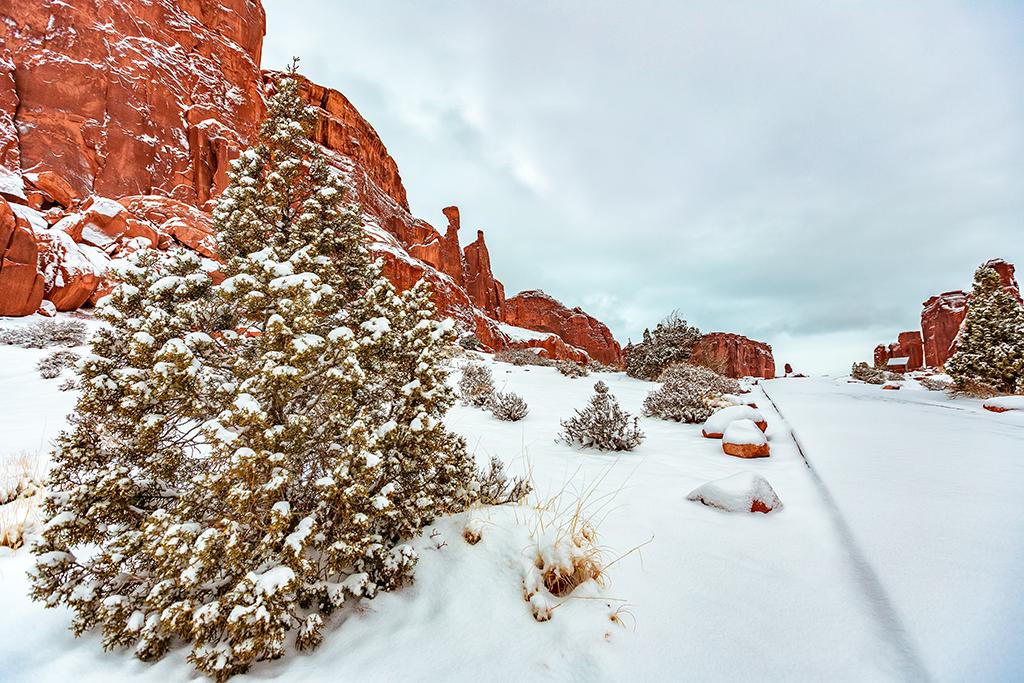
A snowy perspective along the way to Park Avenue Overlook, Arches National Park / Rebecca Latson
I mentioned the crisp, clear, winter weather, but sometimes, winter throws a curve ball and you might wake up to a cloudy day in the park, like I did one morning at Arches National Park and one afternoon at Zion National Park. Photographers love clouds and tend to think blue skies are, at times, a bit monotonous. Clouds add a little interest, perhaps some drama, and definitely texture to break up that pure blue-sky view. Winter clouds certainly add a nice touch to reflections, like this one captured at Lake McDonald in Glacier National Park.
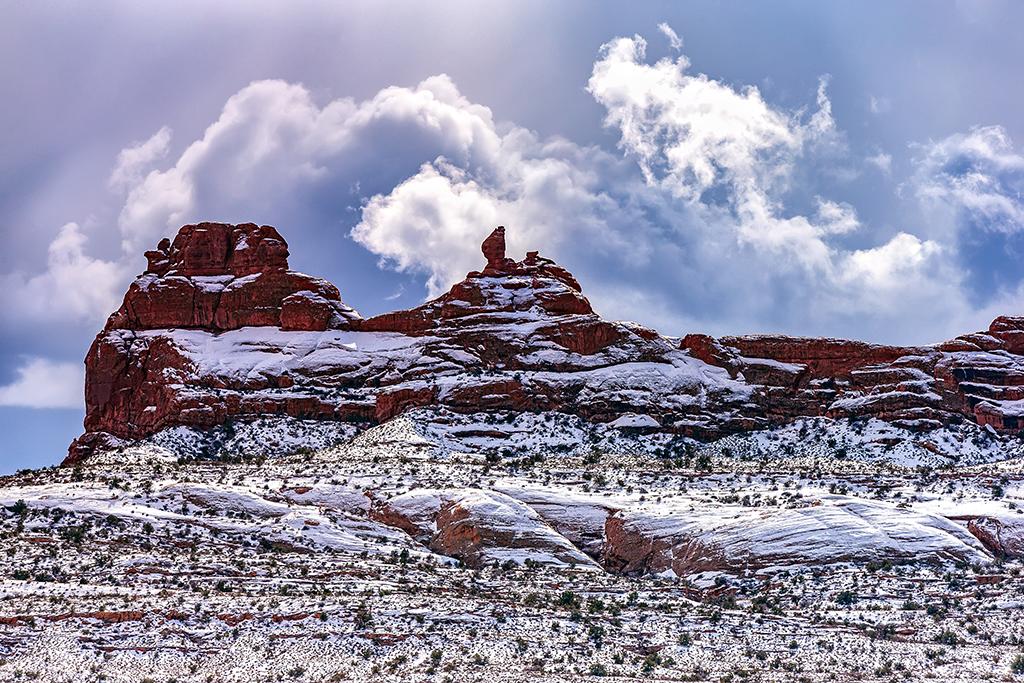
Snowy winter weather, Arches National Park / Rebecca Latson
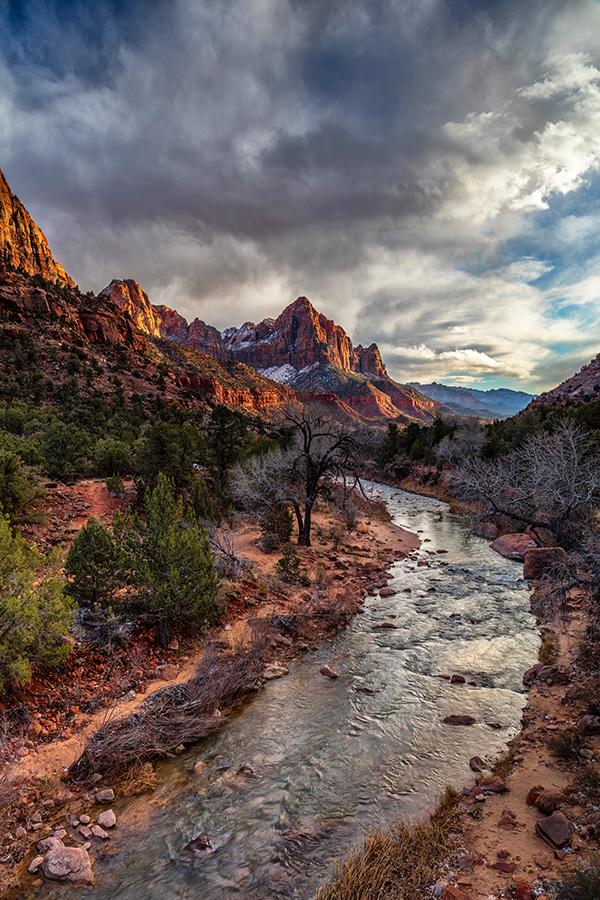
A moody winter's sunset over The Watchman, Zion National Park / Rebecca Latson
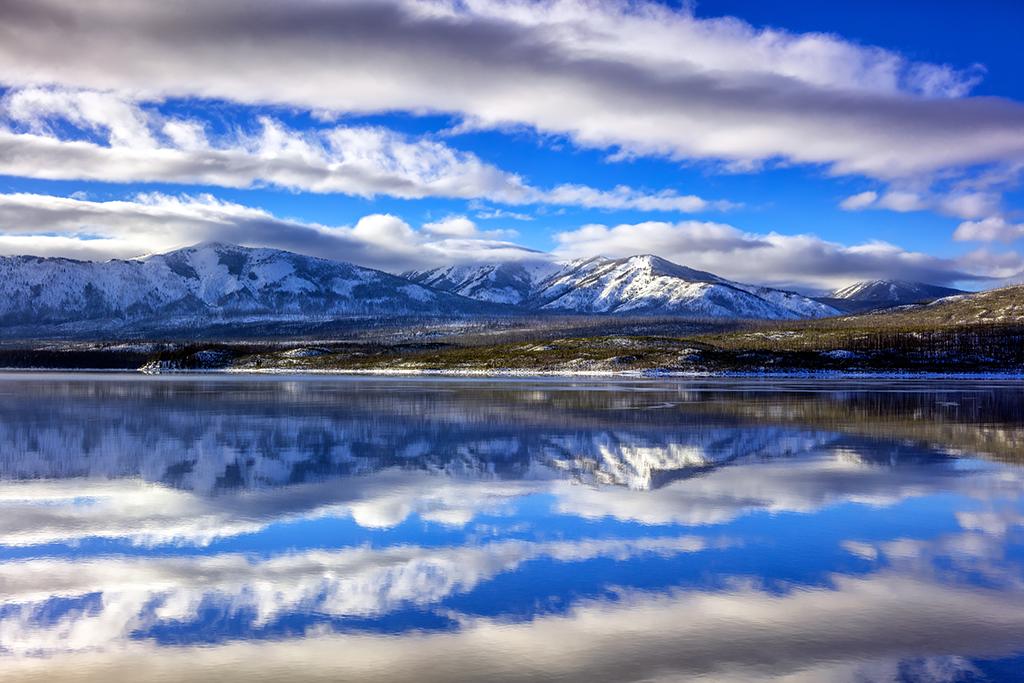
Lake McDonald afternoon reflections, Glacier National Park / Rebecca Latson
Depending upon the lighting, you might want to use your CPL and/or grad ND to enhance shadows and bring out the color and texture of the clouds. Your eyes may or may not detect subtle color and texture differences in a pewter-gray, monotonous-looking cloudy sky, but the camera will collect all that data. It is then up to you and your photo editor to bring out those bits of data the camera captured.
Capture the products of winter, such as the sheen of ice on rock or an iced-over pothole or snow on vegetation.
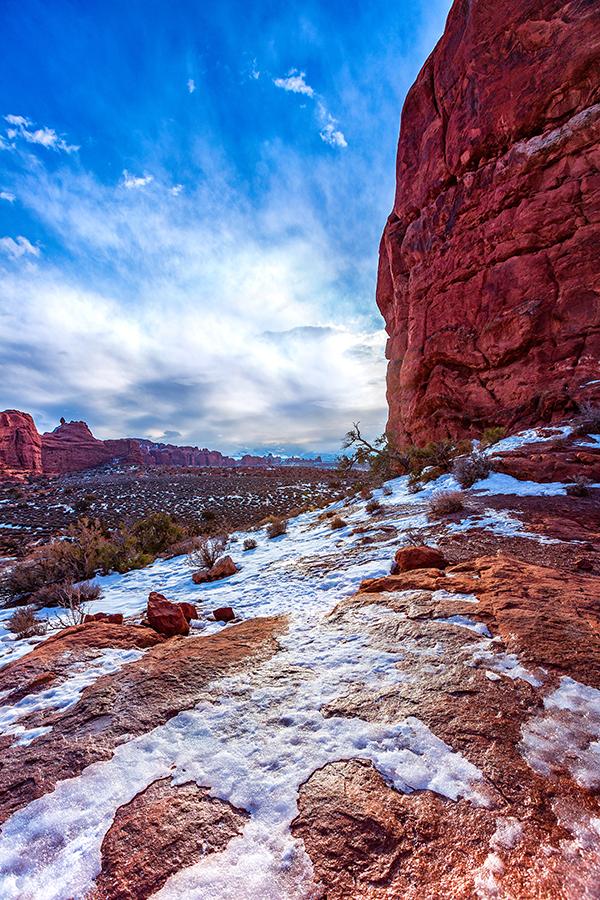
An icy sheen on red rock, Arches National Park / Rebecca Latson
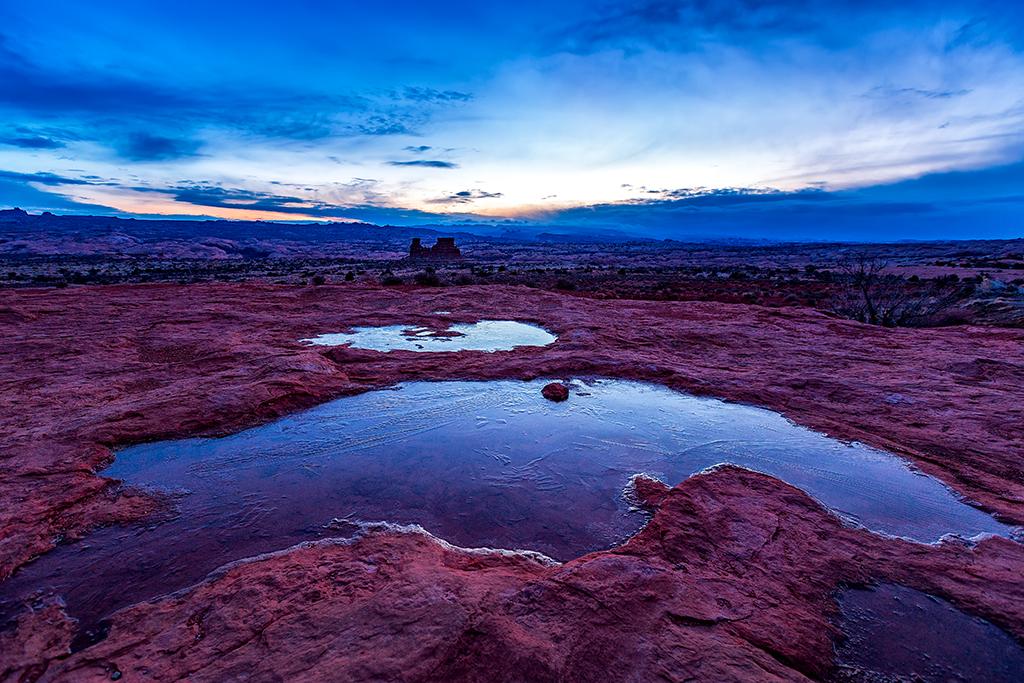
Iced over, Arches National Park / Rebecca Latson
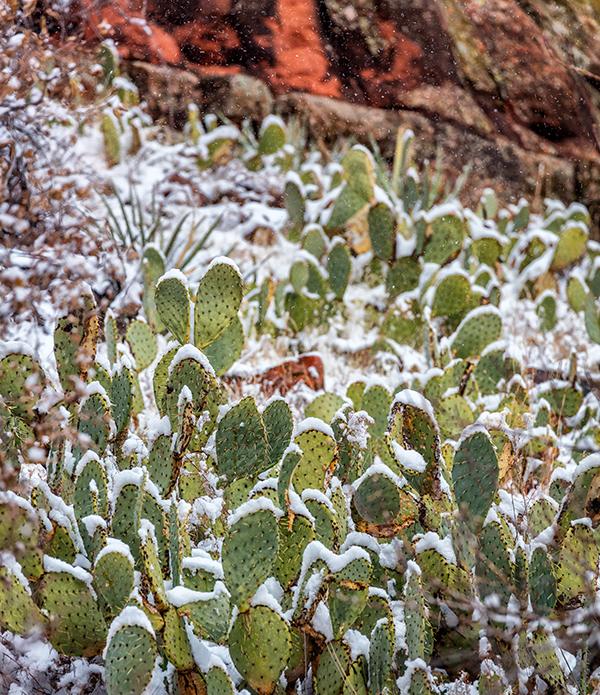
Snow on the prickly pear, Zion National Park
Photographing In The Snow
I’ve learned a few tips and tricks from my own winter photography experience, as well as from reading blog posts and online articles, regarding shooting in the snow.
- If you use an SLR, or have a point-and-shoot camera that shoots both JPG and Raw, then shoot your images in Raw. This is advised in every article I’ve read. Why Raw? Because you have more data with which to work. When you shoot in JPG, the image is condensed, meaning it has thrown out pixels/data. It's better to have all that data and not need it than to need that data and not have it.
- You might want to slightly overexpose your image to make that snowy scene whiter and brighter, with less of a blue cast to the snow. However, you do run the risk of blowing out the highlights. Some of this can be fixed with your photo editing software.
- Time of day plays an important part regarding the color of your snow. Early mornings with little sun mean the snow is going to take on more of a gray/blue/aqua cast, while later in the day, it will brighten up (unless you are photographing in a shaded area). If your image still looks too blue, try changing your camera’s white balance setting. Both SLR and point-and-shoot cameras have a wide selection of white balance choices, and their role is to make white objects look white, depending upon the lighting conditions you experience. Each icon has a different temperature setting in degrees Kelvin (yes, color comes in temperatures). If your image is too blueish, experiment with the “shade” icon (the little house with slanting rays) or the “cloudy” icon. Both choices provide a little more yellow tint to the scene.
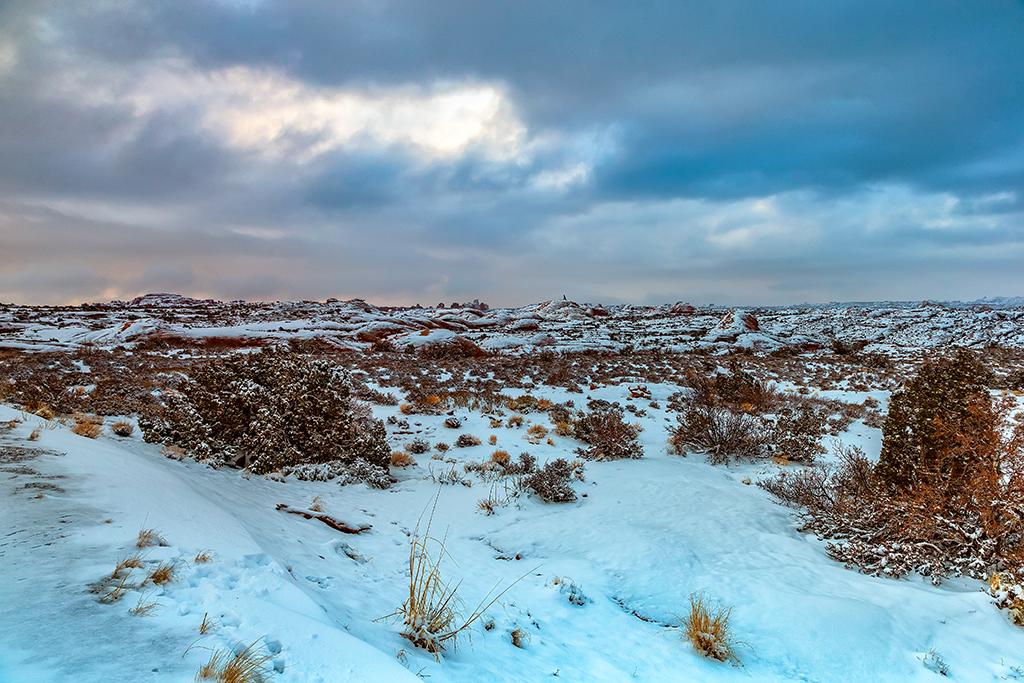
An early winter morning looking over lithified sand dunes, Arches National Park / Rebecca Latson
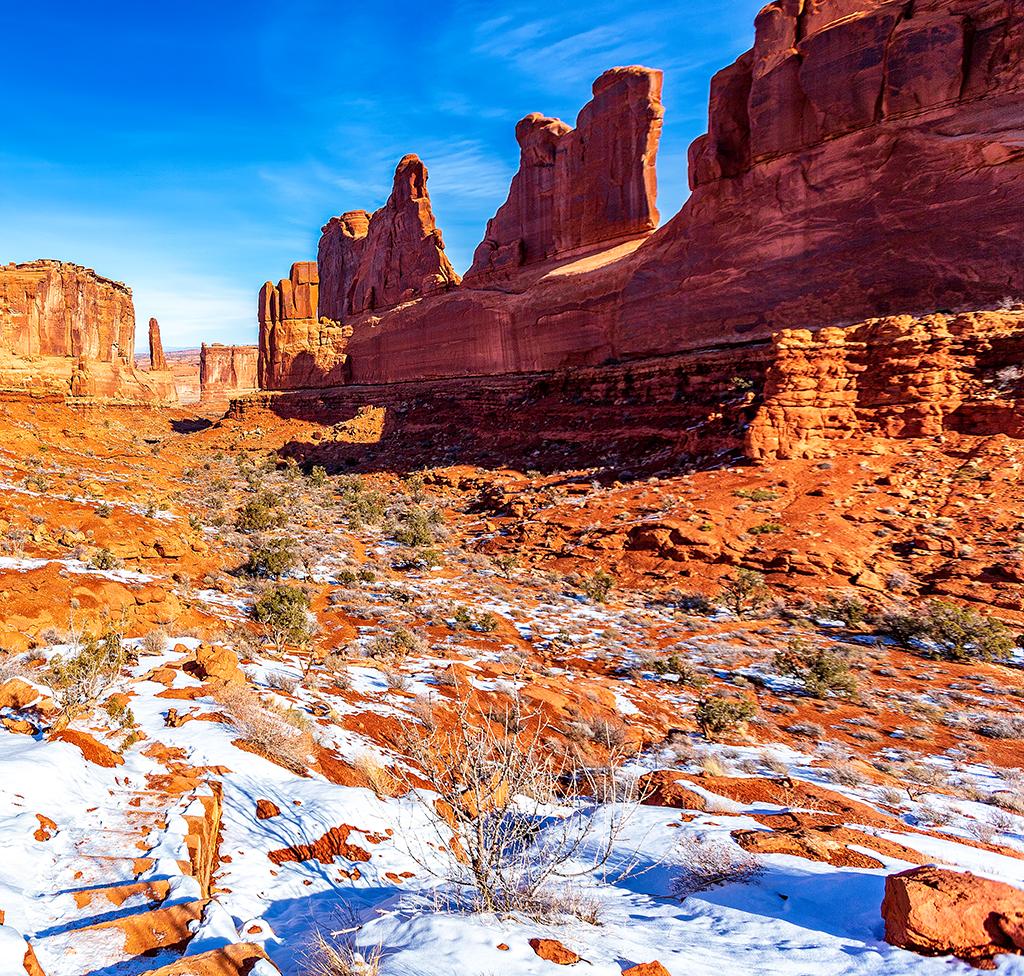
A frigid February day at Park Avenue, Arches National Park / Rebecca Latson

White balance icons / Rebecca Latson
- Watch your footprints – unless you want footprints in the snow. Of course, there are times when you have no choice but to include the ski tracks or snowshoe and boot prints. Tracks provide nice leading lines, moving your viewer's eye from one part of the photo to another.
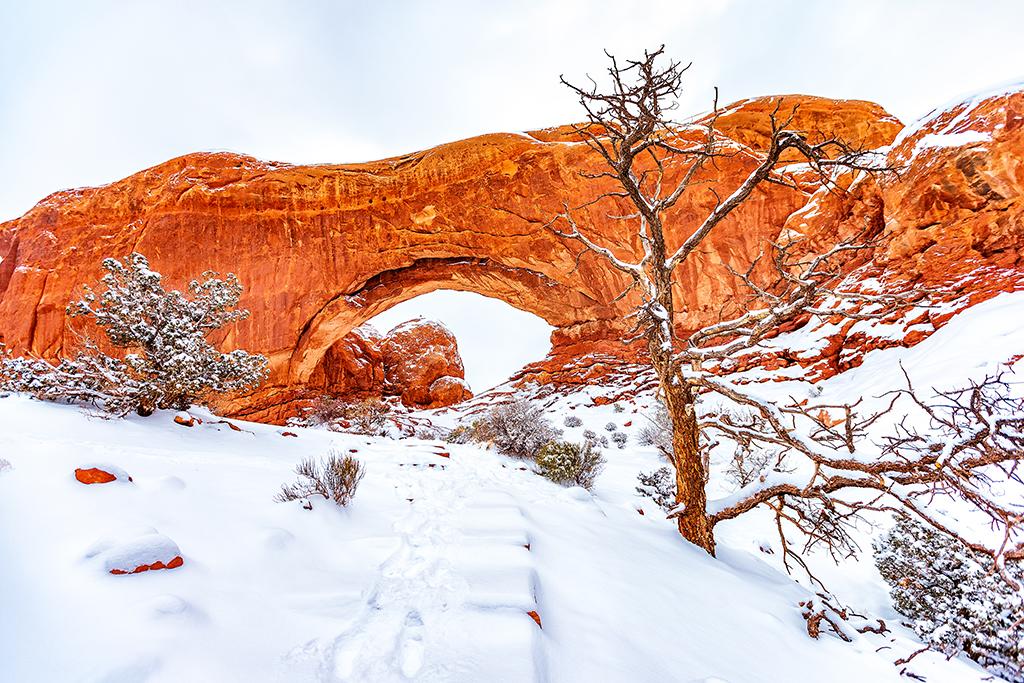
Looking back up toward the North Window, Arches National Park / Rebecca Latson
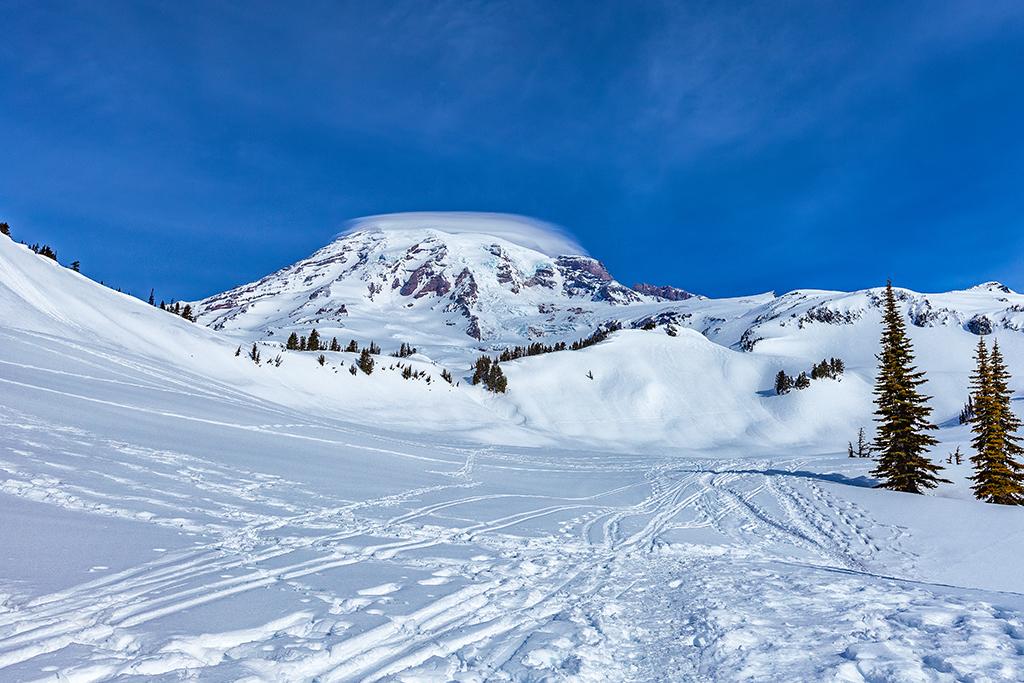
All sorts of tracks at Paradise, Mount Rainier National Park / Rebecca Latson
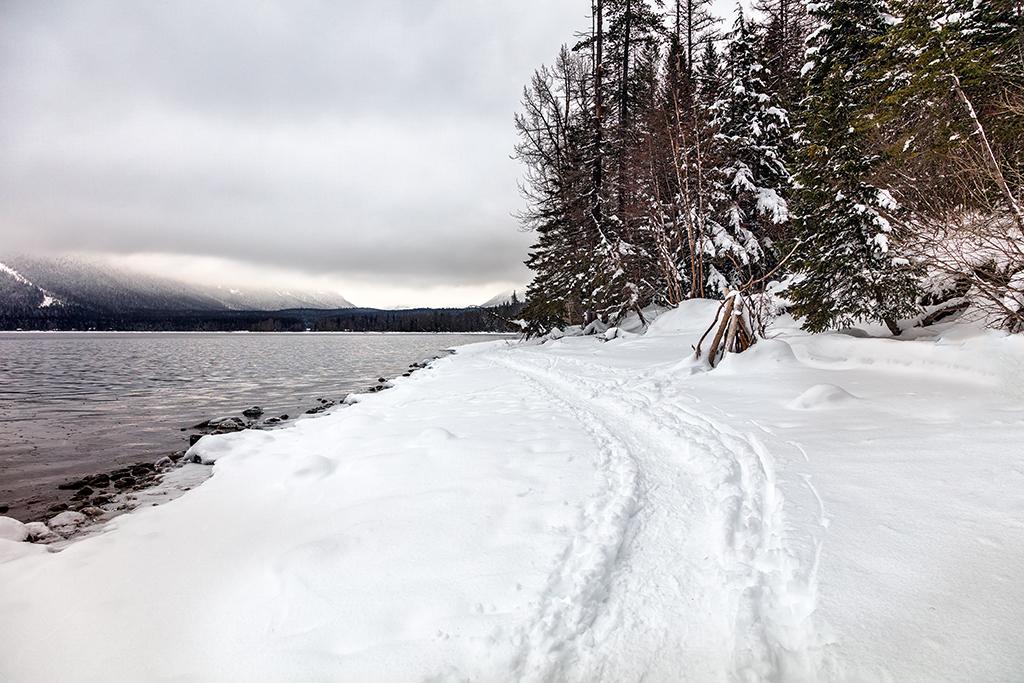
A snowy path along the shoreline, Glacier National Park / Rebecca Latson
- Focus on the darker objects in your snow scene to prevent your camera’s autofocus from hunting around within a uniformly white landscape.
- How do you want to capture your snowfall? A shutter speed of about 1/250 will stop the action enough to show falling snow. A slower shutter speed will blur the falling flakes enough to make it obvious that it’s snowing, as well, but too slow of a shutter speed will make the falling snow look like little white lines, in much the same way as star trails appear in your night shots.
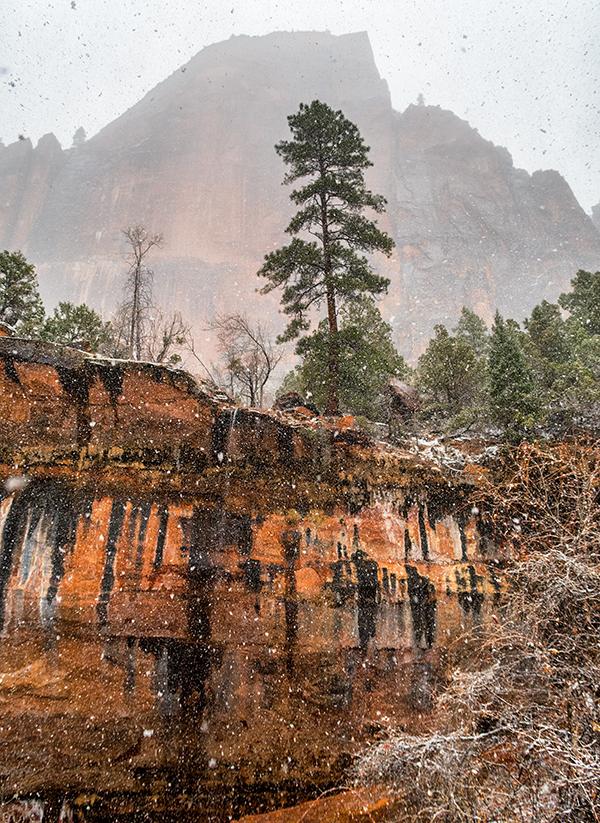
Winter Snowfall, Zion National Park / Rebecca Latson
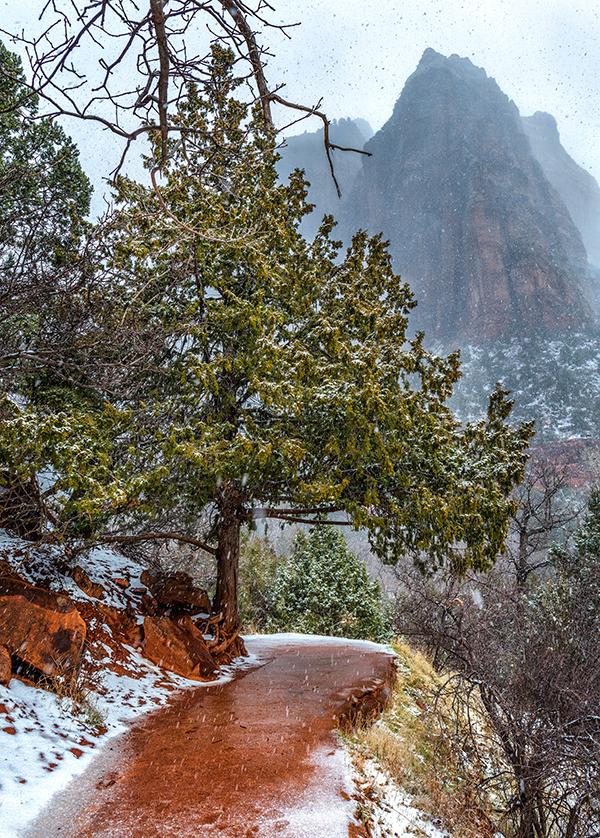
The snowy trail to Lower Emerald Pool, Zion National Park / Rebecca Latson
- Snow is great at delineating geological features, textures and color, so use that telephoto lens to capture that contrast, texture and/or pattern. Close-up shots of snow-dusted canyons, mountains, and trees make great telephoto subjects.
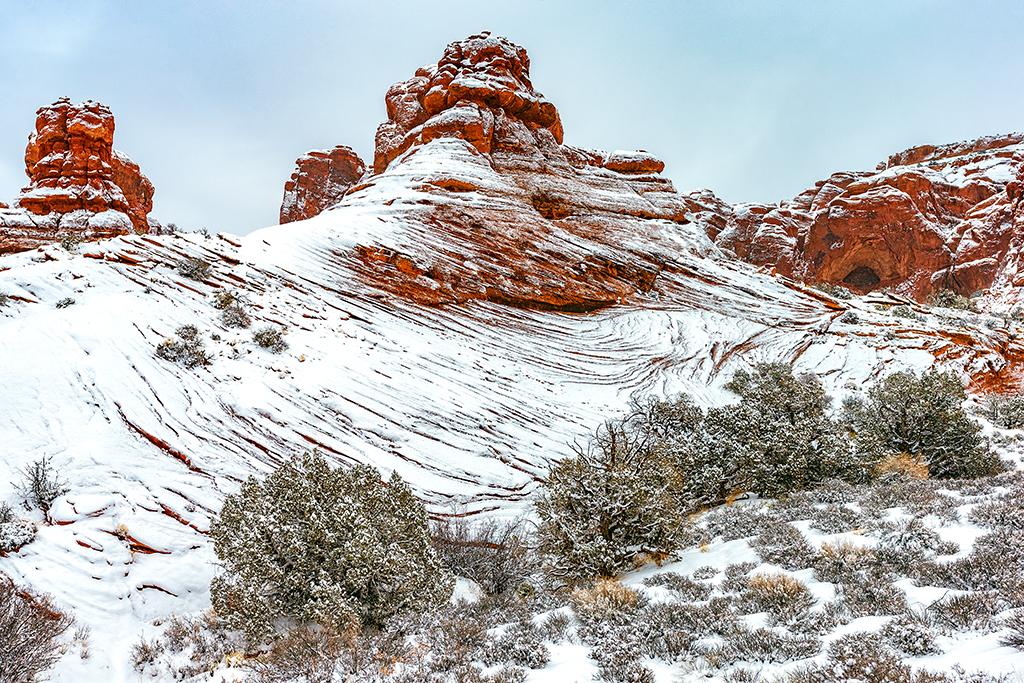
Ancient layers of sandstone, Arches National Park / Rebecca Latson
No matter what camera you use, be it SLR, point-and-shoot, or smartphone, you need to follow a few rules for photographing in the cold winter temperatures:
- Carry spare batteries or have your smartphone charger handy in your car, since cold temps drain camera and phone batteries like water through a sieve.
- Keep your smartphone in your pocket so the battery won’t immediately die in the cold (it’s happened). Use that smartphone for short periods of time, then immediately put it back in your pocket. Don’t worry, your pocket is not going to create condensation inside your phone. It will, however, shield the phone from freezing temps. Smartphones have come a long way, but battery life can still be a problem.
- Be mindful of drastic temperature changes, such as moving your camera from a warm car into the freezing cold. A rapid change in temperature can cause condensation to form within your camera, and fog to form on the lens. Keep your camera in its backpack or in a large Ziploc bag. This creates a barrier between the cold temperature in which you photographed outside, and the warmer atmosphere of the car or room. This method comes in handy when you drive from one area to another, get out to capture some shots, then hop back into the car to get to the next spot. A bag or backpack also allows a gradual acclimatization to occur, once you return to your lodging.
- If it’s snowing, use your lens hood to keep the front of the lens dry, and a clear UV filter to prevent the lens glass from water drops. If you happen to get droplets on your lens, use a microfiber cloth to wipe off the droplets. If the lens is streaky after wiping, then try a pre-moistened wipe like Zeiss wipes. Just remember to pack out what you pack in and stow away empty wrappers. Rain covers help keep the entire camera from getting wet. I love my Vortex Media Storm Jacket, but there are other brands as well, such as Ruggard and Op/Tech. Online sites such as BH Photo and Adorama stock many brands.
- Don’t forget to take care of yourself. Dry winter weather dehydrates every bit as much as hot desert conditions, so pack plenty of water. Bring snacks and/or a thermos with a hot drink or soup, too. Food provides energy which creates warmth. Wear fingerless gloves for warm hands with ready access to camera controls. Or, try out those gloves for photographers that have removeable index finger and thumb covers. Take some air-activated handwarmers, like “Hot Hands,” for your coat pockets. Domestic flights allow them in both checked and carry-on baggage. And remember to pack snowshoes or traction devices that fit on your boots for better footing on snow and ice. “Post-holing” through the snow is no fun and definitely dangerous.
I know, winter photography in a national park takes quite a bit of preparation for yourself and your camera, doesn’t it? However, capturing the face of winter sure is worth it, don’t you think?
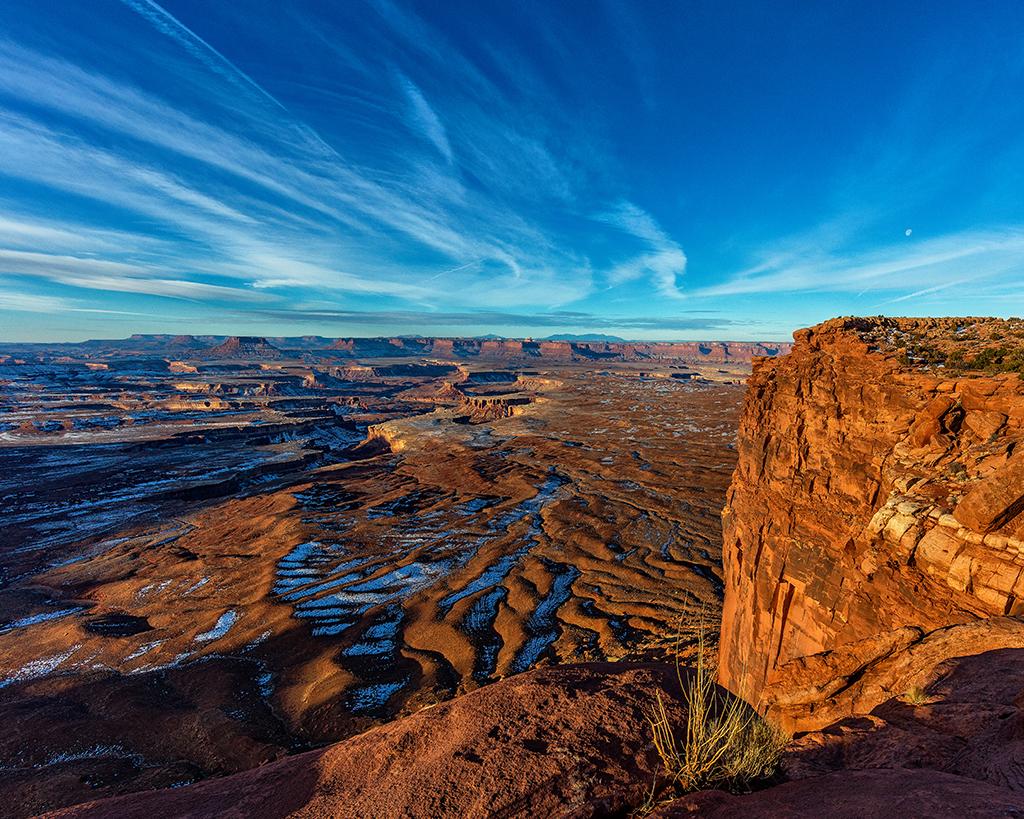
A winter sunrise and moonset over Green River Overlook, Canyonlands National Park / Rebecca Latson


Comments
Lots of good advise, Becky. I'm thinking of taking a winter trip early next year, but I'm thinking of going to warmer winter destinations. Cold is getting more difficult for me to deal with. My hands get numb so quickly, even with gloves and hand warmers, that I cannot operate the camera. Maybe I need to use more than one hand warmer in each glove.
Super good article Rebecca. Images too!
Incredible images - very eye-catching colors.