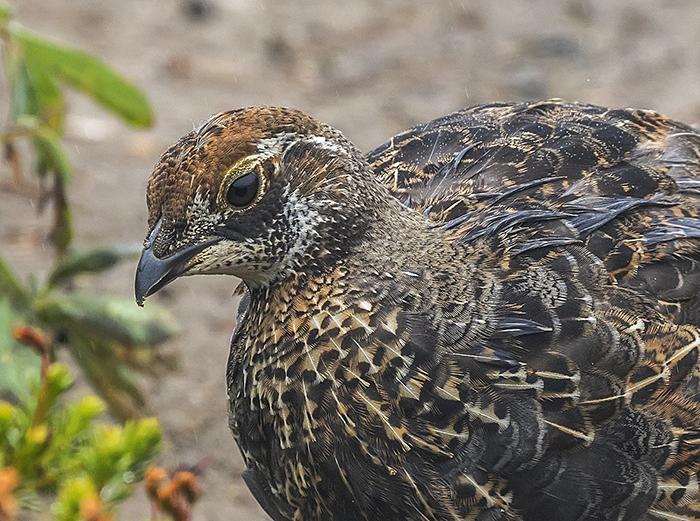
Blue grouse on a rainy day, Mount Rainier National Park / Rebecca Latson
I thought I’d devote this month’s column to two items that can be a bit problematic when photographing either wildlife or deep-woods compositions. Focusing on the eyes and on the light might seem like two disparate things. Actually, they aren’t so dissimilar since both involve focus, albeit one is the focusing of the camera lens and the other is the focusing of the viewer’s attention on the image as a whole, or on just a portion of the image. Each one is important for achieving great national park photos of wildlife or forest interiors. Also, to be honest, neither one of these subjects takes up much writing space on their own, but together, they make a nice little article.
Let’s Focus on The Eyes
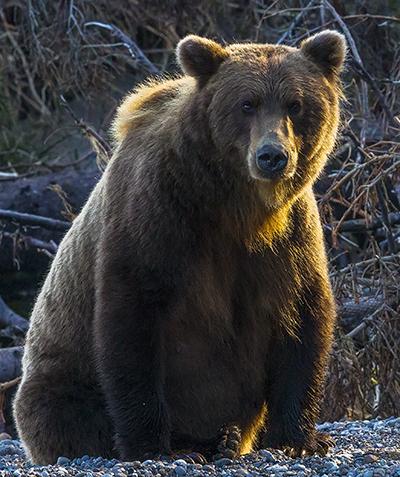
Big momma, Lake Clark National Park / Rebecca Latson
You’ve probably heard this before: When photographing a person, focus on their eyes. The eyes are not only “the windows to the soul” but also the first thing people tend to notice when viewing a portrait. Well, it’s certainly the first thing I look at. What goes for people shots also goes for wildlife. Good wildlife photos are often difficult to manage because forest (or desert or sky or beach) creatures don't always pose when you want them to. Wildlife is like a human toddler: always on the move. The brown bears in Katmai National Park were either sloshing through the frothy water of the Brooks River or they were swinging their heads back and forth, searching the water’s clear depths for salmon swimming through the currents. The brown bears of Lake Clark National Park and Preserve did much the same thing while exploring the Cook Inlet surf for salmon or digging into the sand for clams.
The chipmunks in Mount Rainier National Park were a constant source of focus frustration. These teeny guys zig-zagged across the trail and were otherwise perpetually moving as they lifted themselves up to pull at some seed pods or jumped off and on a log seat, checking to see if I had any food I wanted to share (I did not). Birds are horrible at remaining still (well, except for yellow-crowned night herons, which are awesome posers). The only animals I have yet encountered in a national park which would pose for me (in my mind) were the marmots of Mount Rainier National Park. Of course, I’m told their eyesight is not the greatest, which is why they may not have immediately turned tail as I approached.
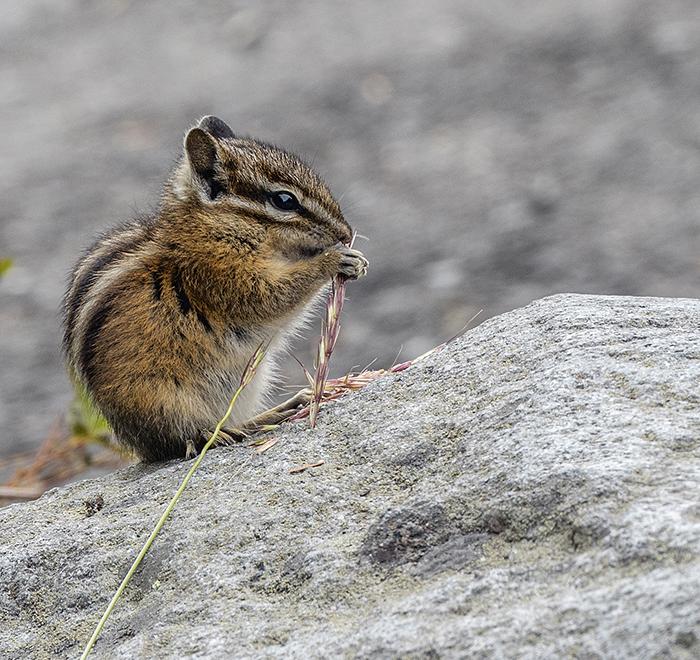
Itty bitty and busy, Mount Rainier National Park / Rebecca Latson
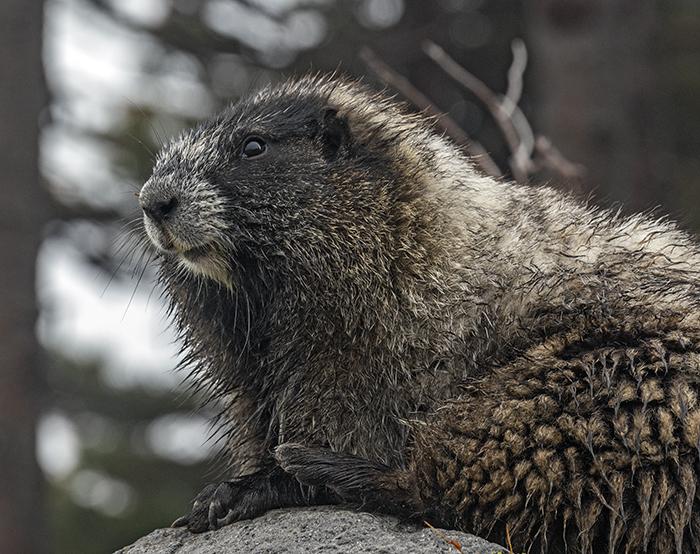
Marmot posing very obligingly, Mount Rainier National Park / Rebecca Latson
What’s a photographer to do, other than point the camera, focus and click, hoping they’ve caught a clear image? Ever heard of focus tracking? I believe I’ve mentioned it in one or two previous articles. Place your focus point(s) on the eyes of the creature, no matter how small that animal is, and set your camera’s focus tracking mode from “single shot” to “servo,” if your camera has that capability (Canon calls it “AI Servo,” Nikon calls it “Continuous /AF-C,” Sony calls it “AF/C,” I believe). “Servo” mode means the camera tracks the movement of a subject, keeping things in constant focus as much as possible.
In addition to focus tracking, have you ever heard of the phrase “spray and pray?” A more technical term is “burst mode.” Burst mode simply means you hold your finger down on the shutter button to get as many continuous shots as your camera can handle. All of the photographers with me on the Katmai National Park trip used that method. They’d set their focus modes to Servo, and whenever they saw a salmon jump up the falls toward a waiting bear, the rapid, continuous shutter clicks sounded like machine guns.
I used this method to get the photo above of the marmot. I know it looks like it was sitting still, and for the most part, the marmot was until it started to lift its paw to scratch its ear off and on. Plus, I was standing on moveable rocks, so my balance was a little precarious. To achieve what I hoped would be a clear shot, I used the focus tracking and the burst mode. Try those two methods for yourself during your next wildlife sighting and see if you don’t succeed in attaining at least one awesome shot with clear, sharp resolution to the eyes of your wildlife subject.
Now, Let’s Focus on The Light
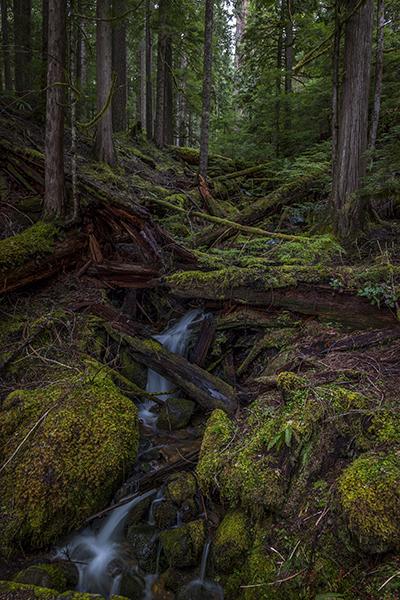
Forest falls, Mount Rainier National Park / Rebecca Latson
There is something to be said for standing within the depths of a forest, even if the depths are just off side of the road. The lighting is shadowed and moody. The air is cool and fragranced with cedar (or pine or juniper or fir). The surrounding, closed-in atmosphere is still and quiet except for the occasional call of a little bird or the running water of a small spring falls created from melting ice. Passing cars and human voices are muted.
The forest images I remember most are those emphasizing the quality of illumination, such as a spot where the sun shines between and through the tree limbs, or where a forest waterfall creates a white froth, or the shades of green moss and leaves on a rock or tree are a little lighter/brighter than the greens in the rest of the composition. That is where my eye focus falls first, before perusing the details in the rest of the composition. This quality of light and color is always what I aim to capture as I gaze into the shadowy woods of a national park.
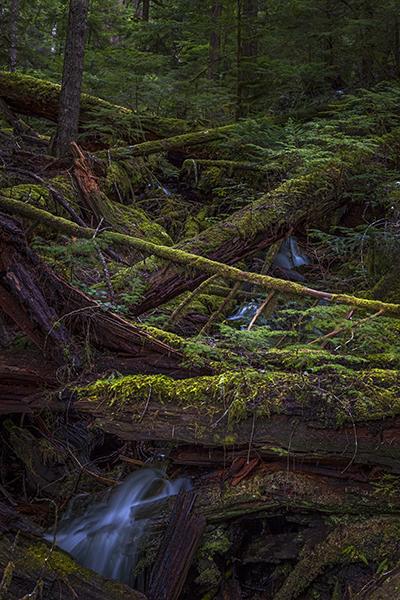
Meltwater falls in the forest, Mount Rainier National Park / Rebecca Latson
During one of my spring visits to Mount Rainier National Park, I drove along the highway from the National Park Inn toward the Paradise area. I looked to the side to see a forest interior of trees and fallen logs draped with brilliantly saturated greens emanating a luminous quality within; it's difficult for me to describe with words. Of course I stopped. With my camera on a tripod, I aimed the lens toward all of those greens and browns, I concentrated on those lighter, brighter spots of radiance. I applied a low ISO of about 125 and a slow shutter speed between 1 and 2 seconds. I fixed my aperture to f7.1, although in retrospect, I could have probably set it to f9 to increase the depth of field and then adjust the other settings accordingly. During the subsequent photo editing phase, I added just a smidgeon of vignetting to further shade the edges of the photos and emphasize the light. Photographers often use this technique to accomplish that act of viewer focus. The trick is to use a light touch and not over-apply the vignette method.
I almost always end my articles with these same words of advice, and I always mean them. Take these suggestions and apply them during your next visit to a national park. These techniques are not rigid rules to follow, so experiment and expand your photographic expertise and have fun with the process. The more you photograph and the more you experiment with photographic methods, the more you learn and the better you become at your craft.
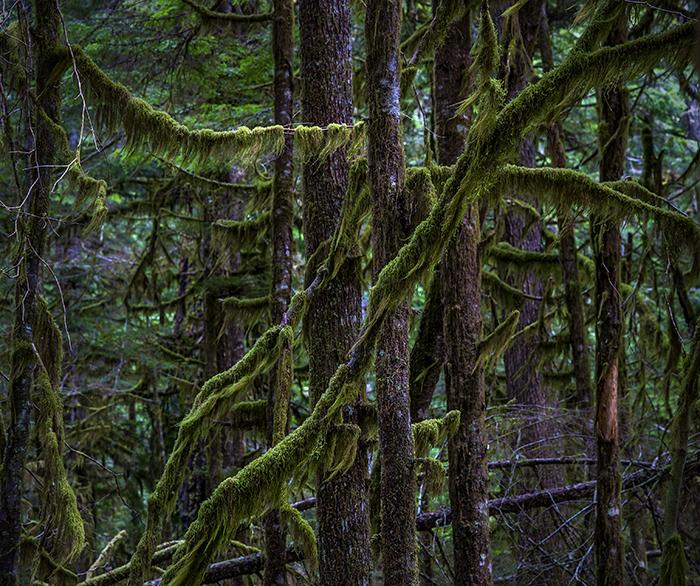
Forest greens and browns, Mount Rainier National Park / Rebecca Latson


Comments
Thanks for another enlightening article. I've gotten animals with lovely fur, but (in a hurry) not-quite-sharp eyes.