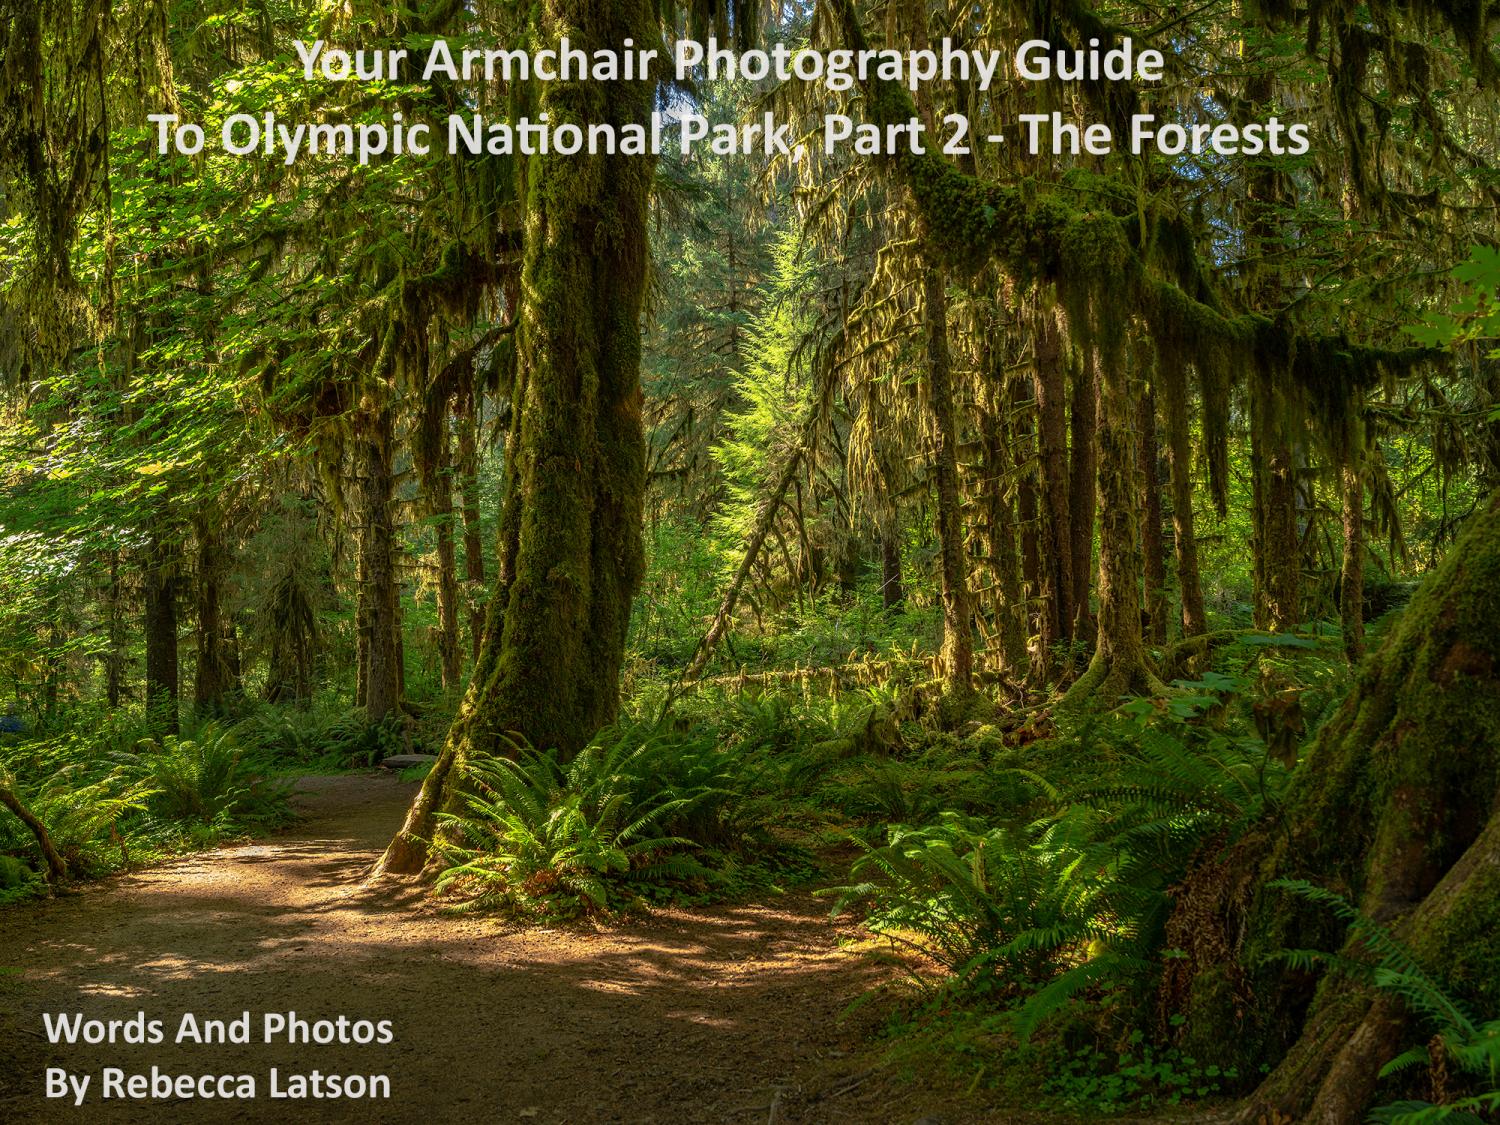
Someone once remarked to me “Forests are all the same…”
If you read Part 1 of my Armchair Photography Guide to Olympic National Park, you’ll have a good idea of what you might encounter during trips to beaches within the park’s boundaries and how to photograph fantastic images using your smartphone, point-and-shoot, or SLR.
In this Part 2, you’ll see just how different the forests really are, from the damp, mossy Hoh and Quinault Rain Forests to the drier old growth forests of the Sol Duc Valley and those surrounding Marymere Falls near Lake Crescent. The yellow lines on the map below detail the combined winter and summer routes I traveled for this Armchair Guide, while the red lines show you the forested areas that I photographed.
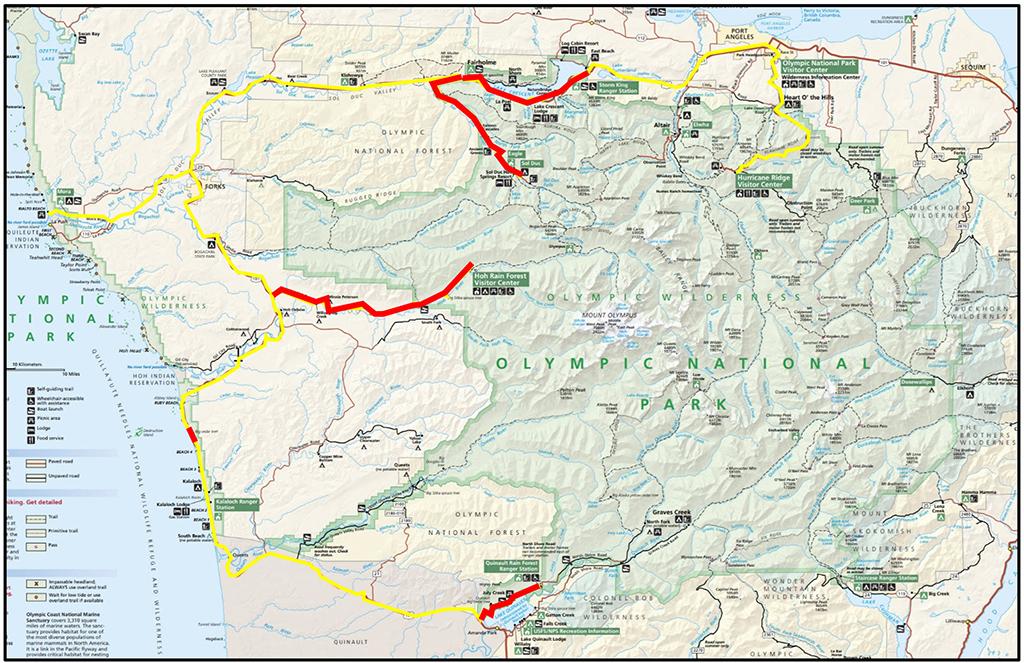
Photography route (yellow) to the park and (red) to the forest, Olympic National Park / NPS / Rebecca Latson
So, let's get this Olympic photo safari rolling.
The Rain Forests
Heading south to north, drive to the lesser visited, but no less beautiful, Quinault Rain Forest, 27 miles south of Kalaloch Beach. Turn left onto North Shore Road to enter the rain forest. Your first stop should be July Creek, a very short loop trail complete with picnic tables and picturesque bridge over the area’s namesake. As you stand on the bridge over the creek, use a wide-angle lens or your wide-angle setting on your point-and-shoot to encompass the creek and surrounding rain forest scenery. It’s a great opportunity for some “silky water” shots to create a silky, satiny effect on the burbling water. Depending upon the time of day you visit, you might not require any sort of filter at all, or, you might want to pull out the polarizer (CPL) or neutral density (ND) filter you carry in your camera pack. For silky water, you need a slow shutter speed. Slow shutter speeds let in more light through the lens to blur the moving water for that satiny effect. Too much light, however, and you’ll overexpose (blow out) your composition. CPL and ND filters add shade to allow a slower shutter speed while keeping the rest of the scene nicely exposed.
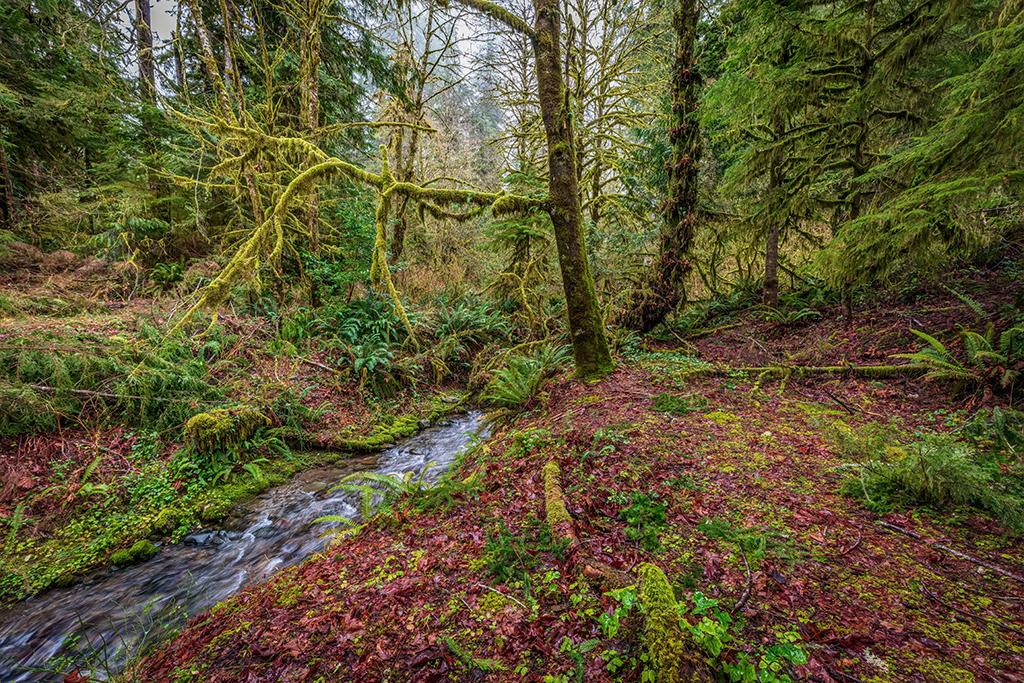
July Creek and surrounding rain forest scenery, Quinault Rain Forest, Olympic National Park / Rebecca Latson
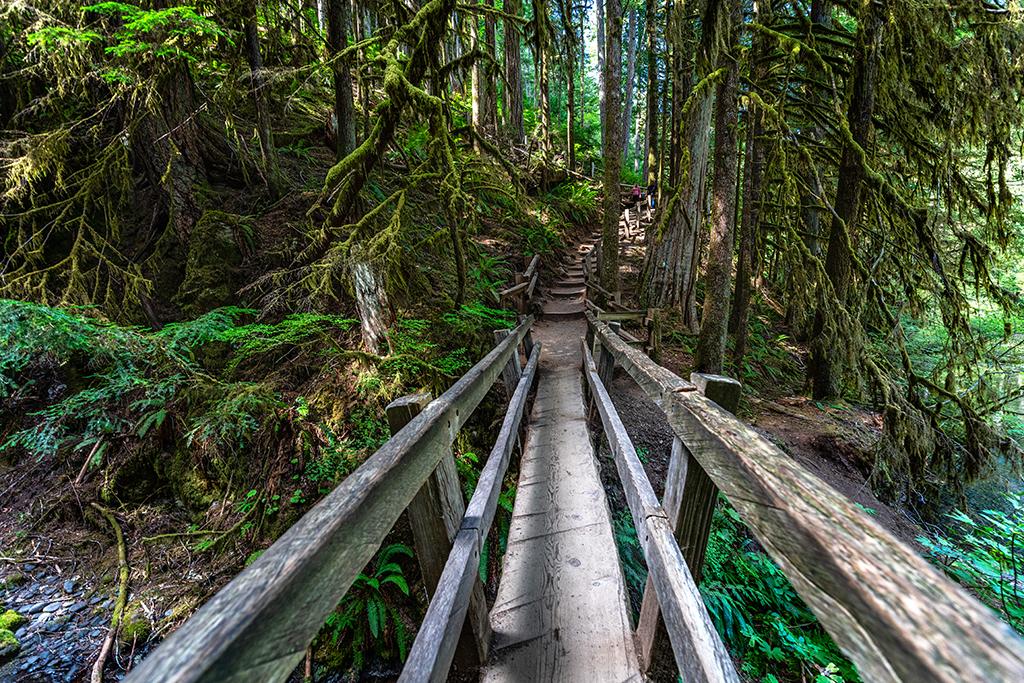
After you’ve photographed the stream, walk further along the trail, turn around, and photograph that rustic bridge you stood on a moment ago. Although many photographers dislike adding anything man-made to their landscapes, these same objects really do provide scale and reference to an image.
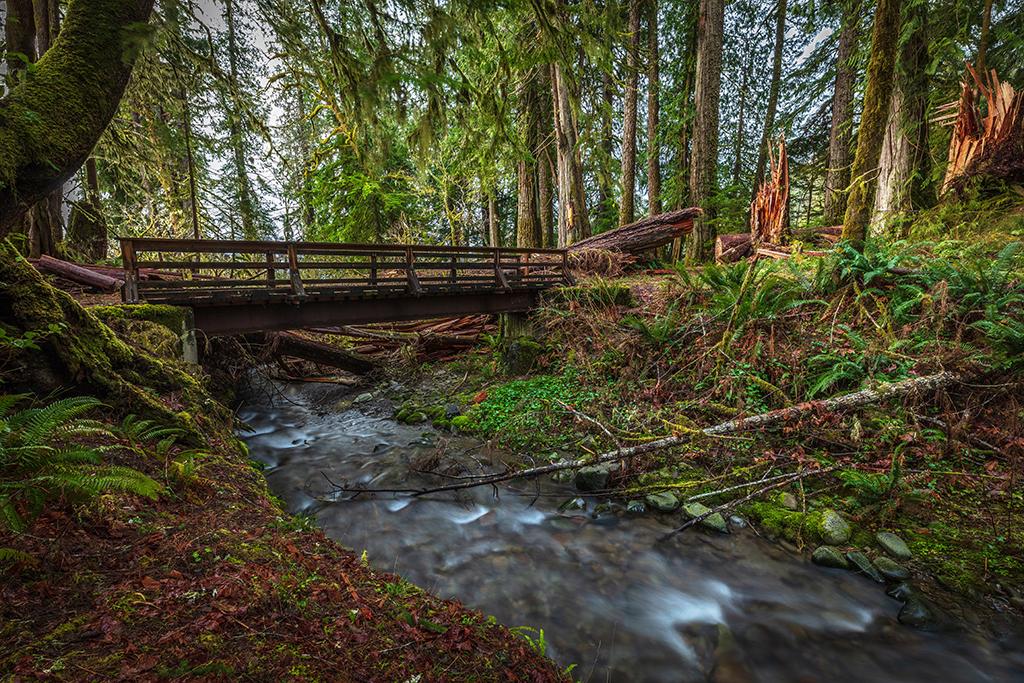
The bridge over July Creek, Quinault Rain Forest, Olympic National Park / Rebecca Latson
Finish walking the loop trail, looking for whatever catches your fancy, like ivy and moss coating a tree trunk.
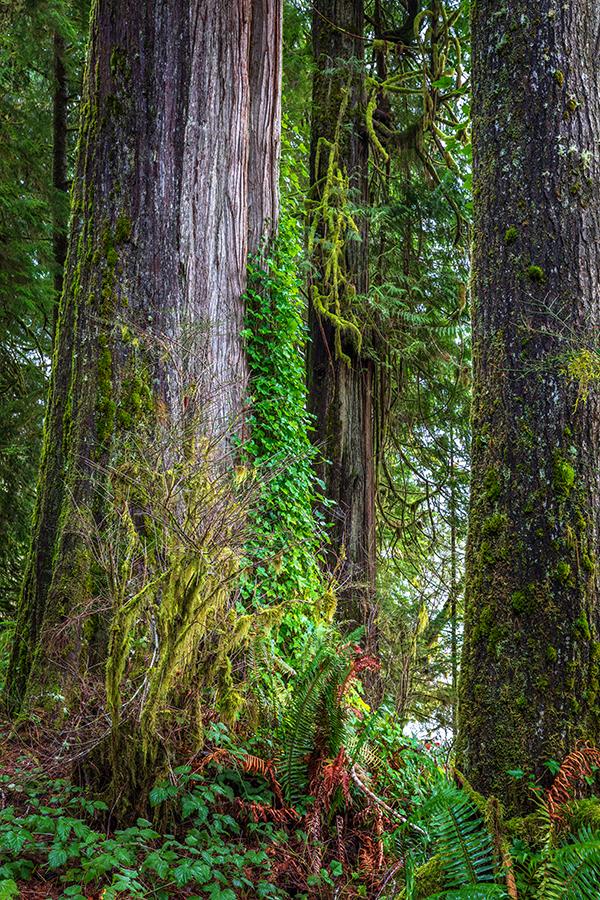
Ferns, ivy, moss, and trees in the Quinault Rain Forest, Olympic National Park / Rebecca Latson
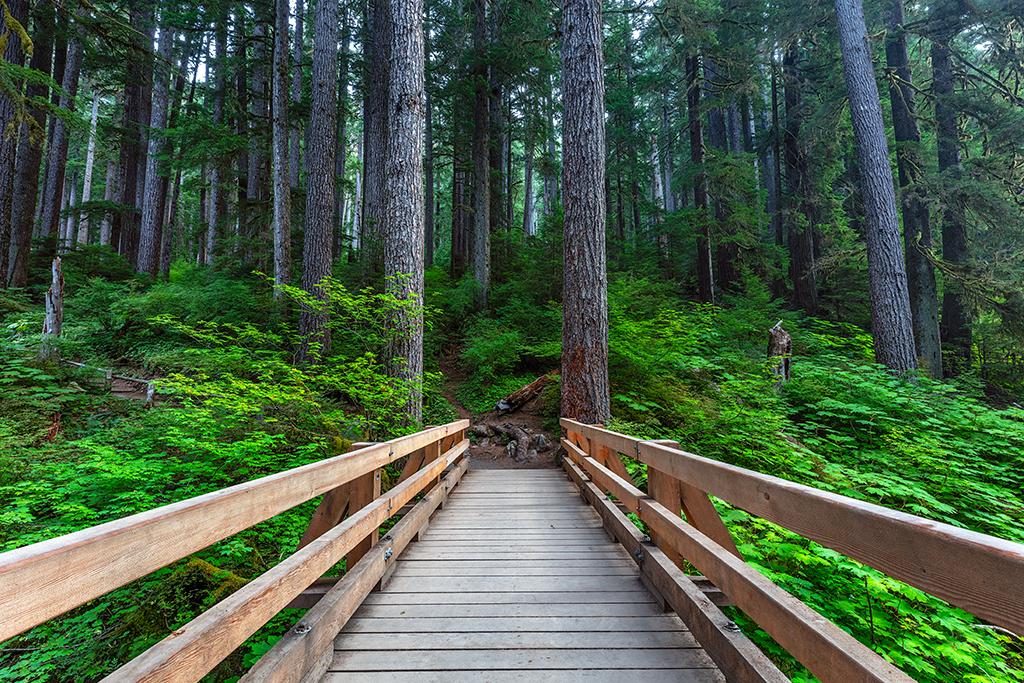
From July Creek, drive further along the road to the Quinault Rain Forest Ranger Station, where you can photograph the bridge across Kestner Creek for a nice “leading line” shot that guides your audience’s eyes from one part of the shot to another and then on to whatever adventure awaits beyond that bridge. Cross the bridge and wander the Maple Glade Nature Trail for compositions of the many different shades of green the rain forest environment displays.
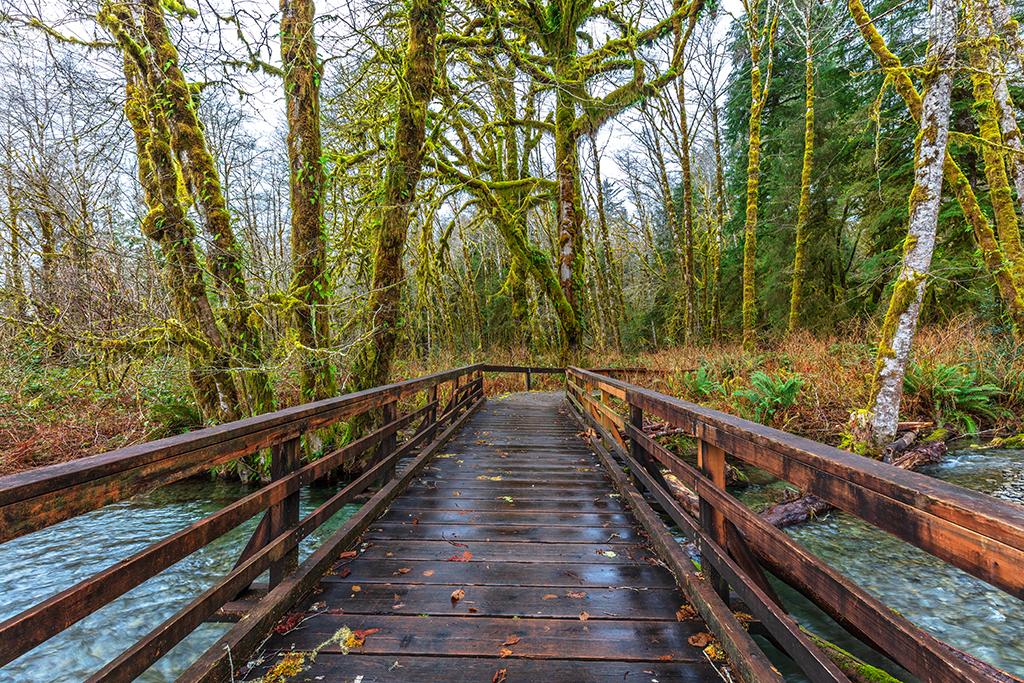
The bridge over Kestner Creek, Quinault Rain Forest, Olympic National Park / Rebecca Latson
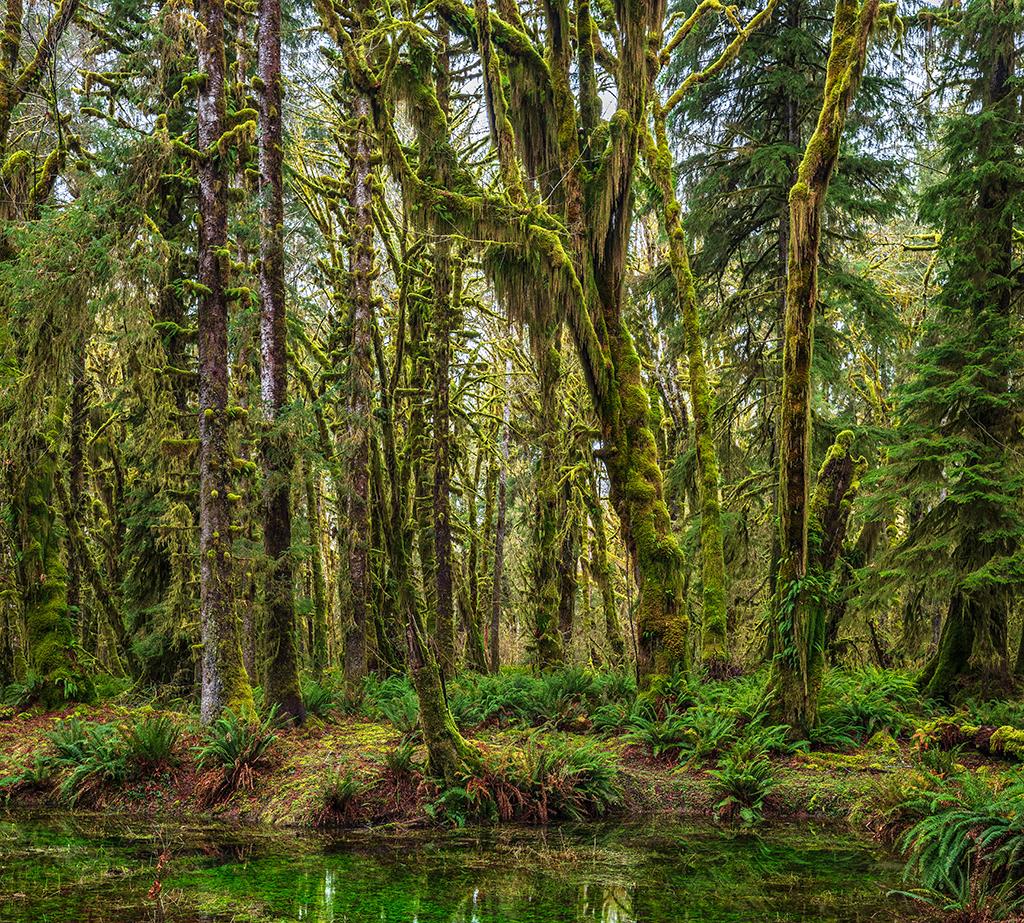
Quinault Rain Forest greens, Olympic National Park / Rebecca Latson
After you've spent an hour or most of the day within the Quinault Rain Forest, your next trip should be north toward the Hoh Rain Forest. Road’s end takes you to a large parking lot, the Hoh Rain Forest Visitor Center, and several short trails (plus one long one) through the rain forest. Before you choose a trail, check out the marshy lake you noticed to your left as you drove into the parking lot. You might see a blue heron, if you are lucky, and you'll need to use a fast shutter speed and the "burst method" to capture that bird (or any other wildlife you spy). Wildlife does not always cooperate and stand still for portraits. To freeze the moment, you should set your camera's focus mode to track movement. When snapping the photo, hold your finger on that shutter button for 4-5 successive clicks to ensure you achieve at least one sharp, clear image (the burst method).
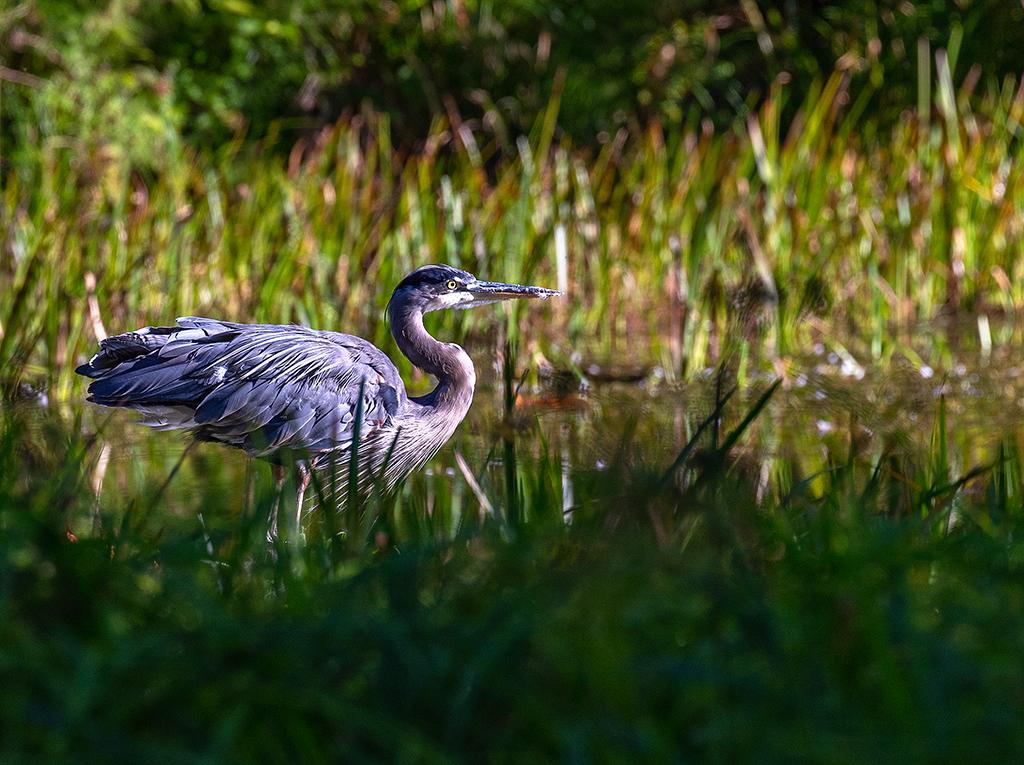
Preparing for takeoff, Hoh Rainforest, Olympic National Park / Rebecca Latson
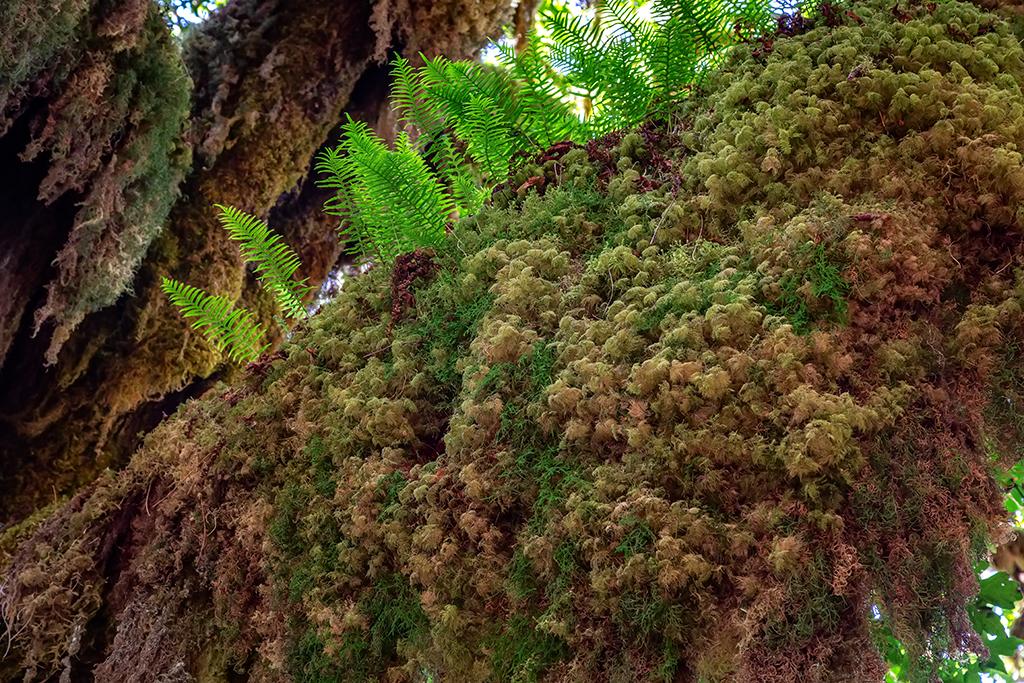
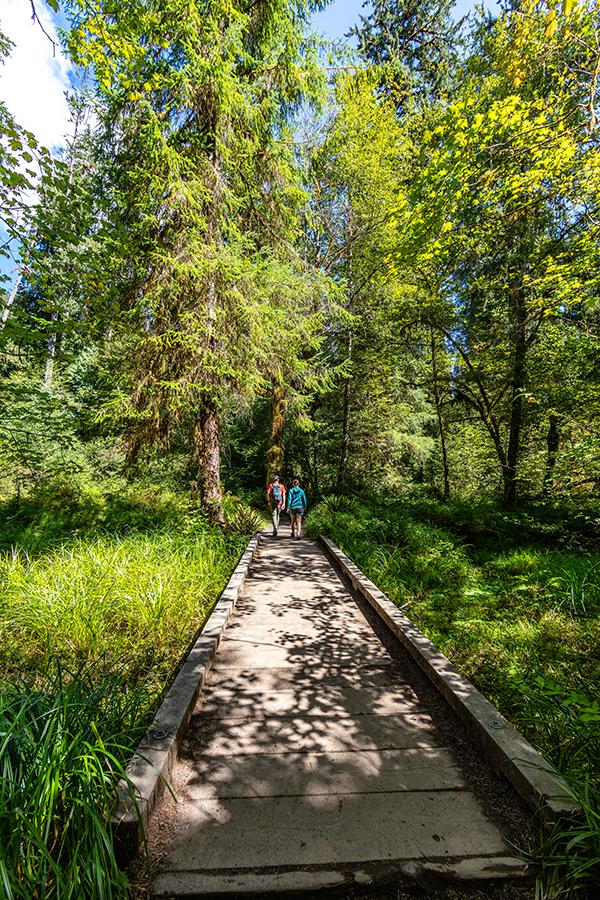
If you only hike one trail, make it the .8-mile Hall of Mosses trail. It’s a loop along which you can see a fern-carpeted forest interior of tall trees reaching for that bit of sunlight above the canopy, and moss-coated spruce and hemlock with exposed roots wrapped around remnants of nurse logs. Take your time framing these compositions to create your photographic story. Remember to get a few leading line trail shots, too.
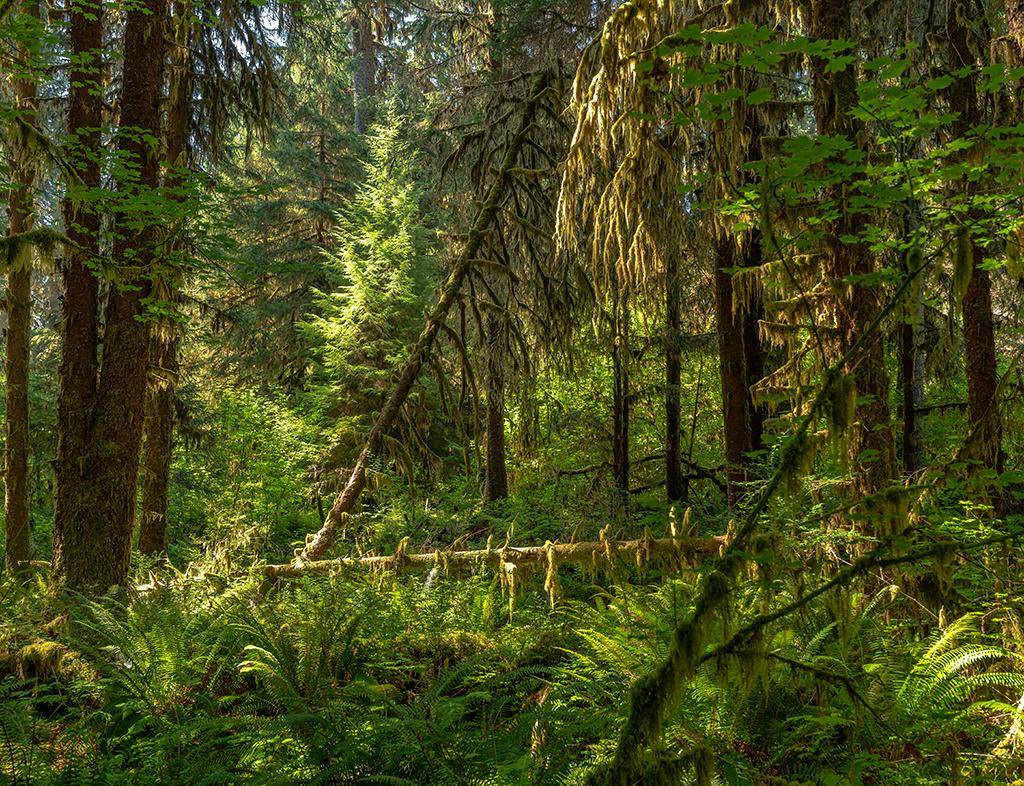
Looking deep into the rain forest along the Hall of Mosses trail, Hoh Rain Forest, Olympic National Park / Rebecca Latson
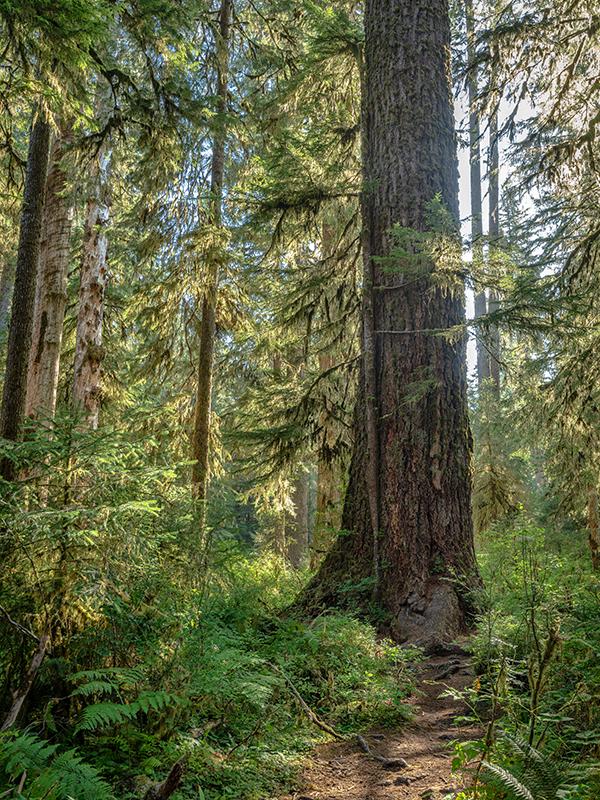
A "tree hugger," Hoh Rain Forest, Olympic National Park / Rebecca Latson
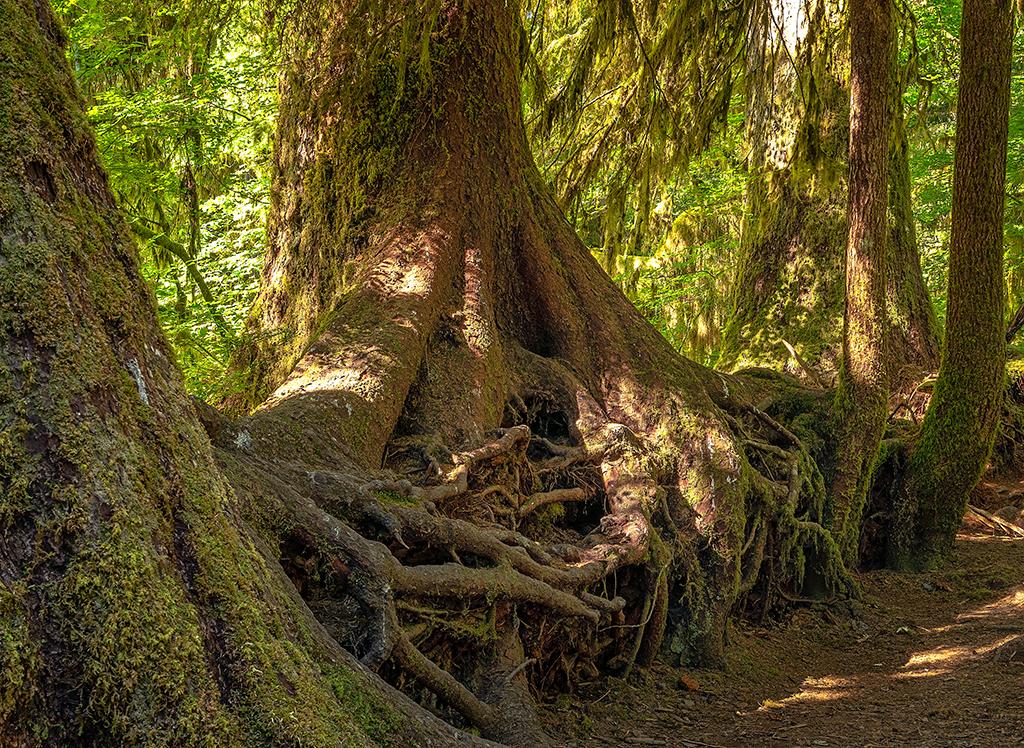
Grown from and over a nurse log, Hoh Rain Forest, Olympic National Park / Rebecca Latson
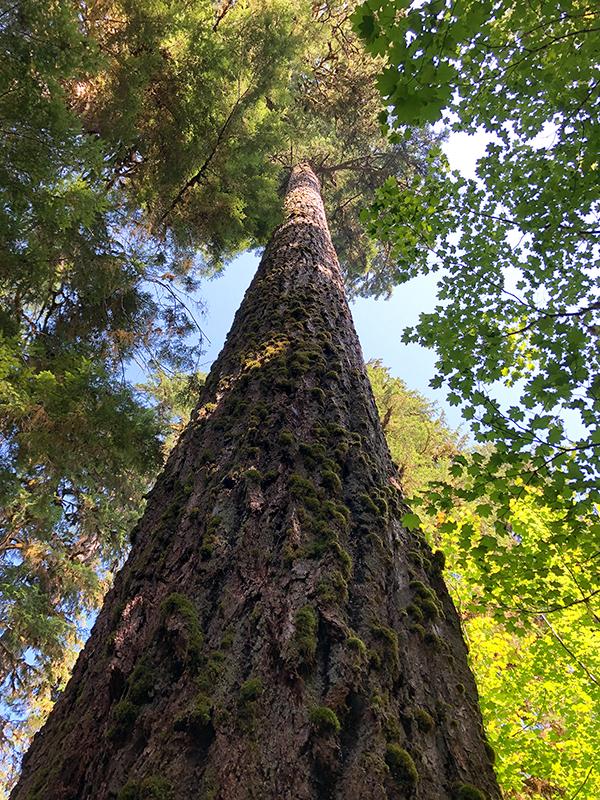
Stretching toward the sunlight, Hoh Rain Forest, Olympic National Park / Rebecca Latson
Be aware that crowds are heavier during the summer months. Early mornings (before 8:00 a.m.) are the best times to enjoy this trail to yourself. Stop and listen to the occasional lone bird. Use a dedicated video cam or your SLR’s, point-and-shoot’s, or smartphone’s video mode to capture audio and video of the surrounding forest.
The Drier, Old-Growth Forests
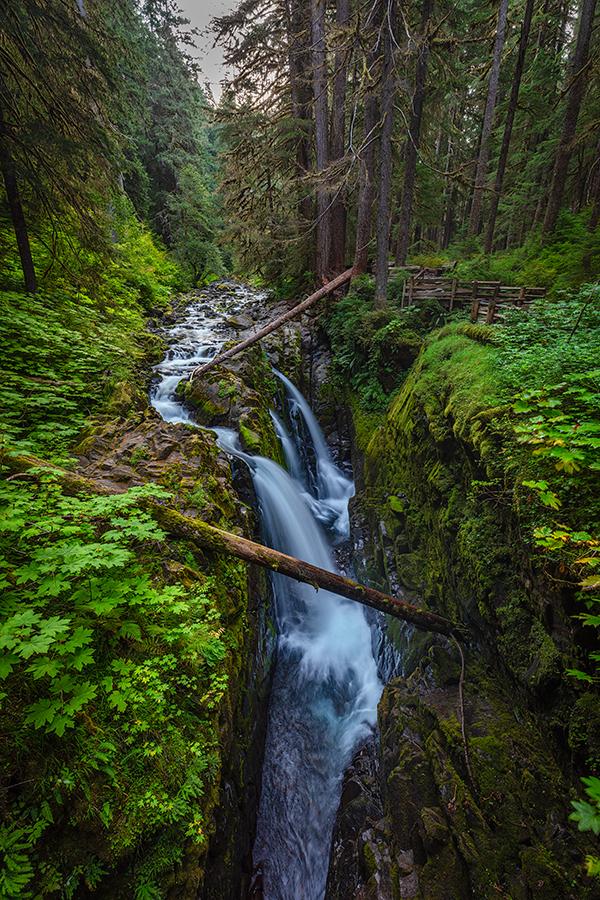
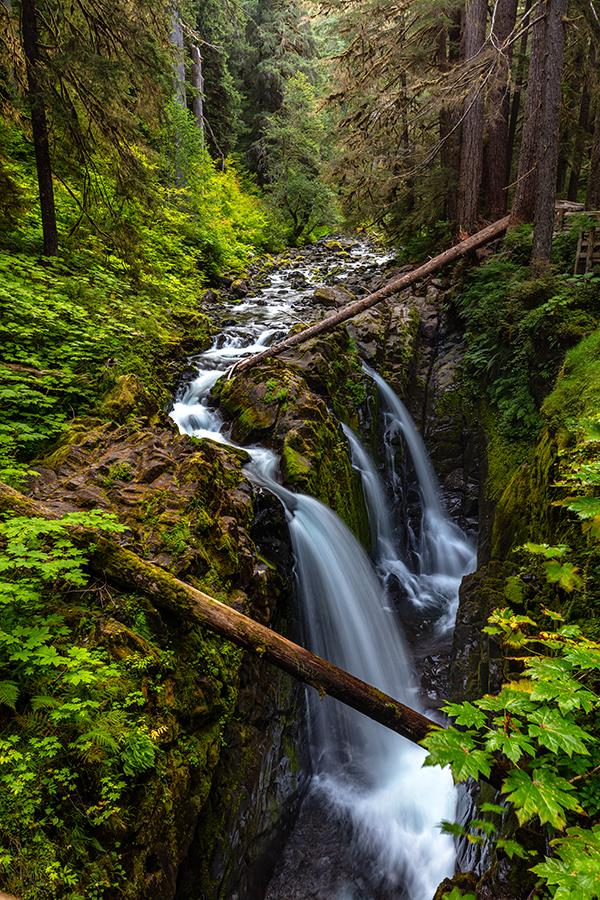
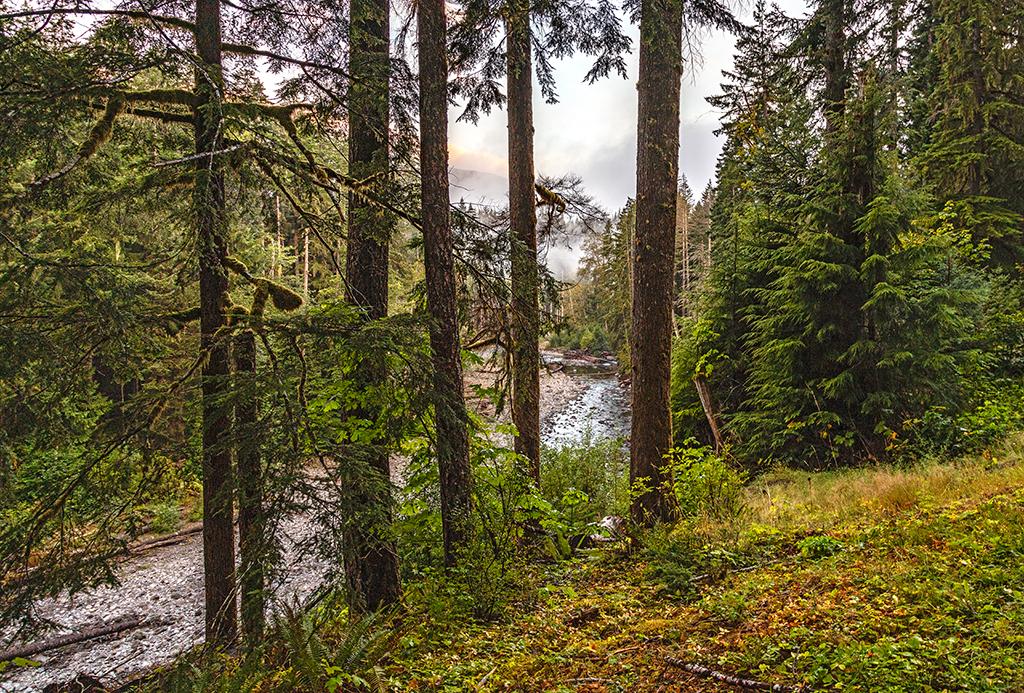
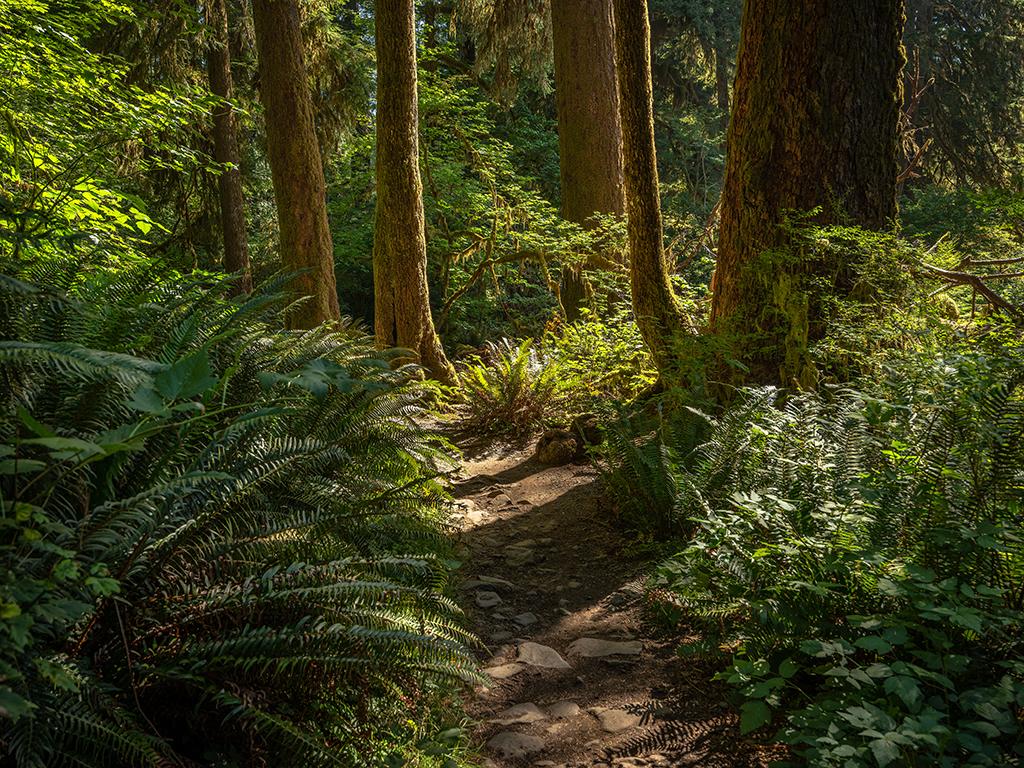
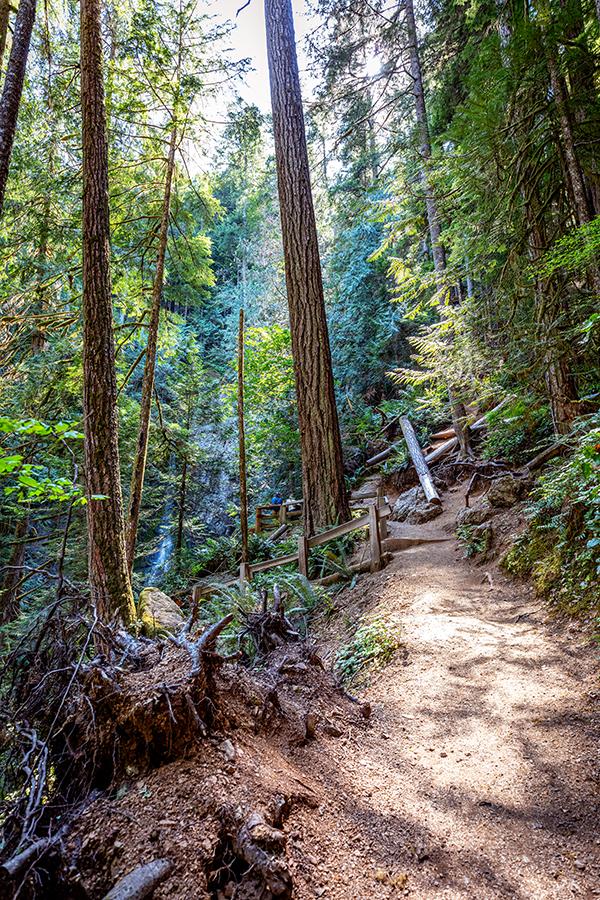
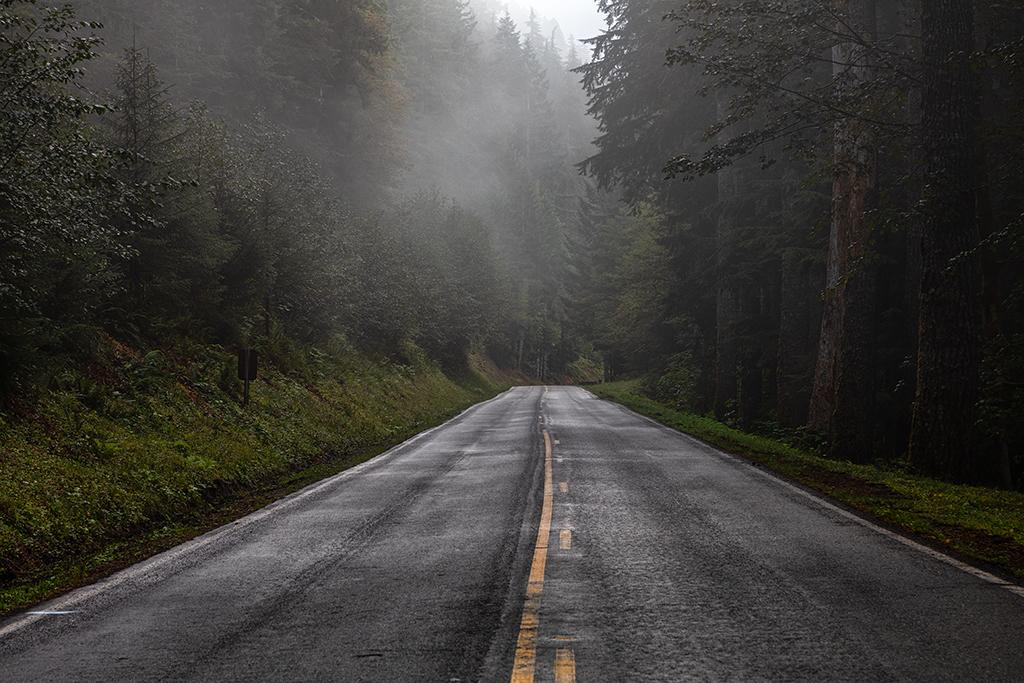
From the Hoh Rain Forest, continue on Highway 101 past the town of Forks and 40 miles further north then east to make a sharp right turn onto the Sol Duc Road. You may or may not have this same impression, but I admit to feeling a vague sense of unease, for want of a better word, as I drove through the narrow valley with the tall, shadowy trees on either side of me, closely lining the road. It just felt different from the lush rain forests I’d previously photographed, and really, the forests of the Sol Duc are different. It's drier, so while the scenery is still very green, it's also filled with more browns. The trees are less moss-covered, tall and straight, creating obvious geometry perfect for interesting photo creations. Stop at any pullout along the road, or meander along the .5-mile Ancient Groves Nature trail or the North Fork Sol Duc trail to see and photograph those differences. You might find yourself capturing more vertical shots than horizontals in order to emphasize the tall trees.
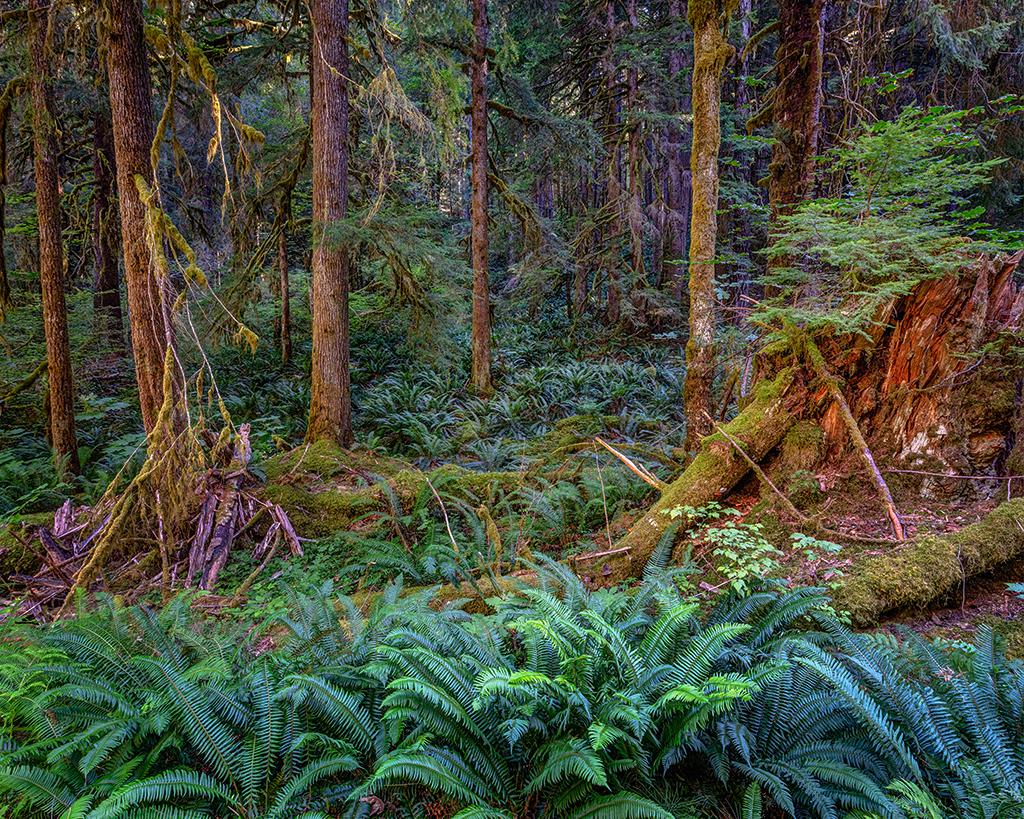
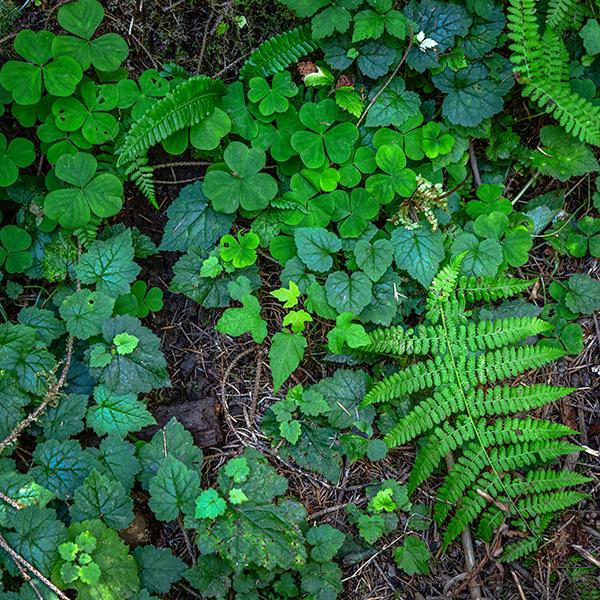
A forest floor of ferns in the Sol Duc Valley, Olympic National Park / Rebecca Latson
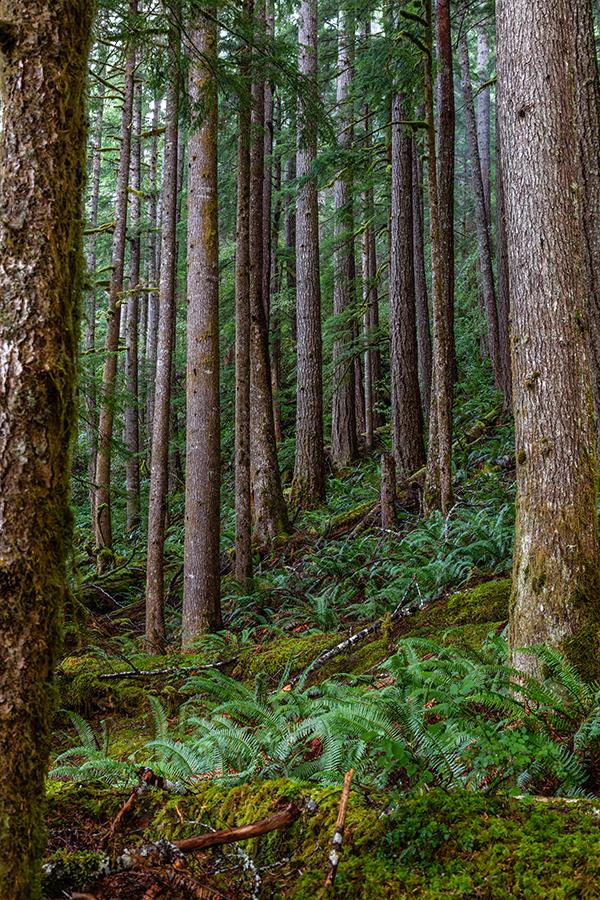
Tall tree scenery along the Sol Duc Road, Olympic National Park / Rebecca Latson
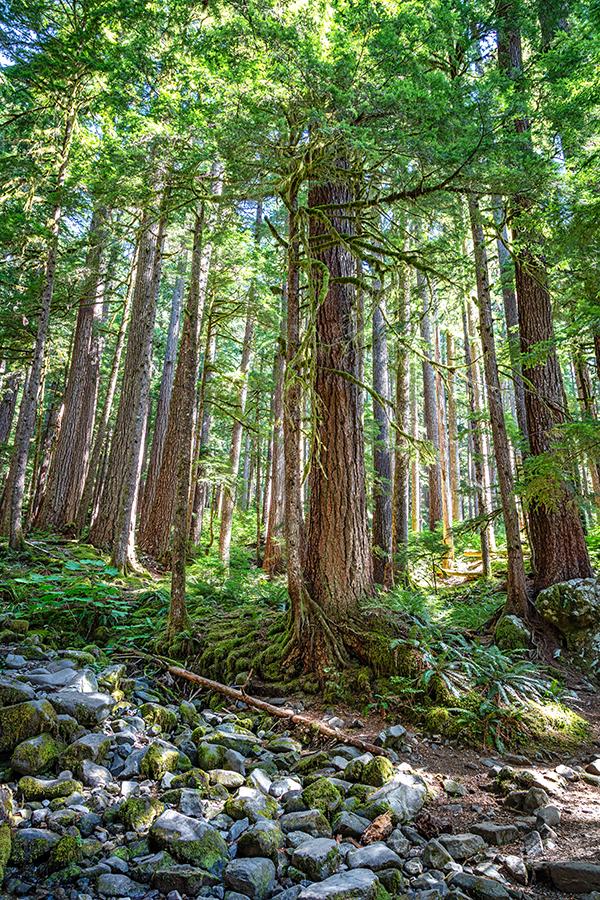
Trees along the Sol Duc Falls trail, Olympic National Park / Rebecca Latson
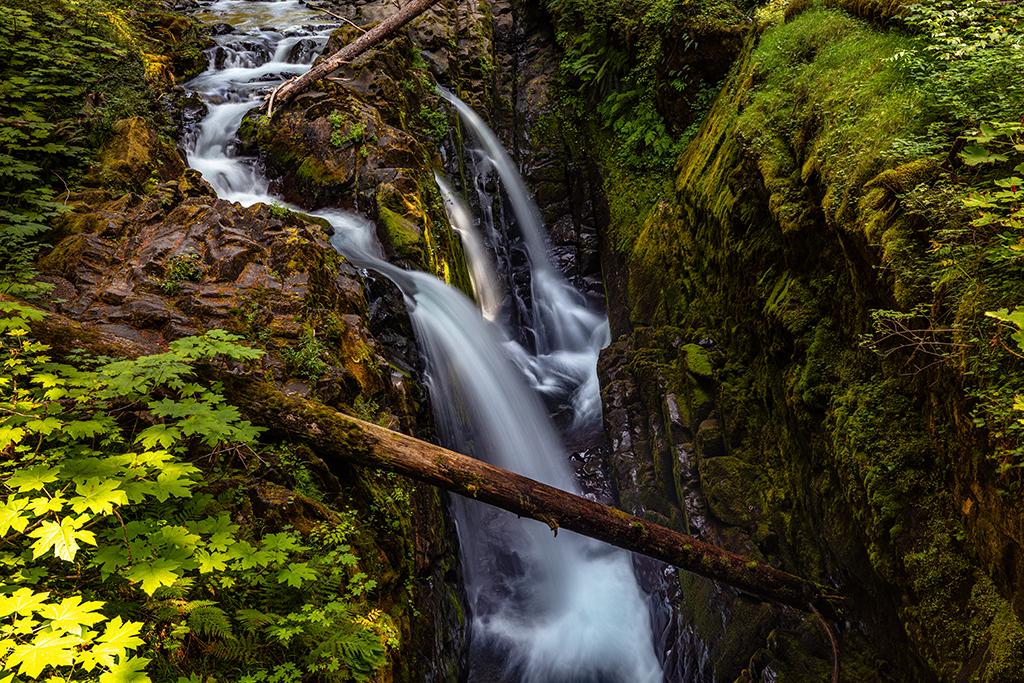
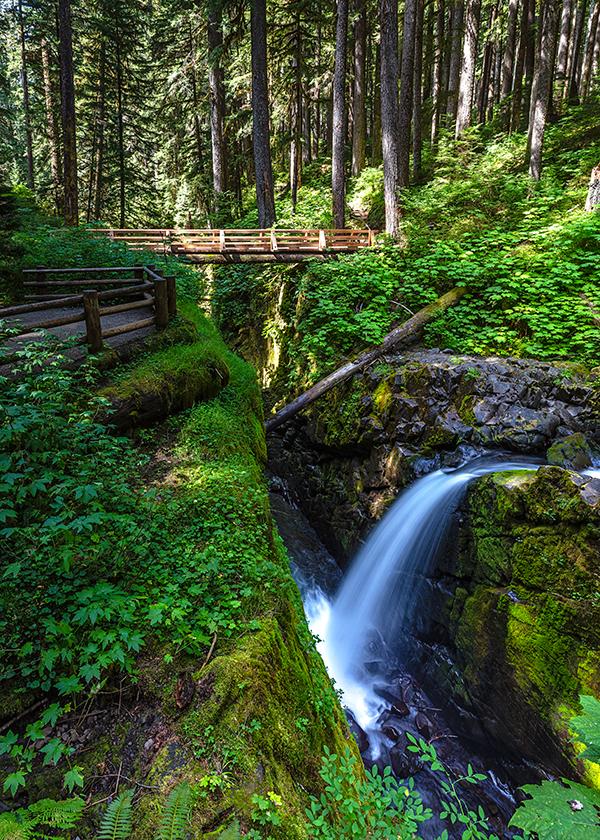
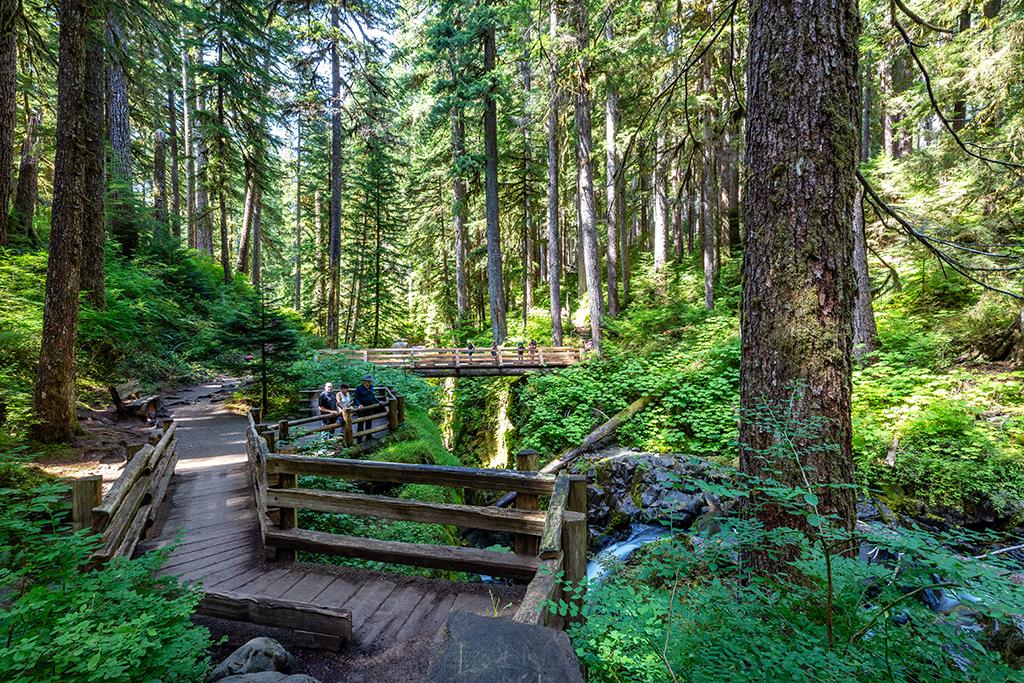
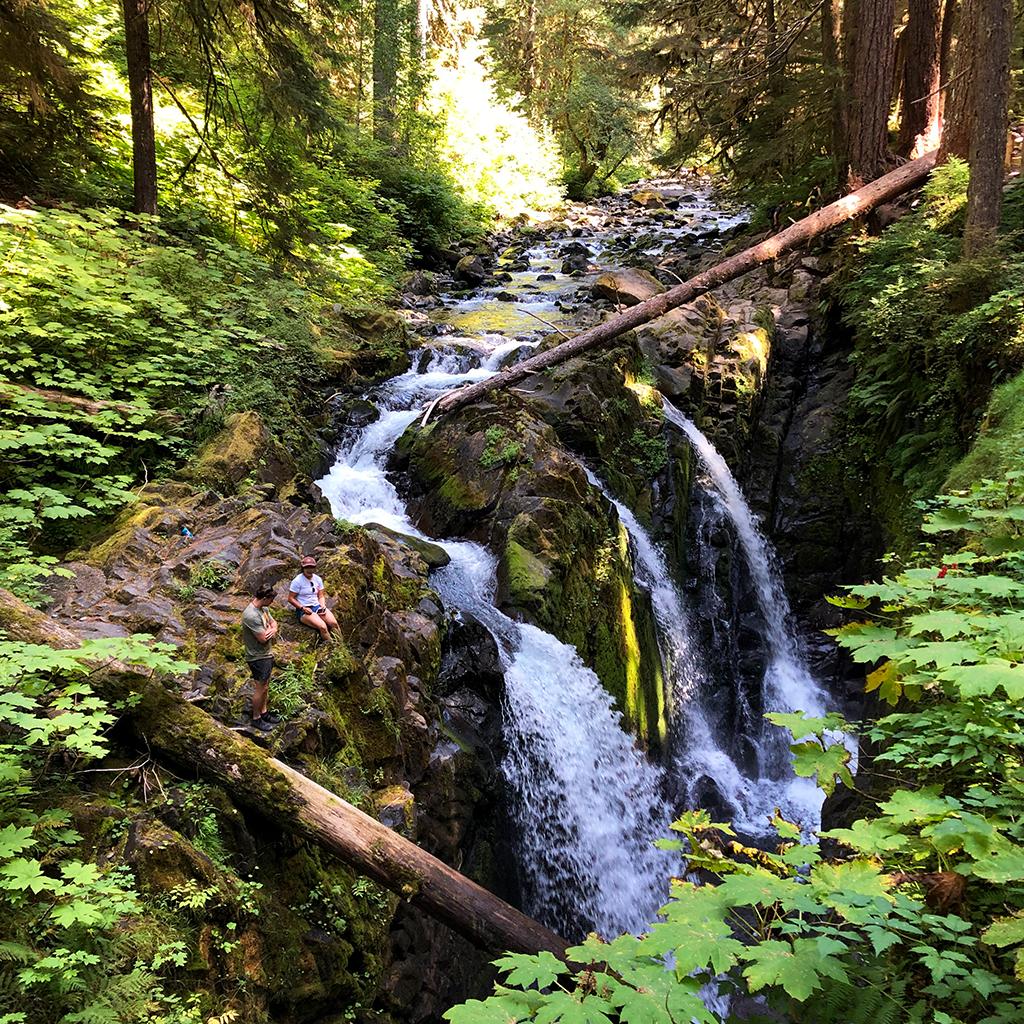
Once you return home and have more time to review your forest images, some of those shots might appear a little dark and featureless to you. Don’t be disappointed and delete the photo. Remember, your eyes are much better at seeing detail through shadows. Your camera captures all that data, but those pixels may need to be teased out to produce an image matching what your memory recalls. Don’t be like the young man I spoke with during my early morning trek to Sol Duc Falls. He showed me his point-and-shoot LCD with photos he’d taken of the waterfall and asked what settings he should use to lighten up the scene. I gave him some advice but also mentioned he could lighten those shadows during the edit stage. Frowning slightly, he shook his head and told me he never edited his photos. I sighed inwardly. I believe photos need at least a minimal amount of editing, so below are a couple of tips to bring out the inner glow and reduce shadows of your forest photos.
If you’ve ever seen old-timey portraits, you’ll have noticed the sides and tops of the image are dark while the subject in the center remains light. This is called vignetting. Apply a little of that vignetting to your forest photo to produce a soft glow to your forest interior image. Most photo editing software will have a tool, preset or slider for vignetting.
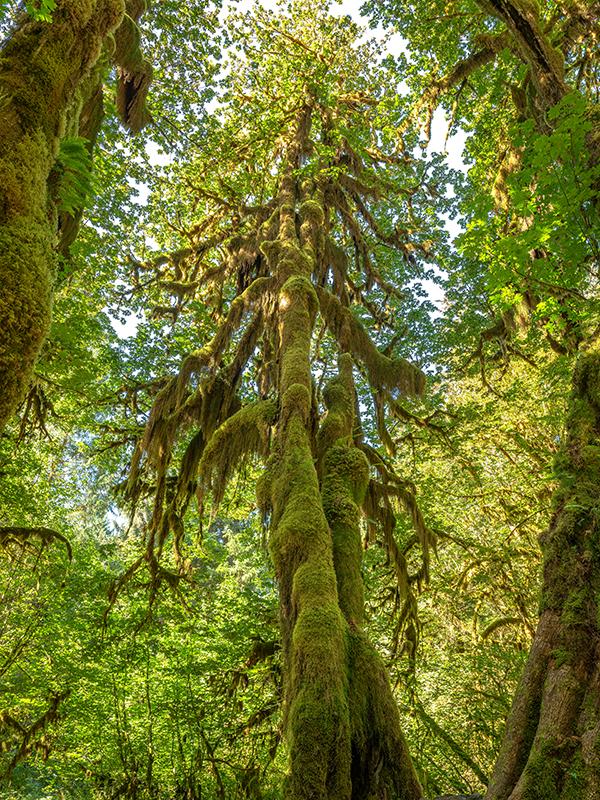
A tall, mossy tree in the Hoh Rain Forest, Olympic National Park / Rebecca Latson
In addition to a vignette tool, preset or slider, most photo editing software will also have the same thing to remove shadows. It comes in very handy for shadowy forest interiors.
Have some fun experimenting with HDR (high dynamic range) photography. This technique uses a combination of one or more photos of the same scene at different exposures and combines them in various ways to reduce shadows and blown out highlights while creating depth to the composition. Stand-alone and plug-in software like Aurora 2019, Nik HDR Efex Pro 2 or Photomatix (among the many HDR programs out there) make HDR work easy, with plenty of presets from which to choose in addition to allowing you to tinker around with the combined image on your own. The real trick is to generate a natural-looking image. Many photographers use too much of a heavy hand at HDR and end up with a very unrealistic version of the scene they originally captured. That, or else they are looking for something totally surreal.
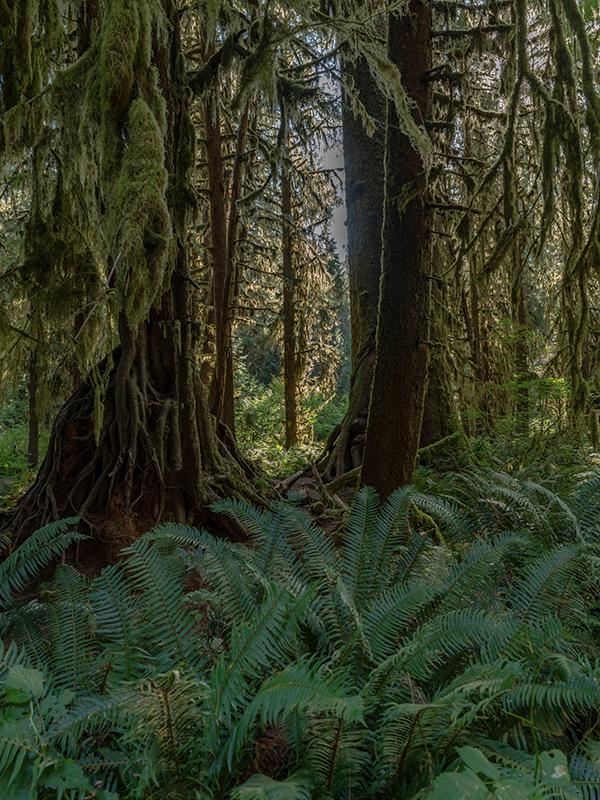
Looking through the trees - original shot, Hoh Rain Forest, Olympic National Park / Rebecca Latson
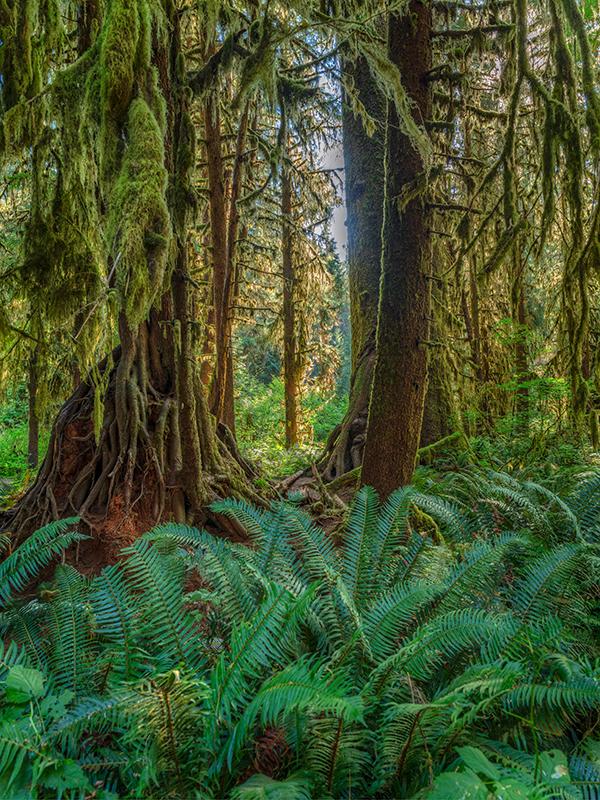
Looking through the trees - HDR, Hoh Rain Forest, Olympic National Park / Rebecca Latson
Ok, now that you’ve got a better idea of beaches and forests to see and photograph in Olympic National Park, stay tuned for the final Part 3 of this Armchair Photography Guide and get ready for the mountains.

Comments
As a retired ranger and naturalist with more years in ONP than any other, I greatly appreciate these photographs and story lines.
Fantastic Guide! Thanks for sharing this. Can you include a link to Part I? Maybe also a link to Part III as well?
Sheltered in during corona virus outbreak in Oregon and thought I'd look in on some beautiful trees. Olympic Peninsula! one of my favorite places. Lovely photographs and such a nice variety of points of view. Thank you