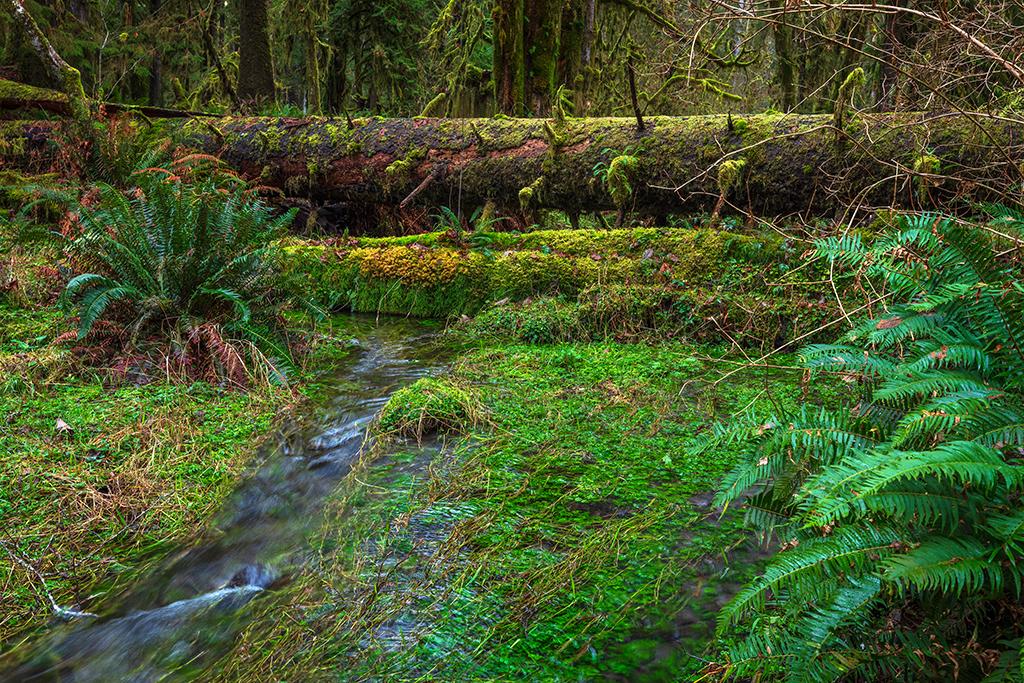
So many shades of green and brown, Quinault Rainforest, Olympic National Park / Rebecca Latson
I have a bookshelf dedicated to travel and national park guides, including several natural history books. After a recent trip to Olympic National Park, I began reading Tim McNulty’s fourth edition of Olympic National Park: A Natural History, to help me understand the connections between the environments I photographed within this park. Peak to Pacific, each connection comes with its own photographic beauty and challenges.
My travel to Olympic National Park in January occurred during the latter part of the most recent government shutdown, about which I wrote in a previous article. While winter in this park, in general, means few-to-no people, chilly temps, great coastal storm watching, more clouds than clear sky, and seasonal road closures, this shutdown added road closures due to storm damage, snow buildup, and lack of personnel to clear things up, in addition to closed ranger stations. While I did not get to see everything I wanted, what I did see whetted my photographic appetite for return visits later this year.
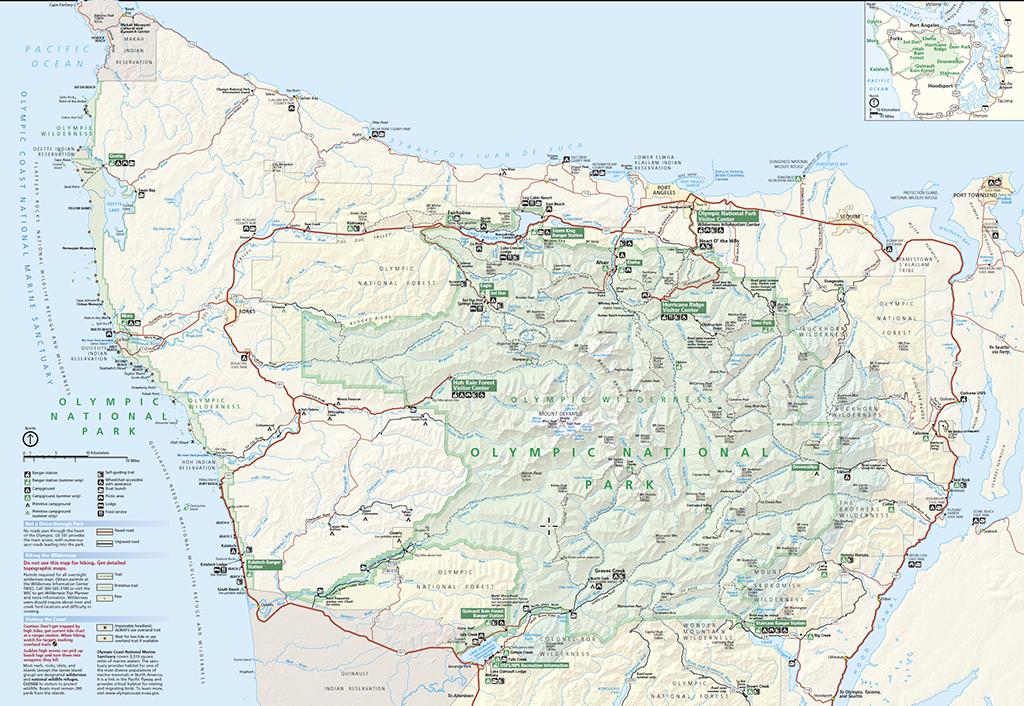
A map of Olympic National Park / NPS
Covering an area of 1,442 square miles, Olympic National Park encompasses several different ecosystems, from rugged beaches to temperate rainforests to craggy peaks at altitudes of 7,965 feet above sea level. Preparing for winter photography along the wet Olympic Peninsula means you need to pack warm clothing, hiking boots, tall rain boots like Boggs or Mucks, and raingear (a definite requirement) for yourself and your camera.
The Beaches
Beaches along the Olympic Peninsula range from a little bit of sand to stretches entirely of pebbles and cobbles, rocky tide pools, and sea stacks, with plenty of large logs jammed against the bluffs. A visit to any of these beaches requires your awareness that beach logs can cause injury, particularly during a high tide. Don’t ever endanger your (and your camera’s) life by walking among the logs while the tide is high. Even a gentle shove of the tide against a log where you might be standing could cause serious injury. Same goes for walking in the water along the shore. From personal experience, I can tell you an innocent-looking push of tide water carries the potential to knock you over and pull on you.
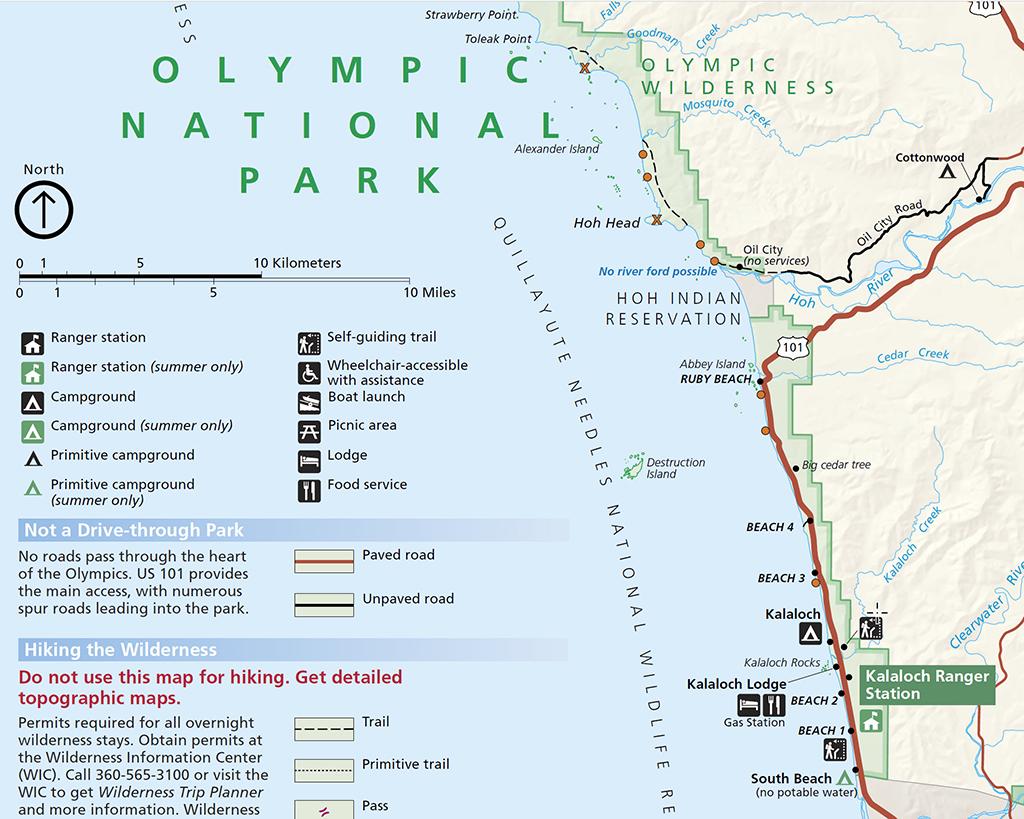
A few of the beaches in Olympic National Park / NPS
If you look at a map of Olympic National Park, you’ll see beaches dotting the entire coast. Time and weather allowed me to photograph at only three beaches: Kalaloch Beach, Beach 4, and Ruby Beach. These three beaches each possess a unique feature you should work into your photography and I’ll get to those features further down this article. First, I want to talk about winter pre-dawn, sunrise, and sunset beach shots.
I’ve seen some stellar (pun intended) shots of sea stacks framed by the Milky Way, but I must remind you that night photography on any of the beaches in this national park comes with caution flags. You need to keep track of the tide, will probably have to do some scrambling (no easy feat in the dark, even with a head lamp or flashlight), be aware of beach logs, and you may not get lucky during your winter stay to see a clear, starry sky. My own pre-dawn and sunrise shots were captured at the top of the bluff at Kalaloch Beach, where I could get a wide-angle view of the beach and the ocean without risking body and camera.
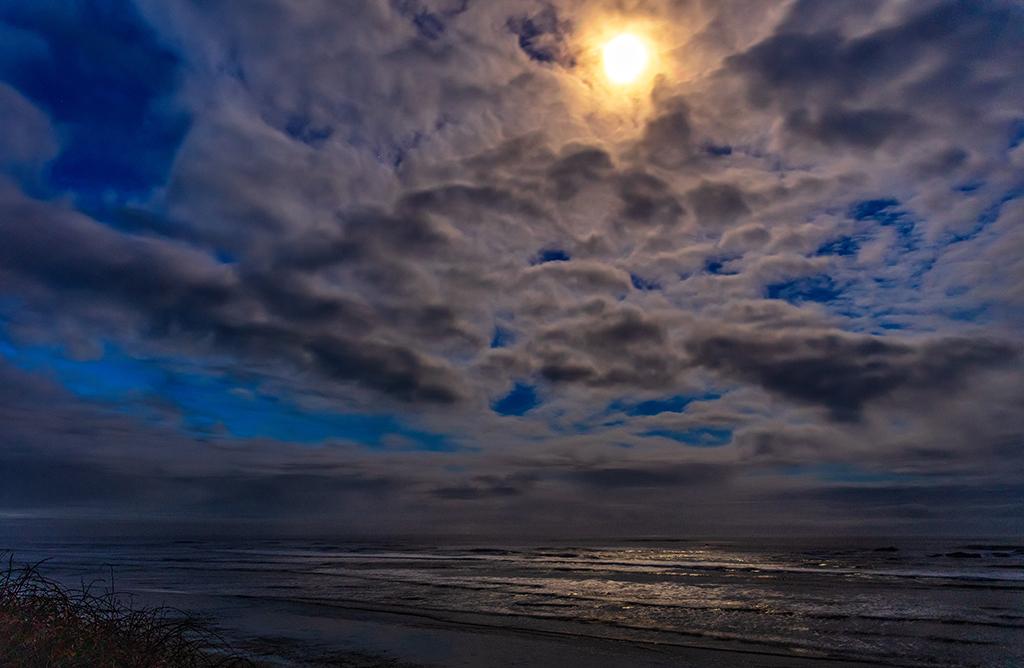
Moonlight through the clouds and on the ocean at Kalaloch Beach, Olympic National Park / Rebecca Latson
Pre-dawn captures meant I used manual focus, rather than autofocus. Since my eyes aren’t so good with the manual focus thing anymore, here’s a tip to help you: always place your focus ring dial on the correct portion of the infinity mark for those wide-angle compositions. During the light of daytime, use your lens' auto focus on a distant subject. Take a phone pic of the lens and save it. During the dark of night, when your eyes (and auto focus) have problems, refer to that phone photo to make sure you’ve hit the correct manual focus mark on that particular lens.
Note: as you can see from the photo below, the camera doesn’t always focus right at the beginning of the infinity mark.
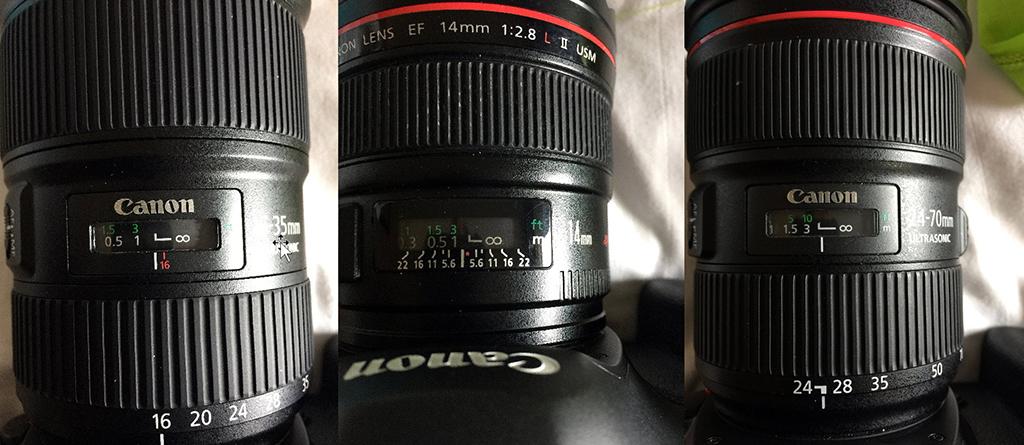
Focusing on Infinity / Rebecca Latson
For night and pre-dawn shots, keep your camera on a tripod, because you’ll be increasing your camera’s ISO anywhere from 840 to 6400. Keep your shutter speed slow to allow for more light and open your aperture as much as possible, from f/4 to f/1.4.
Use your camera’s 2-second timer so there is a delay between the moment your finger pushes down the shutter button, and when the shutter clicks. The timer delay removes the little bit of vibration resulting from the push of your finger. A wireless or corded shutter release works just as well, but that is extra equipment you must keep handy.
Beware, also, that low-light shots mean your composition is probably going to appear “noisy” (grainy). You’ll want noise reduction software such as Imagenomic, Noise Ninja, Topaz Denoise, or Adobe Lightroom’s noise reduction sliders.
The beaches face west, so for sunrise images, you’ll be pointing your camera more toward the shoreline and bluff than out to the ocean to capture the brighter, more colorful light emerging from the east. Adjust your camera’s settings as the horizon gets brighter, since the bluff and shoreline remain shaded. You can always underexpose to a point and then lighten up the dark portions of your composition using your photo editing software.
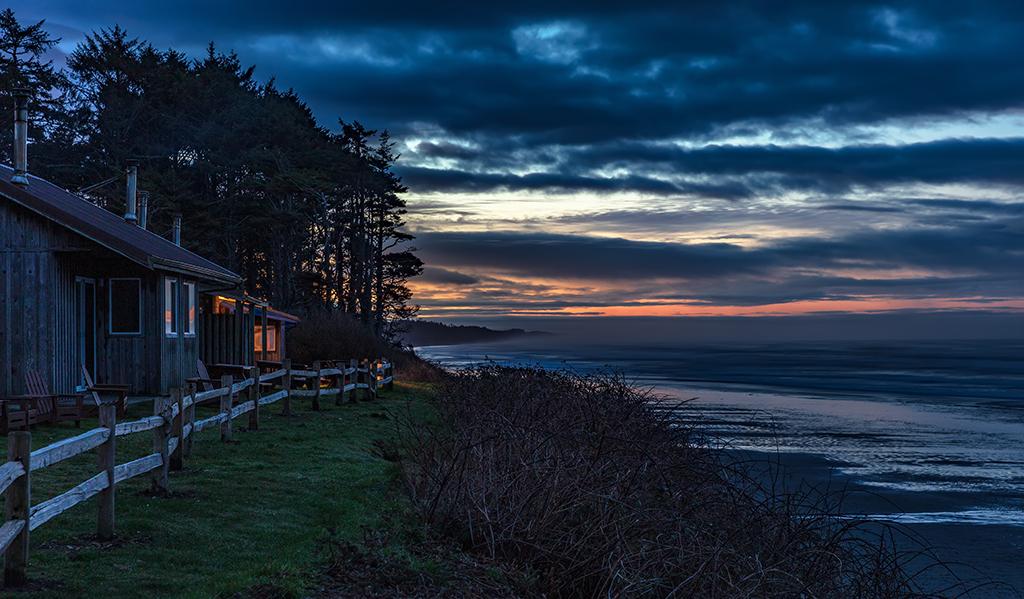
Sunrise over Kalaloch, Olympic National Park / Rebecca Latson
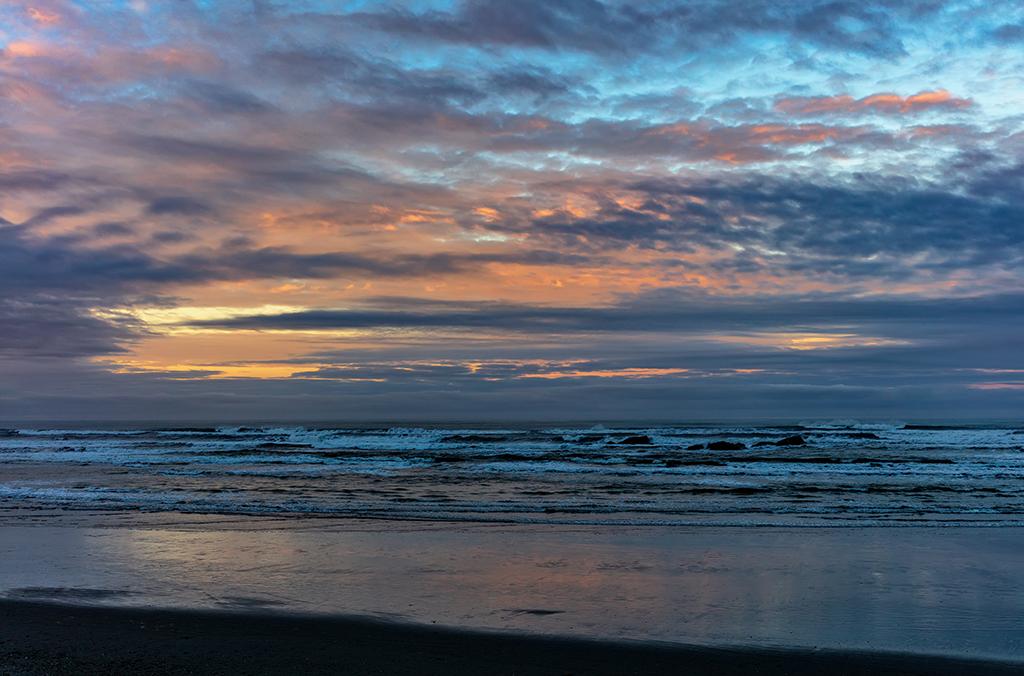
A pastel sunrise over Kalaloch Beach, Olympic National Park / Rebecca Latson
Depending upon the winter weather, sunsets will either be brilliantly saturated or muted. Both are beautiful in their own way.
For the muted sunsets, I like using the “silky water” technique to make the waves, tides and any clouds look smooth and silky. To get this effect, I use a neutral density (ND) filter and a longer shutter speed. An ND filter is all one shade of gray, coming in various darknesses (densities). For silky water, it’s all about the shutter speed, and an ND filter allows the use of a longer shutter speed to create that smooth, silky water movement while allowing for a well-exposed shot.The images below show you how the water looks when using a slightly slower versus faster shutter speed.
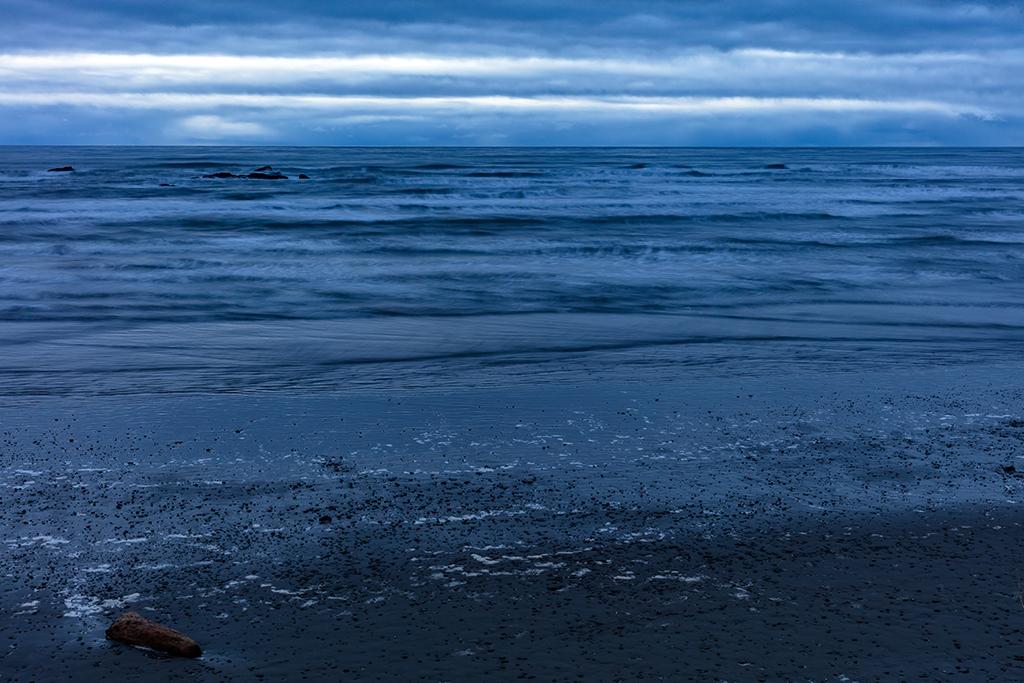
A stormy winter sunset over Kalaloch Beach - silky water effect, Olympic National Park / Rebecca Latson
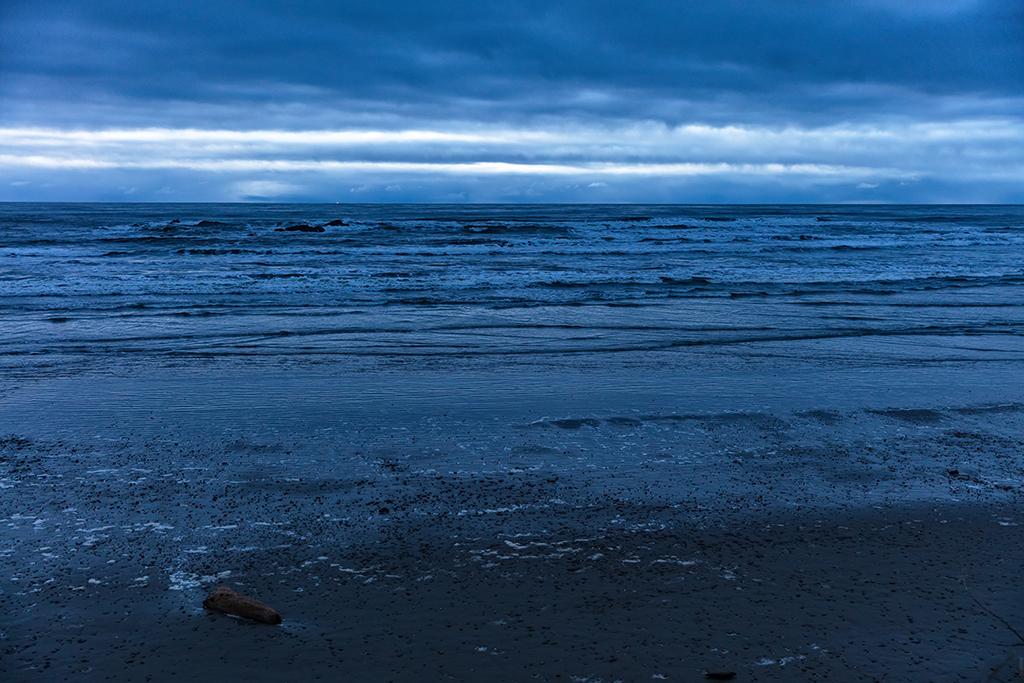
A stormy winter sunset over Kalaloch Beach - non-silky water, Olympic National Park / Rebecca Latson
For those brilliantly-colored winter sunsets, if you use an SLR camera, you’ll probably want to carry along a graduated neutral density filter (grad ND), which is not to be confused with a regular ND filter. The grad ND prevents “blowing out” (overexposing) the horizon while exposing for the darker sea and beach. If you’ve never heard about this filter before, check out this past article I wrote.
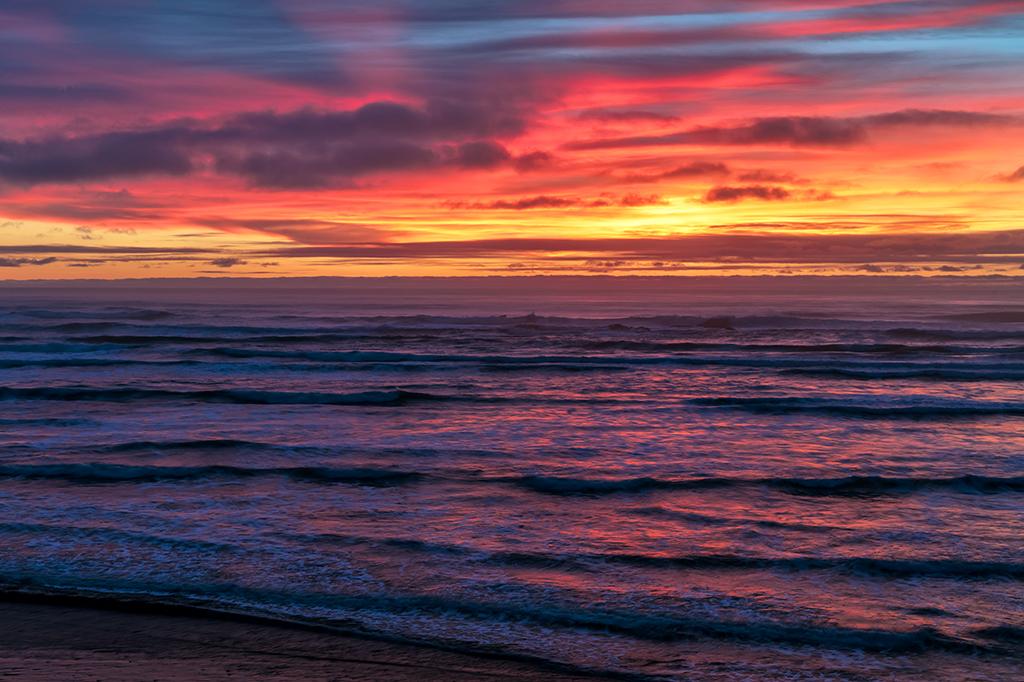
A brilliant winter sunset over Kalaloch Beach, Olympic National Park / Rebecca Latson
Let’s get back to those three beaches I mentioned earlier: Kalaloch Beach, Beach 4 and Ruby Beach.
Kalaloch Beach
Kalaloch Creek runs through a portion of the beach right below Kalaloch Lodge, emptying out into the ocean. This strip of swift-moving water makes for an interesting silky water contrast with the rest of the scene.
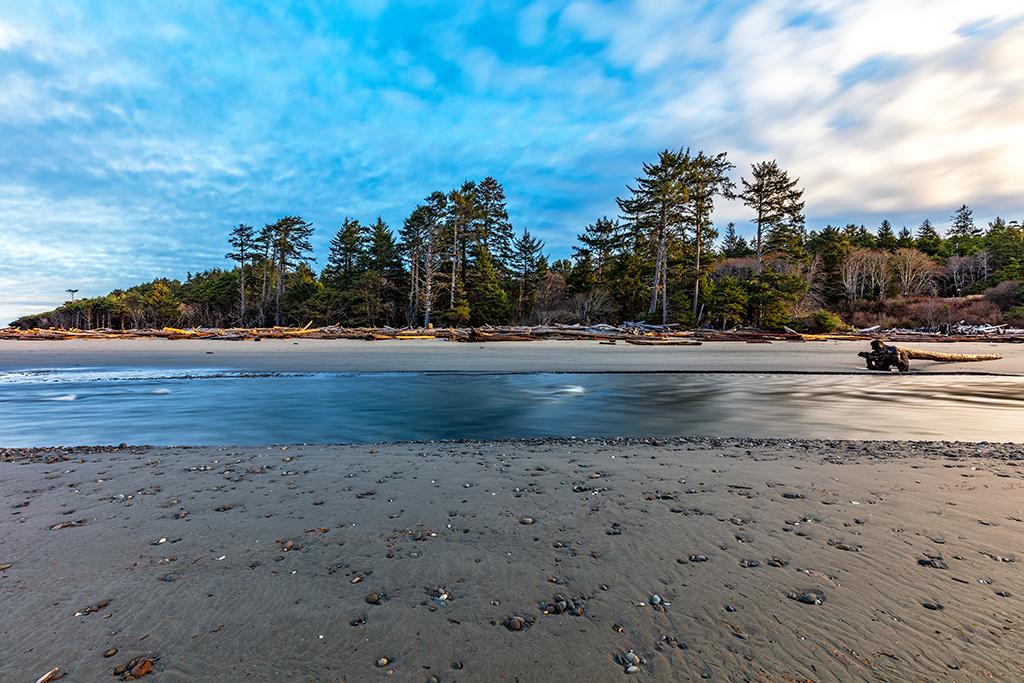
Kalaloch Creek and Kalaloch Beach, Olympic National Park / Rebecca Latson
You can also capture some great leading line shots using this creek. Leading line imagery takes the viewer’s eyes and leads them from one portion of the composition to another. It’s a nice technique to keep your viewer focused a little longer on your landscape details.
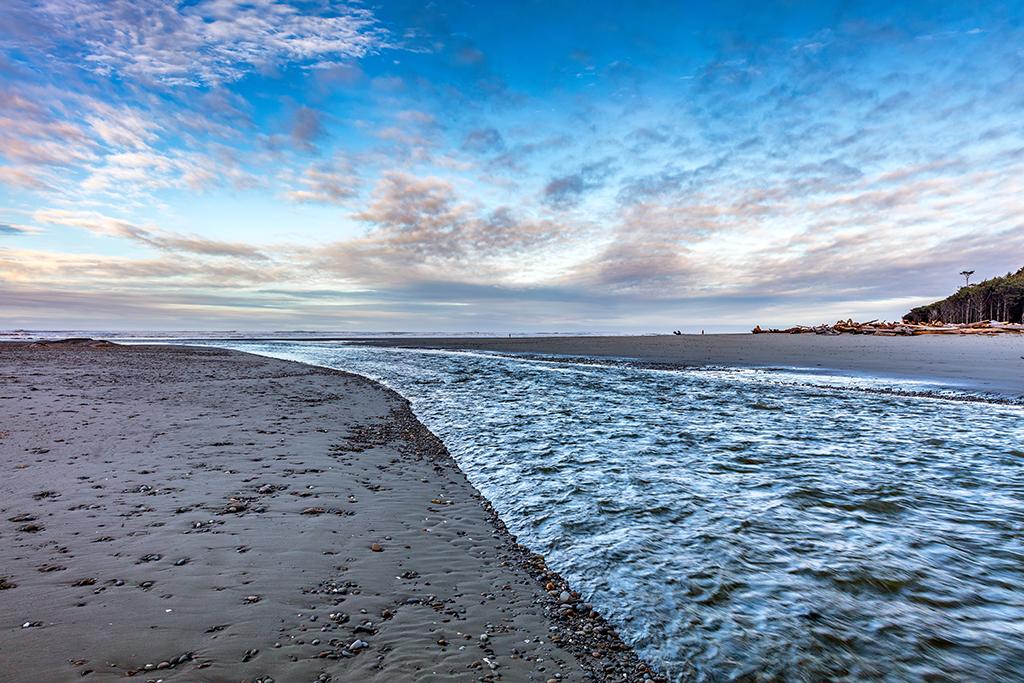
Kalaloch Creek emptying into the Pacific Ocean, Olympic National Park / Rebecca Latson
Kalaloch Beach also features what is famously known as the "Tree of Life" (aka the "Tree Root Cave").
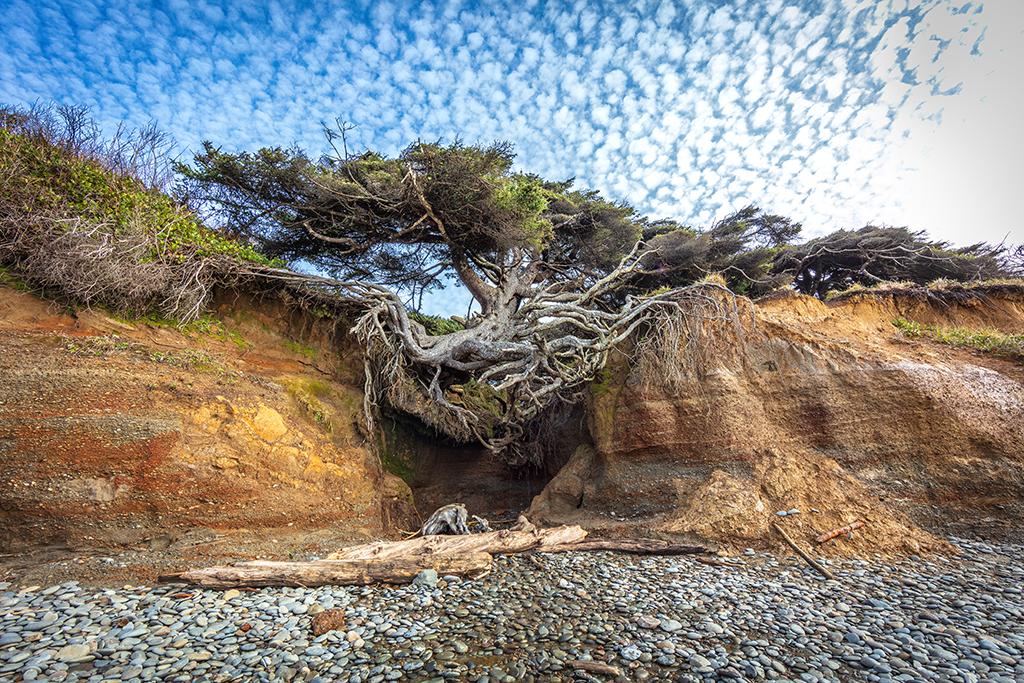
The "Tree of Life," aka "Tree Root Cave," Olympic National Park / Rebecca Latson
Park in the day-use portion of Kalaloch Campground, at the picnic area, and take the short trail down to the beach. Watch your step near the bottom as that last step down is a little long for short legs and there may be beached logs around the bottom. Turn right and walk about 50 feet to view this scene of geology in action. Over the years, a small stream has undercut that portion of the bluff supporting a large tree to expose the tree’s twisted root system as it tenaciously hangs on with just a few (apparently very strong) roots on either side of the cave.
Make certain to get at least one shot of yourself or others standing near or beneath this tree, just to provide a sense of scale and reference.
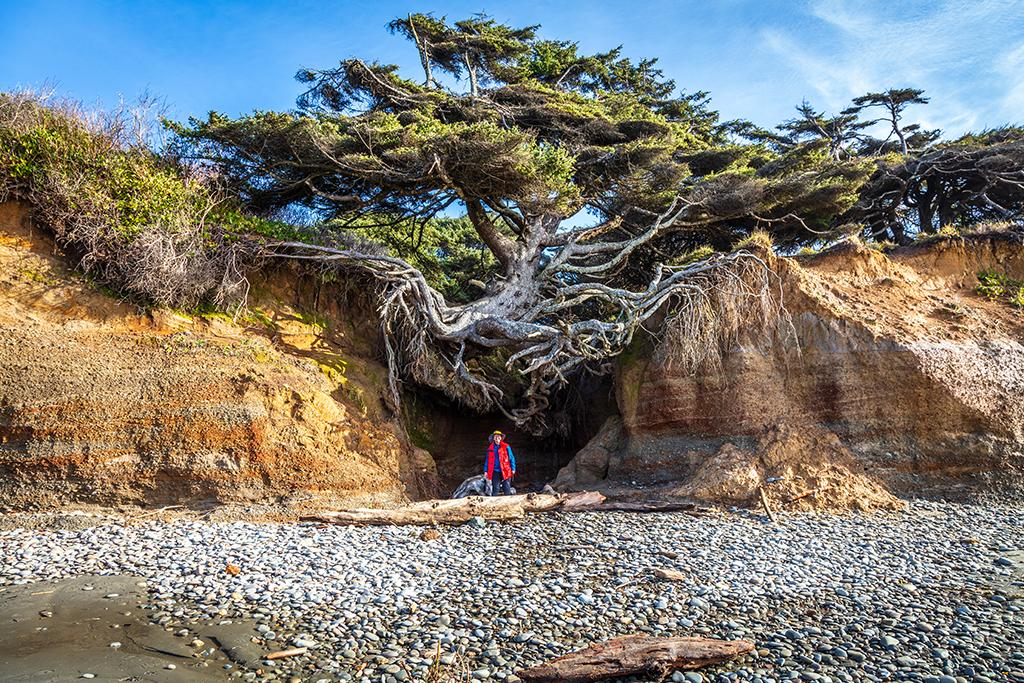
The photographer and "The Tree of Life," Olympic National Park / Rebecca Latson
Beach 4
Beach 4 has a well-maintained trail to the bridge at the bottom, which crosses a stream to a series of rocks over which you’ll need to maneuver to get down onto the beach. Capture some leading line shots of trail and bridge.
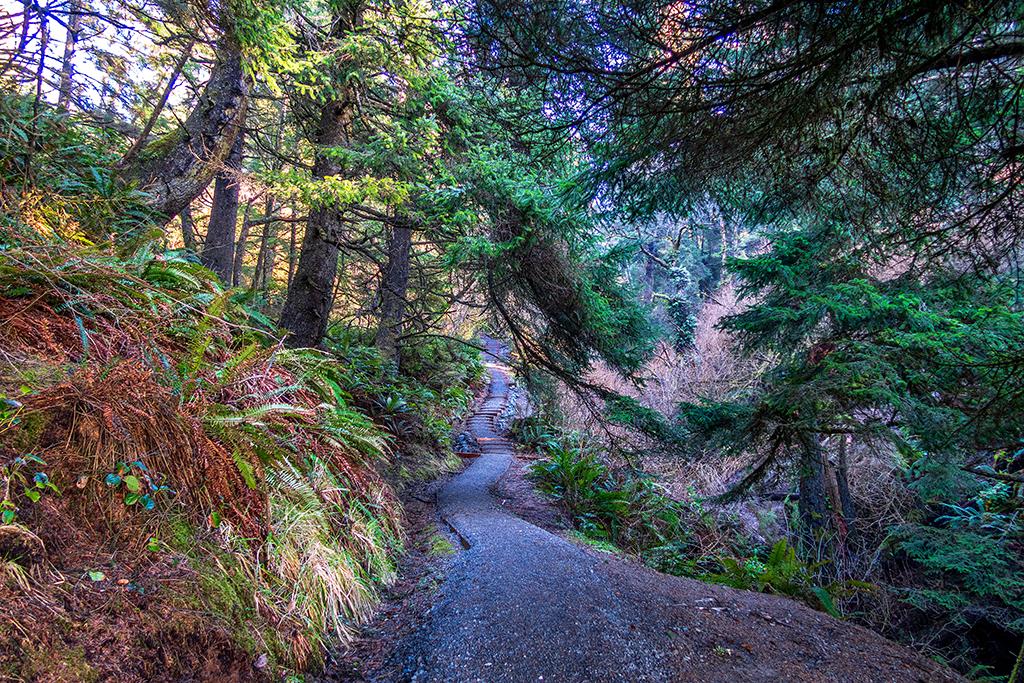
The trail from Beach 4 back up to the top, Olympic National Park / Rebecca Latson
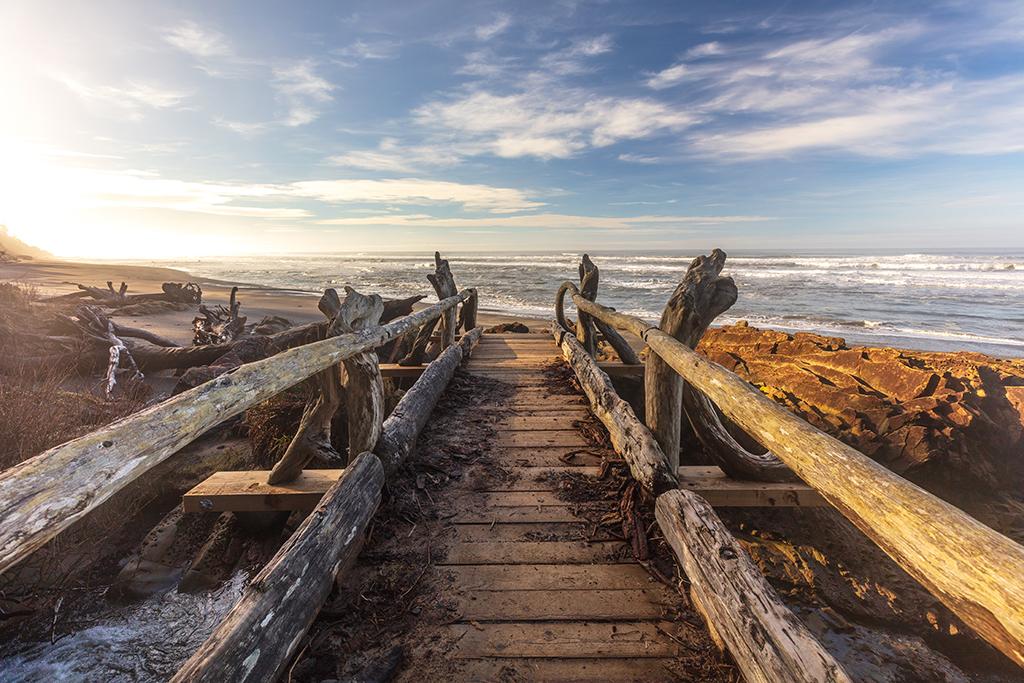
The bridge over the creek to Beach 4, Olympic National Park / Rebecca Latson
At the bottom, stay on the bridge a bit longer to photograph the view to your right, with the tilted beds framing the stream emptying into the ocean. Take a moment to read the placard next to the bridge, explaining the origin of these tilted and overturned rocks and maybe get a photo of that sign to remind you of what you've photographed.
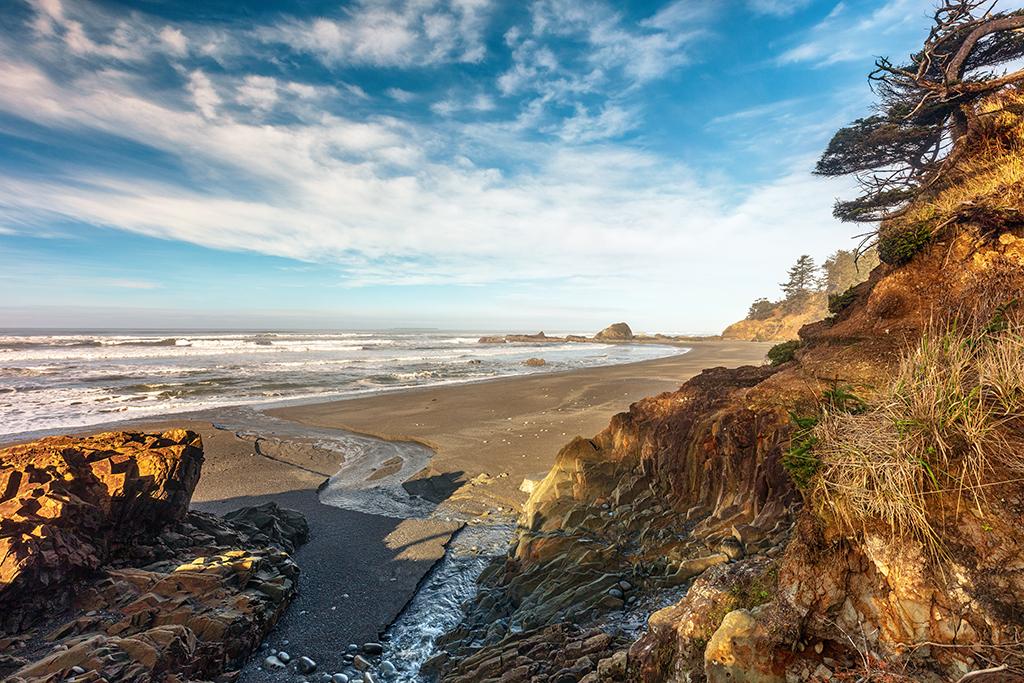
A view of Beach 4, Olympic National Park / Rebecca Latson
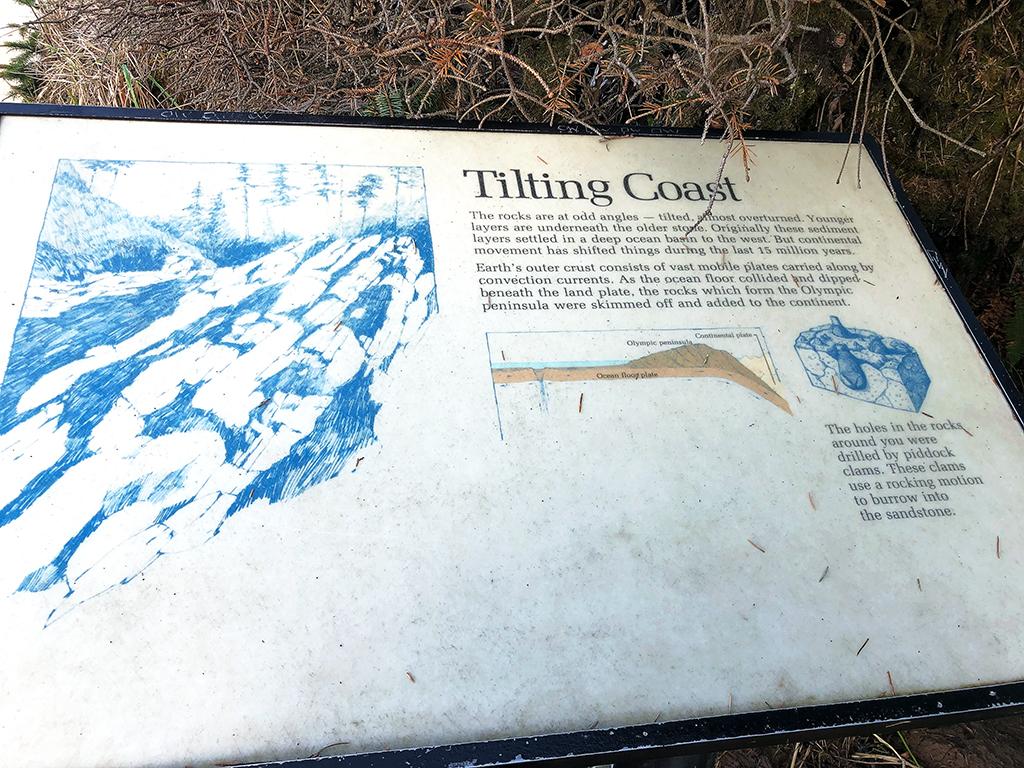
A tilting coast, Olympic National Park / Rebecca Latson
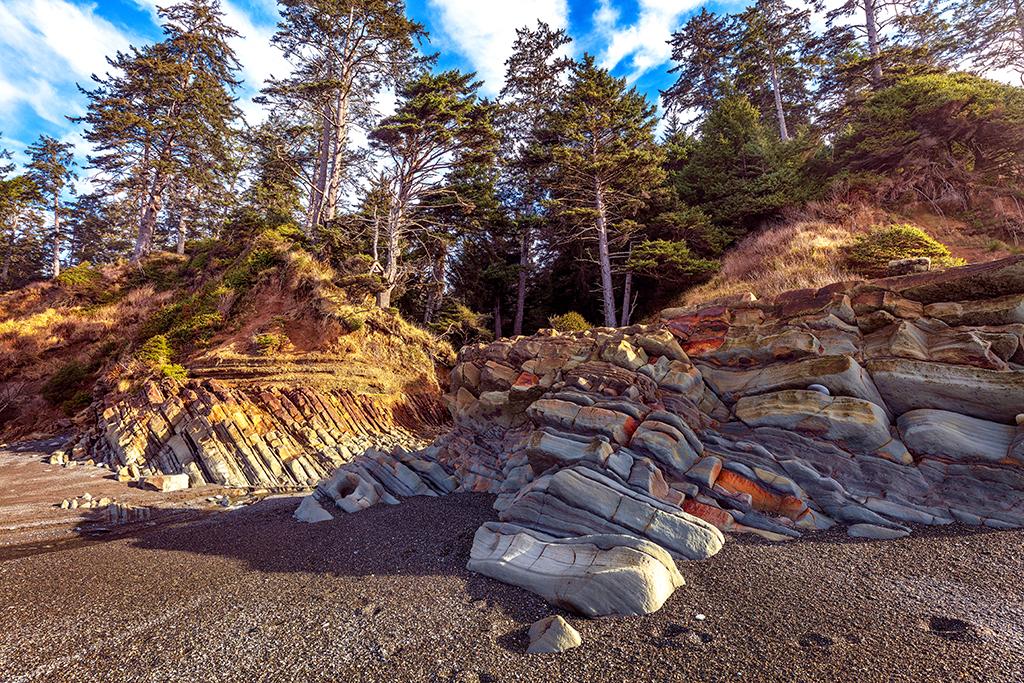
Tilted rock beds at Beach 4, Olympic National Park / Rebecca Latson
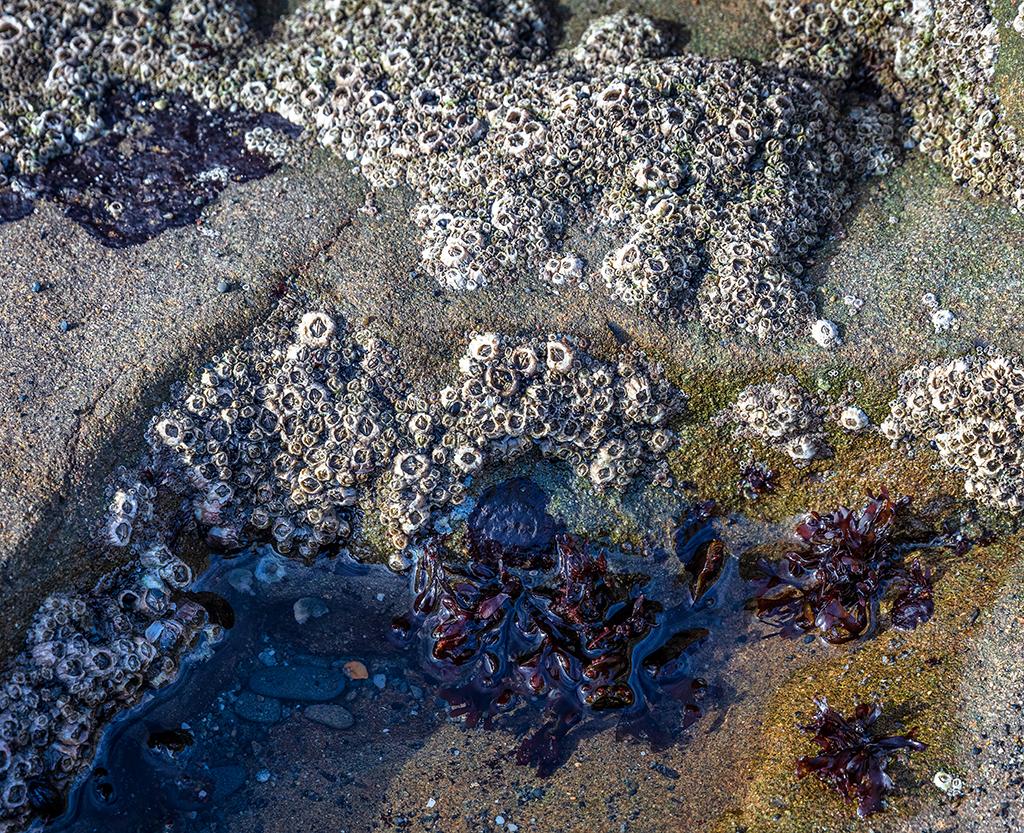
Winter tide pool denizens, Beach 4, Olympic National Park / Rebecca Latson
Ruby Beach
Ruby Beach is picturesque no matter where you photograph: from the trail, sitting on the multitude of logs jamming the trail’s end, or near the sea stacks. Do be careful, though, when maneuvering along, over, and on top of the beached logs, especially if lugging a camera pack and/or tripod.
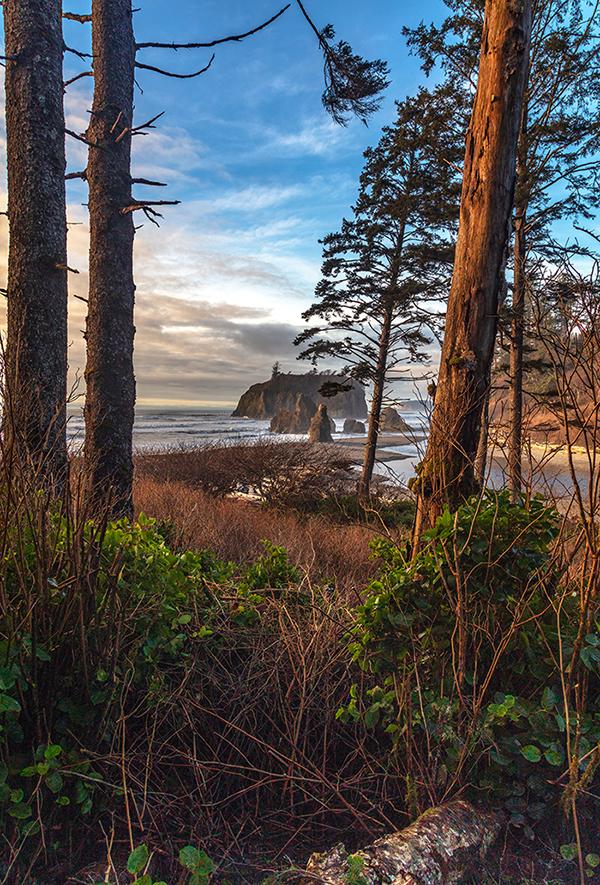
Looking down to Ruby Beach, Olympic National Park / Rebecca Latson
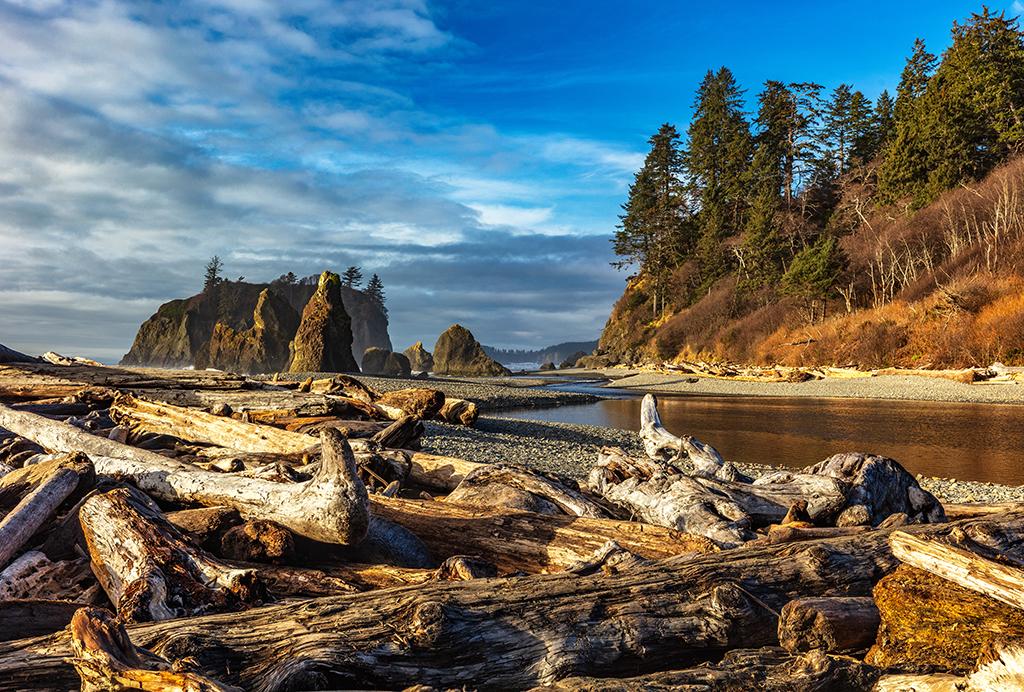
A Ruby Beach logjam at the end of the trail, Olympic National Park / Rebecca Latson
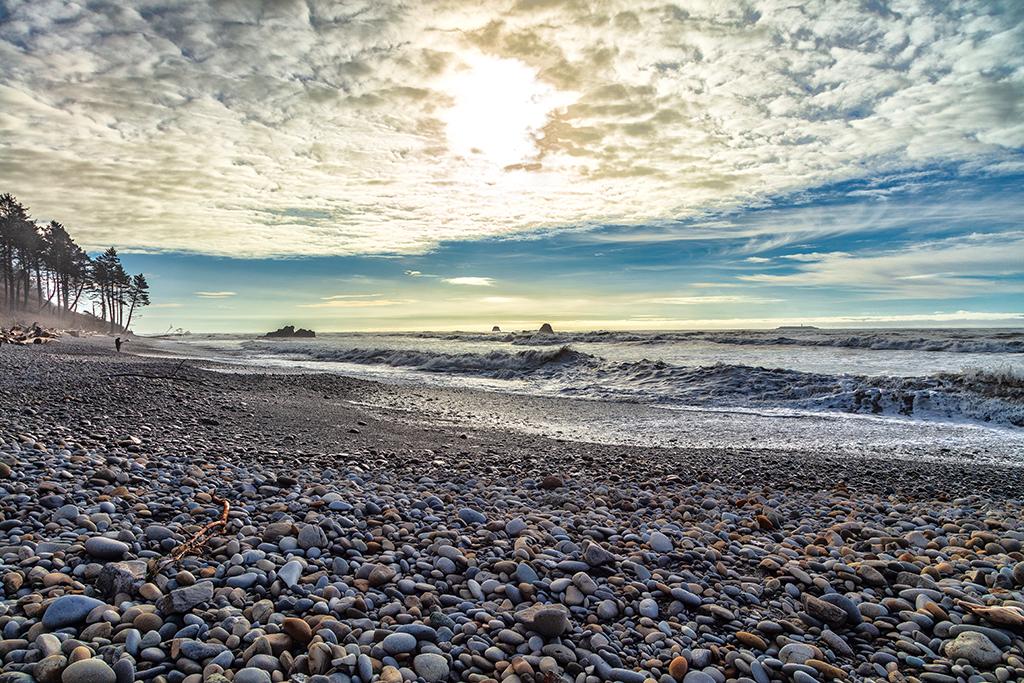
Early afternoon at Ruby Beach, Olympic National Park / Rebecca Latson
For your daytime beach shots on a sunny day, remember the polarizing filter (CPL) and grad ND. Both will help remove some of the sun's glare and keep your composition from totally blowing out.
Get shots of whatever birdlife you see along the beach. A telephoto lens is helpful, in this instance, and creates an interesting, shallow depth-of-field (DOF) such as what you see in the image below, where the line of seagulls are in focus but everything else is pleasantly blurred. I used a 100-400mm lens so I could stay a fair distance away from the gulls and not spook them into flight. A 70-200mm or even 24-105mm zoom would work, too. Point-and-shoot cameras usually have a nice zoom feature, and smartphones work relatively well as long as you don't try to zoom in too much.
To photograph waves crashing against the rocks (or any other movement, such as sea birds in flight), use a fast shutter speed and set your auto focus to track and stay sharp on moving objects. Point-and-shoot cameras usually have an action mode for your choice. You'll also want to try the "burst method" for action imagery by keeping your finger pressed down on the shutter button for several clicks. Out of maybe 4-5 clicks, you'll be guaranteed of at least one sharp, clear image of your subject in action. This method takes up memory space, so keep handy several compactflash or SD cards in your pocket or camera pack.
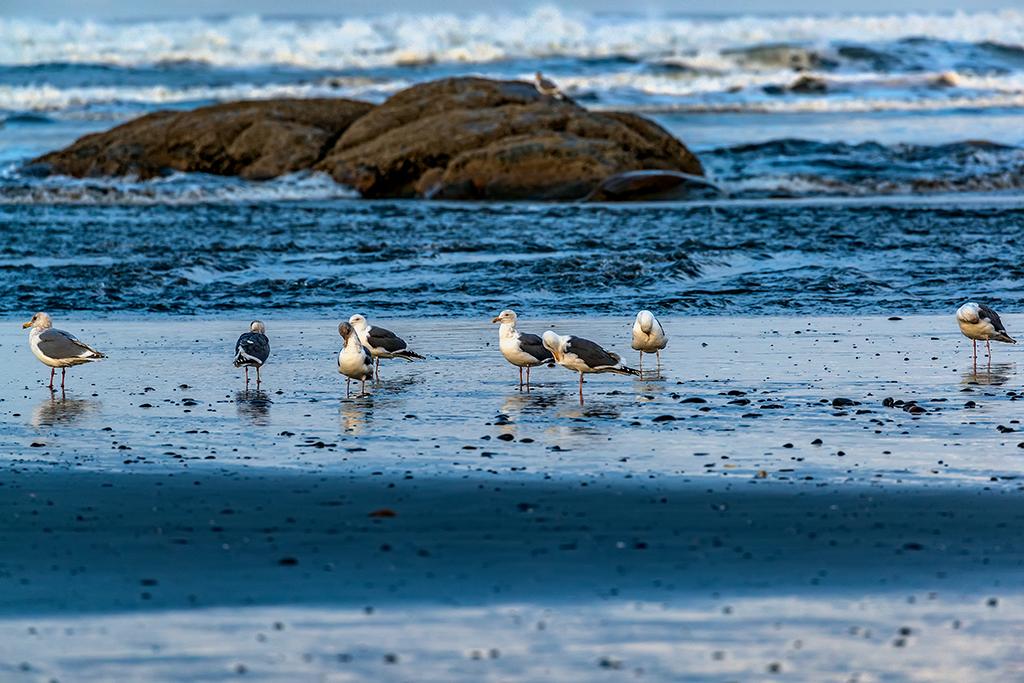
Seagulls, Olympic National Park / Rebecca Latson
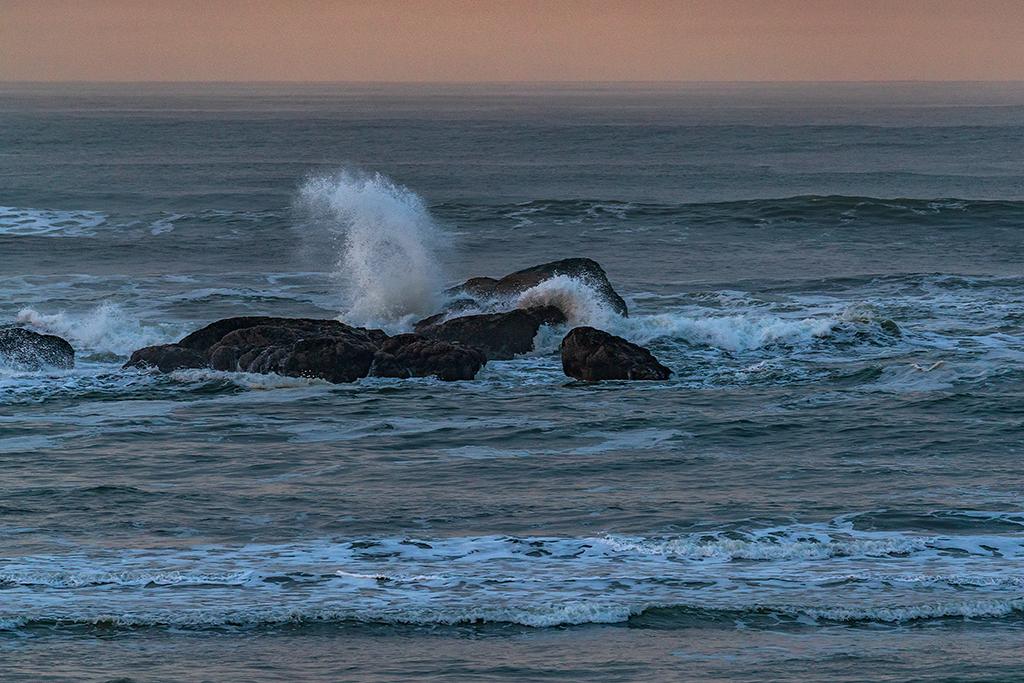
Crashing waves, Olympic National Park / Rebecca Latson
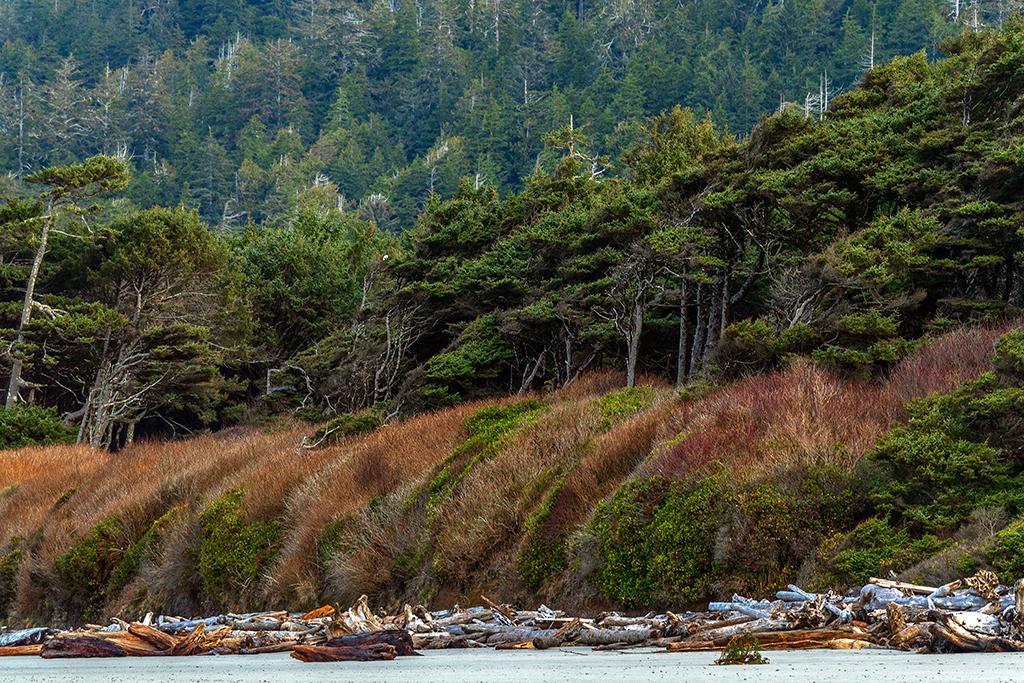
Beach bluff scenery, Olympic National Park / Rebecca Latson
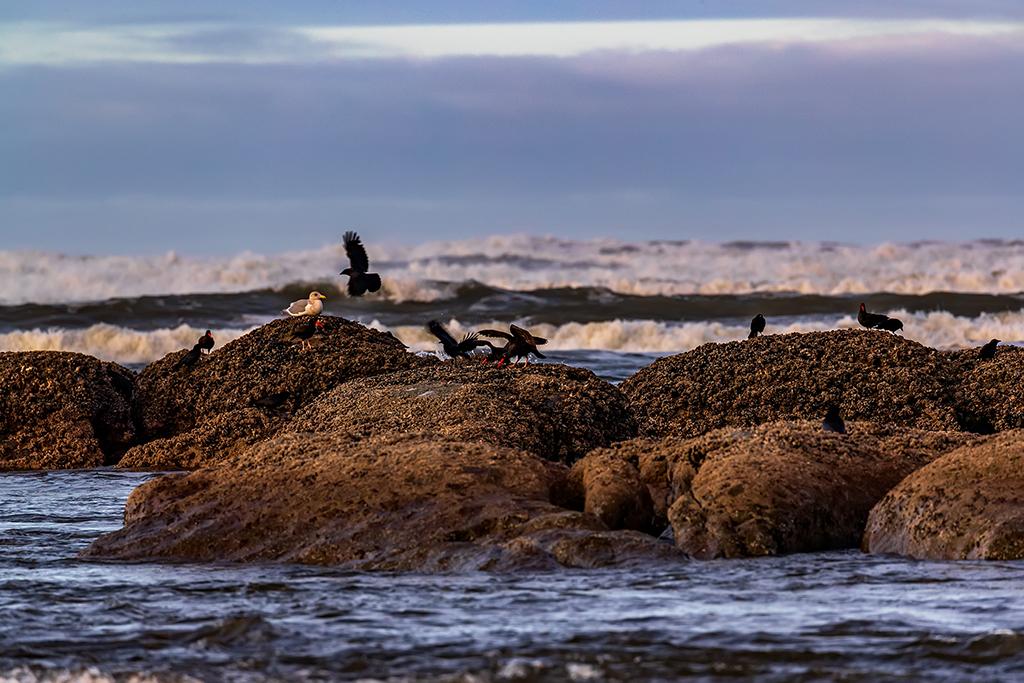
Black Oystercatchers on the rocks, Olympic National Park / Rebecca Latson
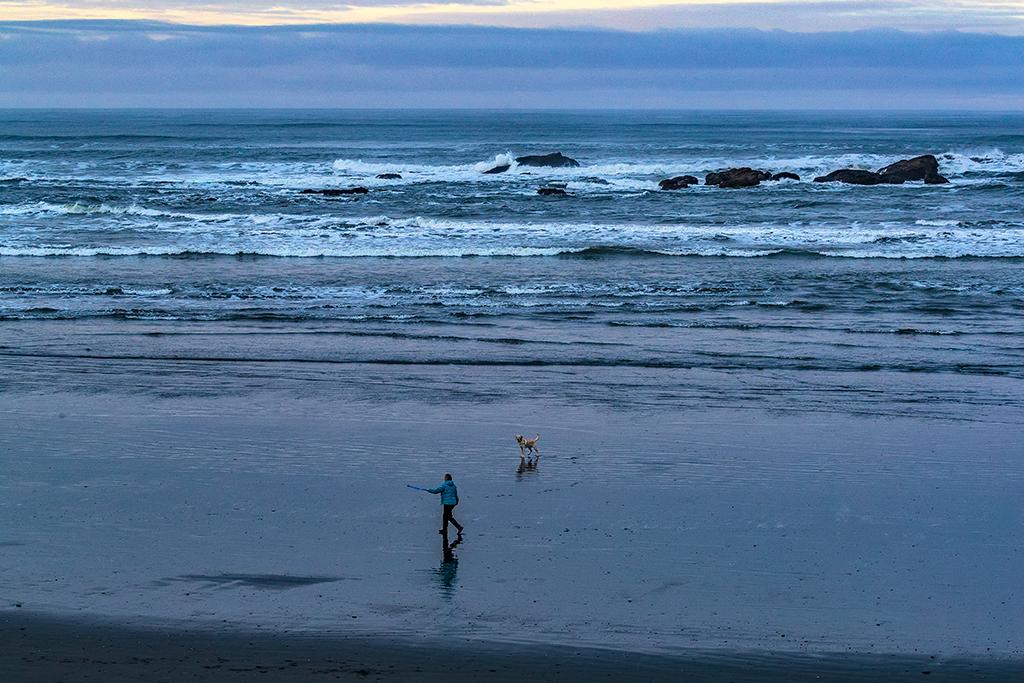
An early-morning walk and a little playtime, Olympic National Park / Rebecca Latson
In addition to all the big landscapes, don’t forget to capture the textures, patterns, and colors of the smaller things, like shells, tide-polished pebbles, and crab carapaces. Smart phones and point-and-shoot cameras are great for photographing the things you see on beaches because they can be kept in your pocket and out of reach of the water. You probably won’t see too many things intact, though, because winter tides, along with winter storms, are strong.
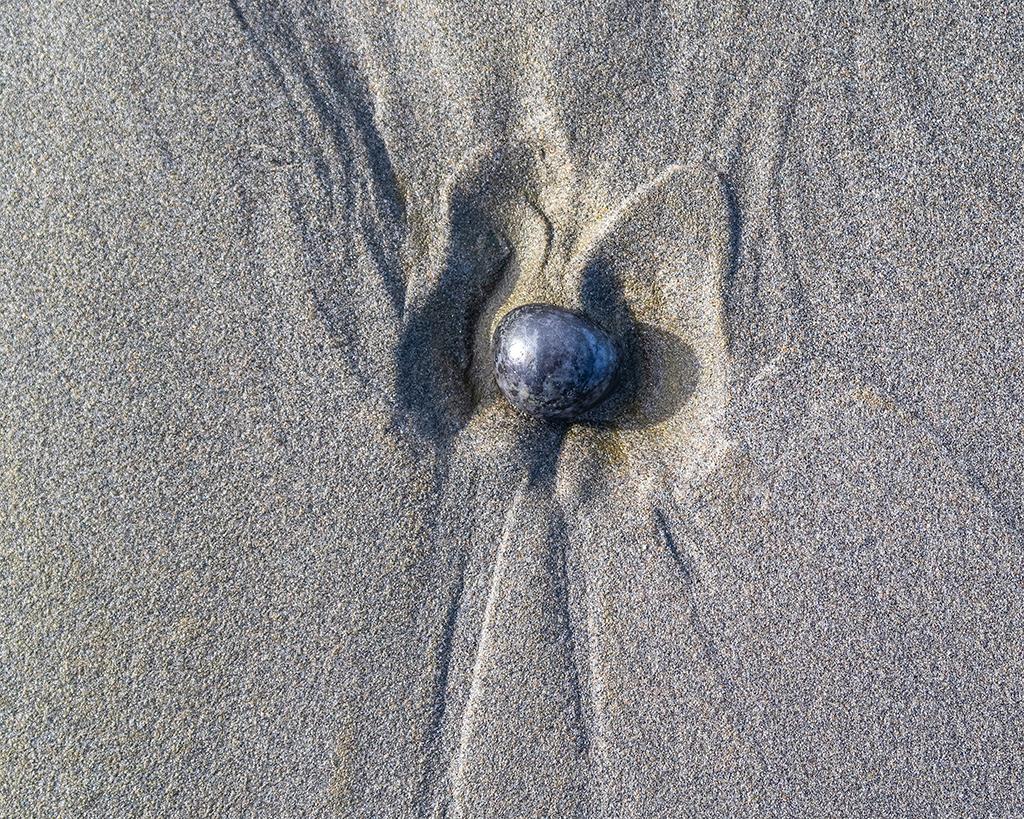
A beach "butterfly," Olympic National Park / Rebecca Latson
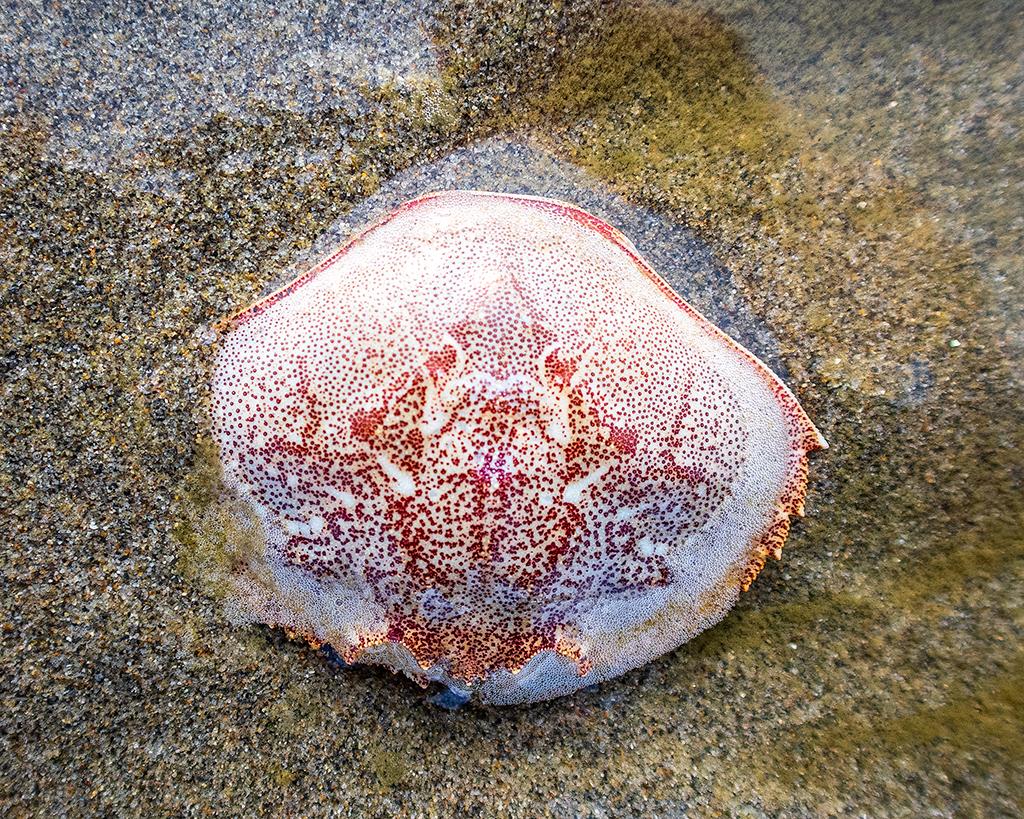
A little crab carapace, Olympic National Park / Rebecca Latson
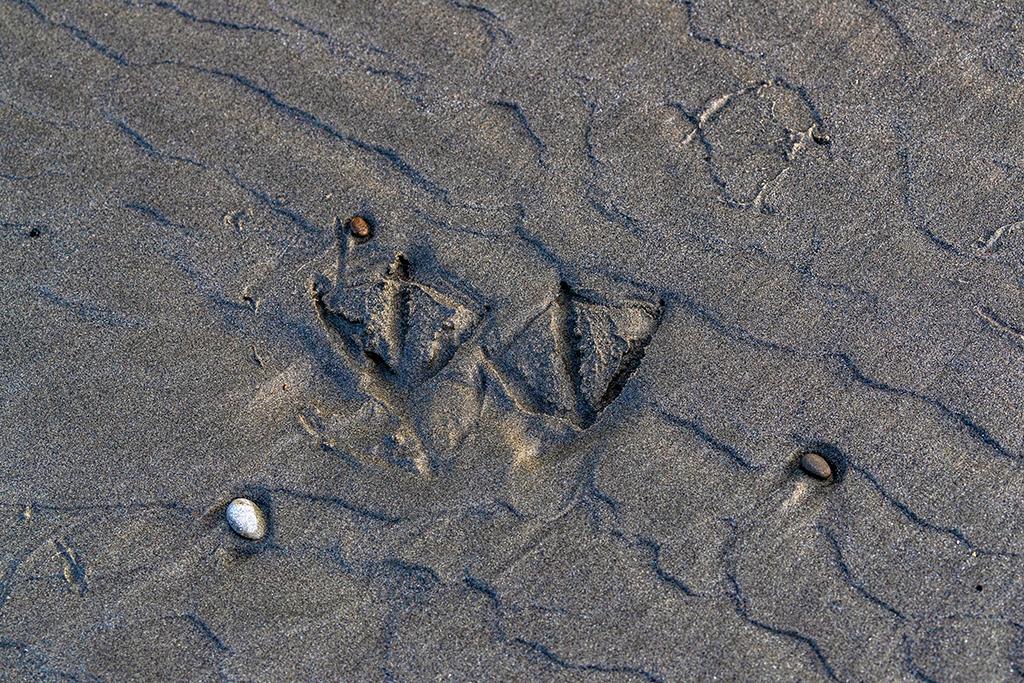
Flipper prints in the sand, Olympic National Park / Rebecca Latson
The Rainforest
The government shutdown was still operating so no staff was present to clear the Hoh Rainforest road, closed and blocked off due to fallen trees. I ultimately captured some coastal rainforest images and later discovered the road into the Quinault Rainforest (North Shore Road) some 27 miles south of Kalaloch Lodge, was open. I enjoyed a morning in the rainforest photographing July Creek and ambling along the Maple Glade Rainforest Nature Trail.
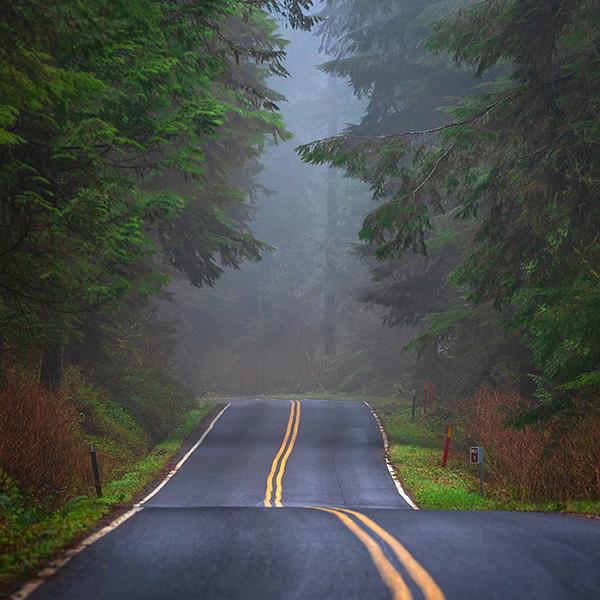
The road through the rainforest, Quinault Rainforest, Olympic National Park / Rebecca Latson
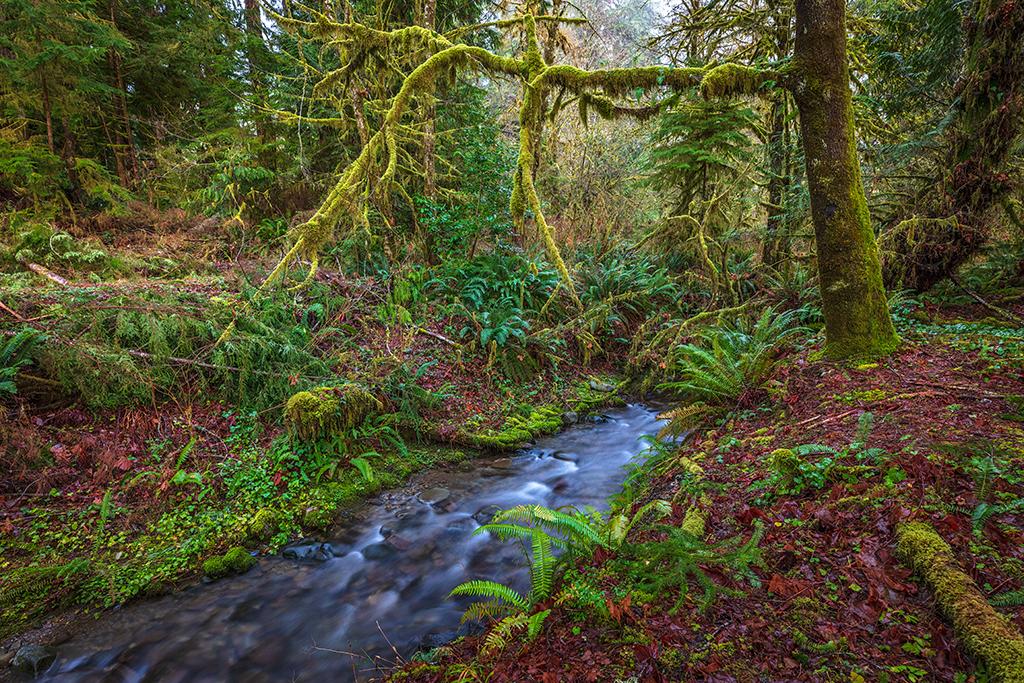
The view upstream at July Creek, Quinault Rainforest, Olympic National Park / Rebecca Latson
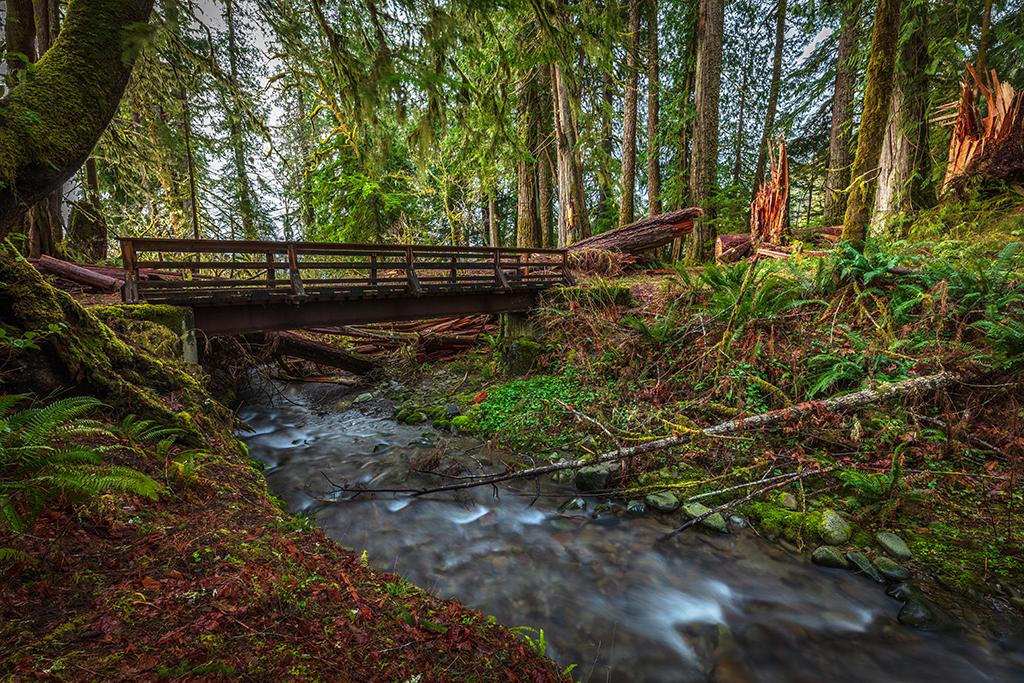
The bridge over July Creek, Quinault Rainforest, Olympic National Park / Rebecca Latson
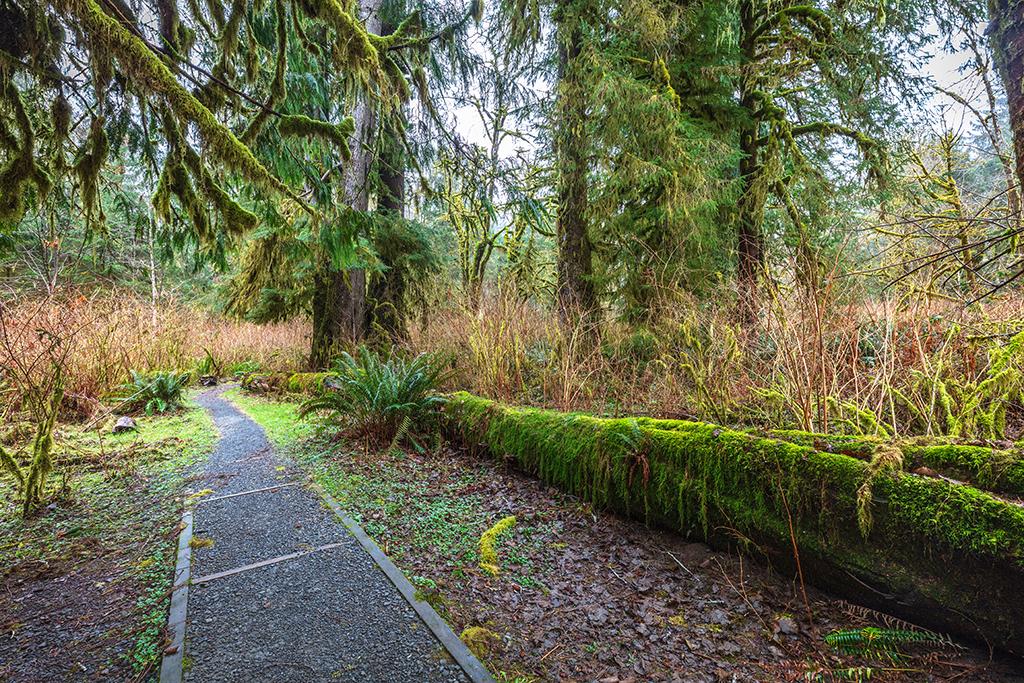
Ambling along the Maple Glade Rainforest Nature Trail, Quinault Rainforest, Olympic National Park / Rebecca Latson
How do I begin to explain the complete change in atmosphere and environment, moving from the open, breezy beaches to the shadowy, moody, rainforest lit by an inner glow and populated with so many shades of green I lost count? Even when it’s not raining, you can hear the drip, drip of water falling from the trees, which author Tim McNulty calls, appropriately, “tree drip.”
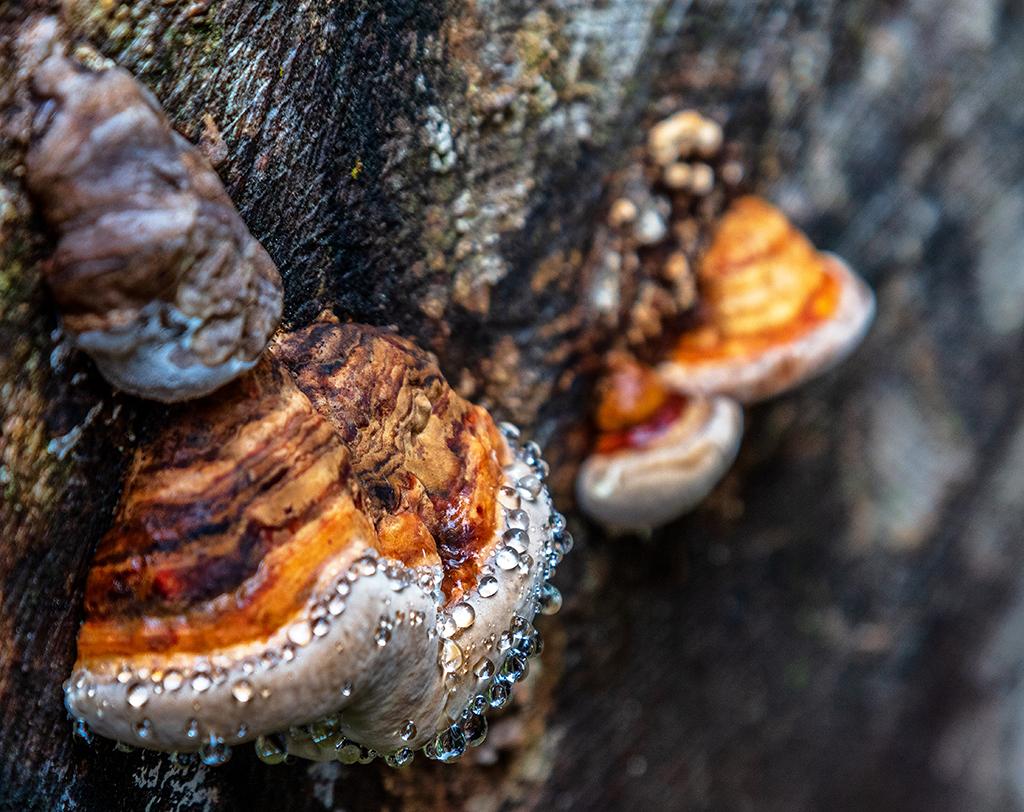
Tree-dripped fungi, Quinault Rainforest, Olympic National Park / Rebecca Latson
For the rainforest, I found myself getting more vertical than horizontal shots. It’s about the trees, you know.
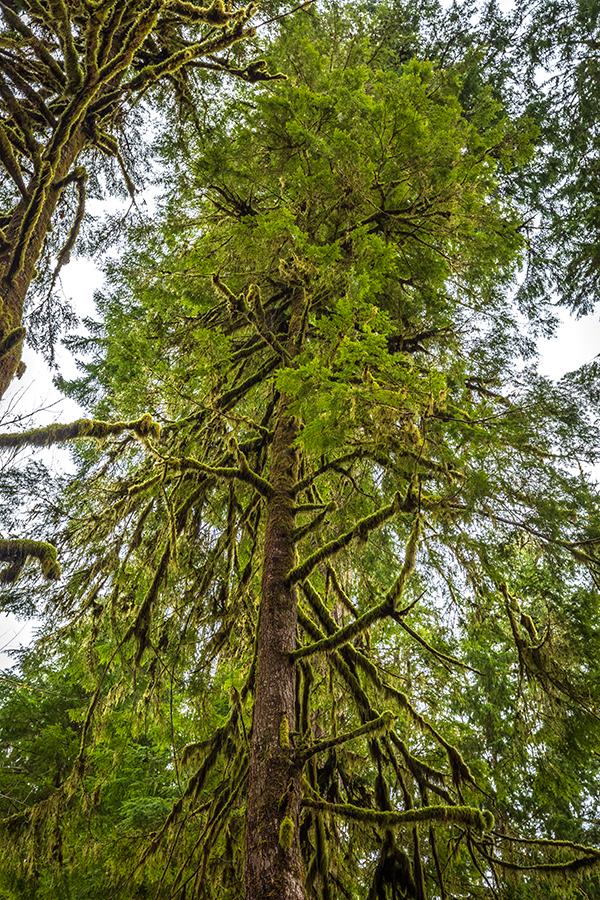
A very tall tree, Quinault Rainforest, Olympic National Park / Rebecca Latson
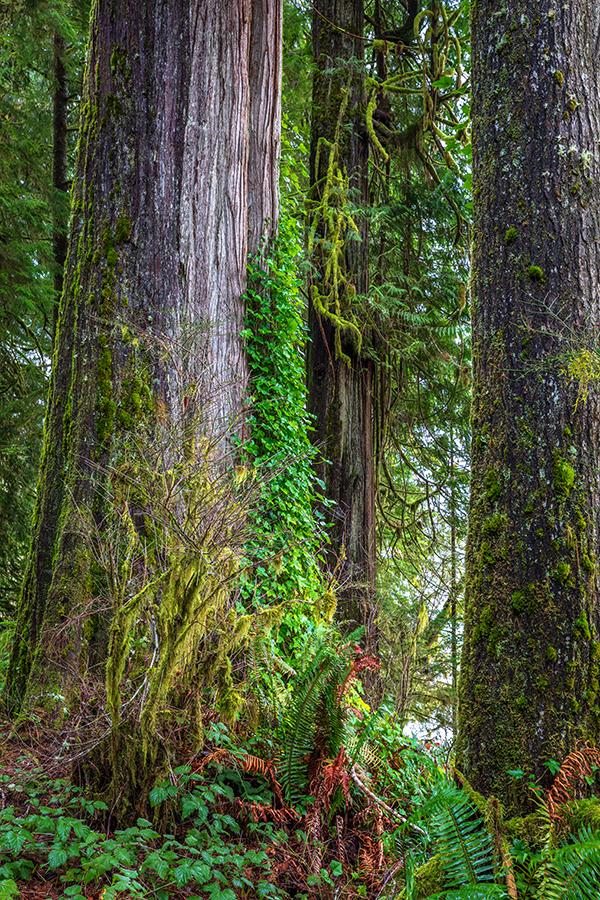
Ferns, moss, and tree trunks, Quinault Rainforest, Olympic National Park / Rebecca Latson
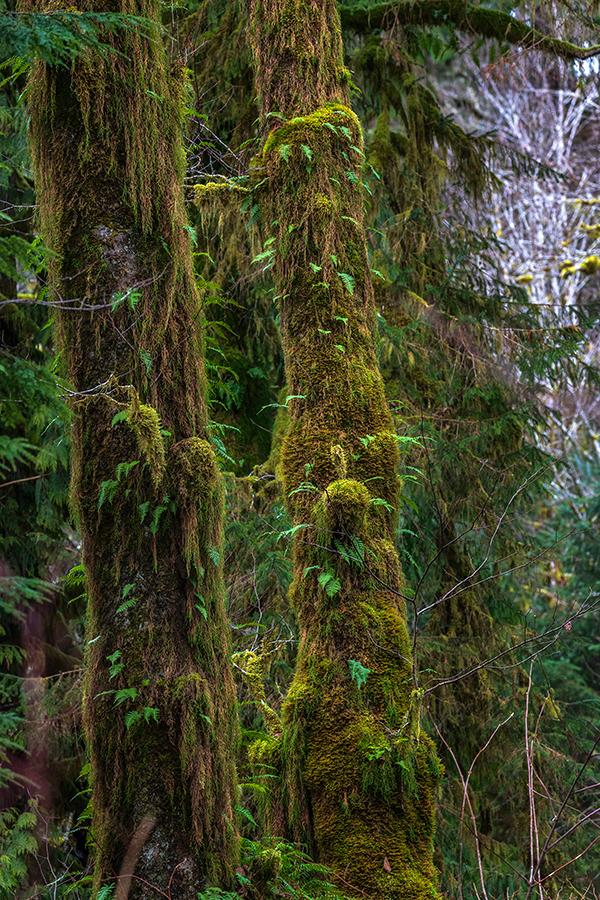
Tree trunks, ferns, and moss, Quinault Rainforest, Olympic National Park / Rebecca Latson
The rainforest is shaded, so you should adjust your camera’s settings to keep from underexposing your composition. Because I utilized a tripod for many of my shots involving water, I kept the CPL filter on the lens. Why would I do that in such a darkened environment? The next time you visit the rainforests in this national park, put on that CPL, point it toward the water, rotate the outer ring and see if surface glare disappears, allowing you to see through the water to the bottom. Play around to get the effect you want. You might like all those tree reflections, or you might prefer seeing beyond those reflections.
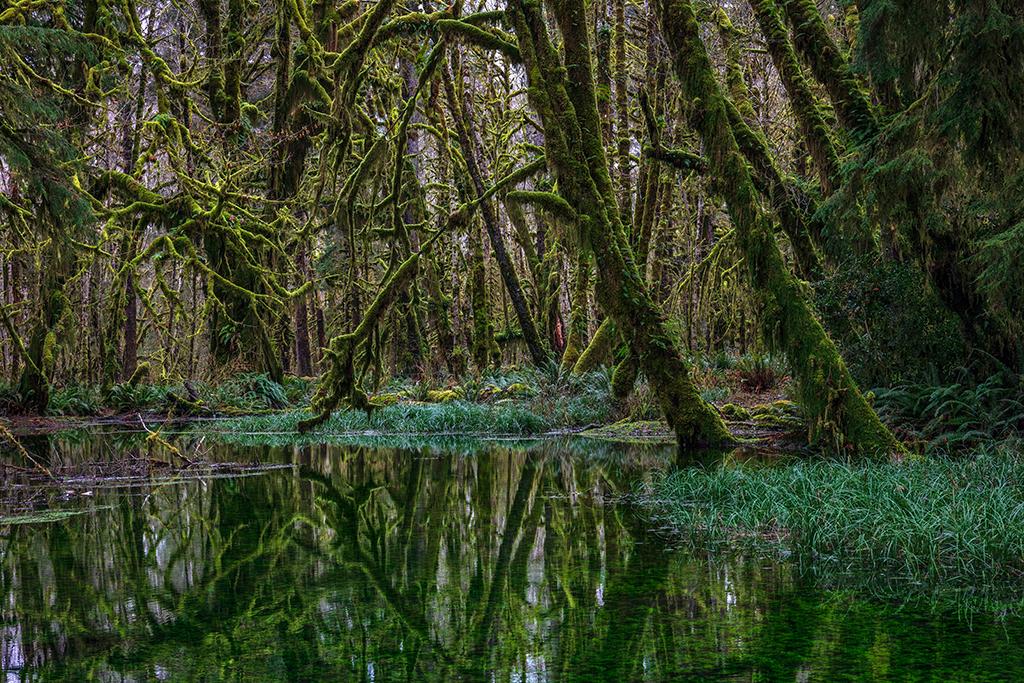
Haunting scenery, Quinault Rainforest, Olympic National Park / Rebecca Latson
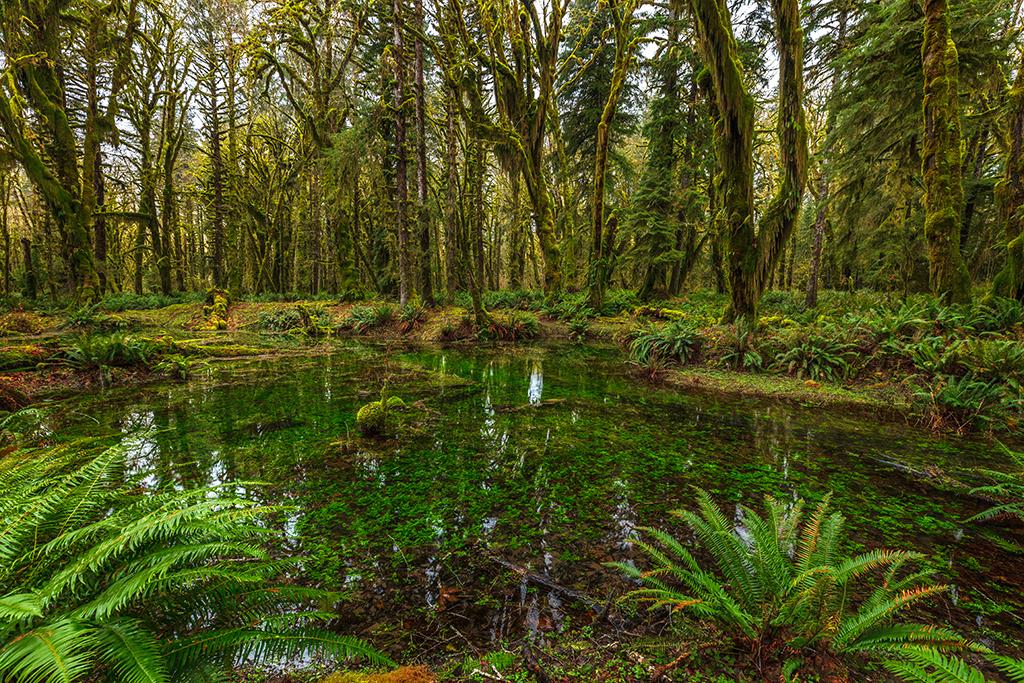
Rainforest reflections, Quinault Rainforest, Olympic National Park / Rebecca Latson
Don’t forget the moss, mushrooms, fungus, and lichen. Smartphones work relatively well at getting closeups, and point-and-shoot cameras have a macro setting. If you use an SLR, you have the choice of macro lens, telephoto lens, or cropping a wider-angle shot to move in on all the interesting, beautiful, highly color-saturated life growing on bridge railing, signs, tree trunks, tree limbs, logs, and within the rainforest soil.

Fruticose lichen, Quinault Rainforest, Olympic National Park / Rebecca Latson
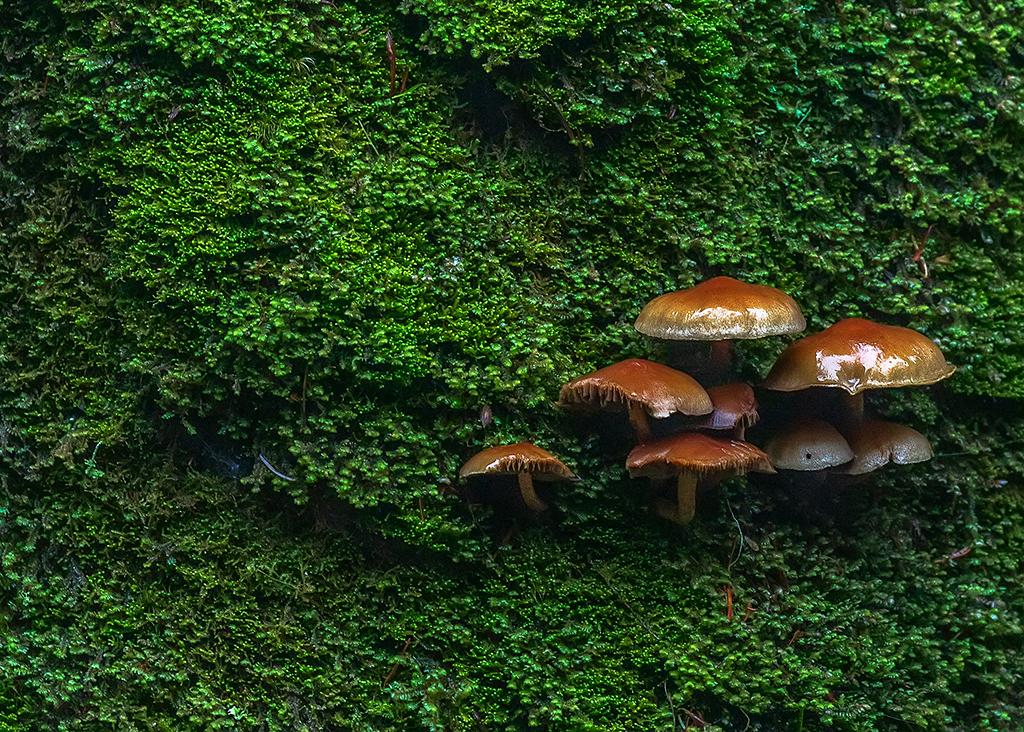
Brown on green, Quinault Rainforest, Olympic National Park / Rebecca Latson
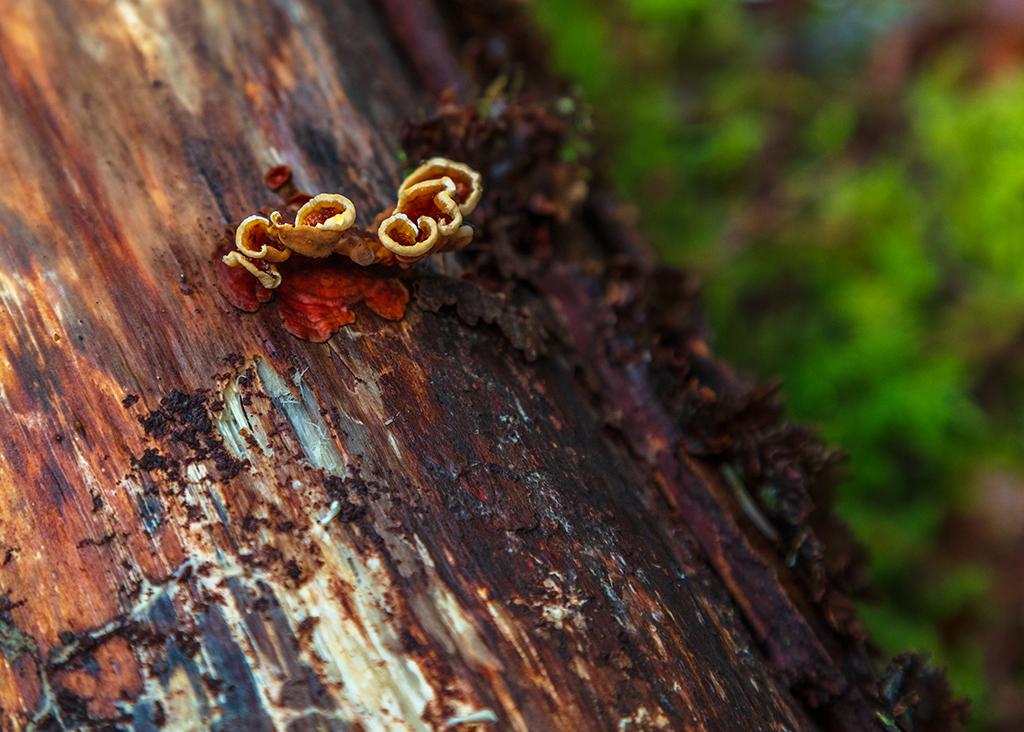
Little fungus on a log, Quinault Rainforest, Olympic National Park / Rebecca Latson
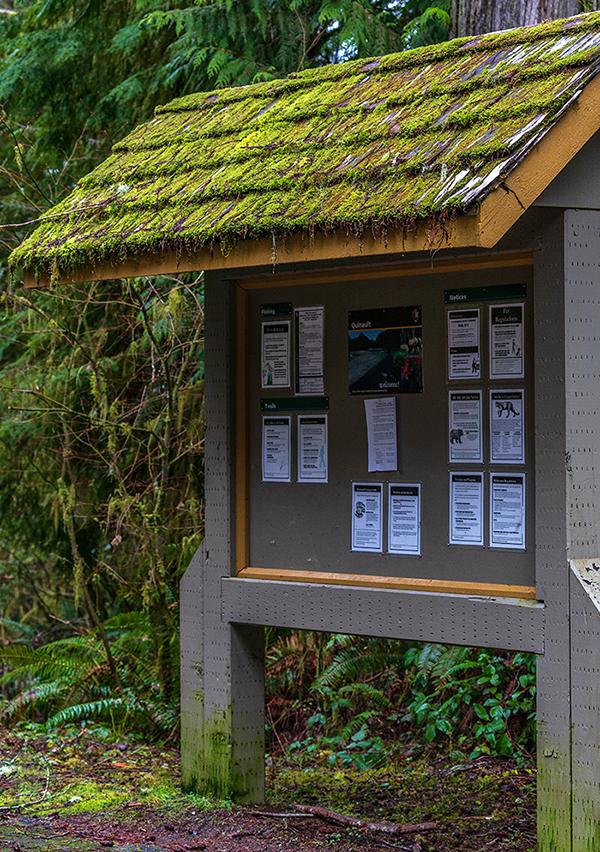
Moss-covered shingles, Quinault Rainforest, Olympic National Park / Rebecca Latson
If you are feeling experimental, use a slower shutter speed of several seconds (adjust your other settings to keep from overexposure) and move a zoom lens in or out during those seconds. The shot below gives you an indication of the surreal, dreamy quality you’ll get. Full disclosure: I accidentally captured this image while one of the tripod legs was sinking forward into the soft ground at the same time the shutter clicked. I didn’t even know what I had until I opened it up on my computer. The effect, though, is similar.
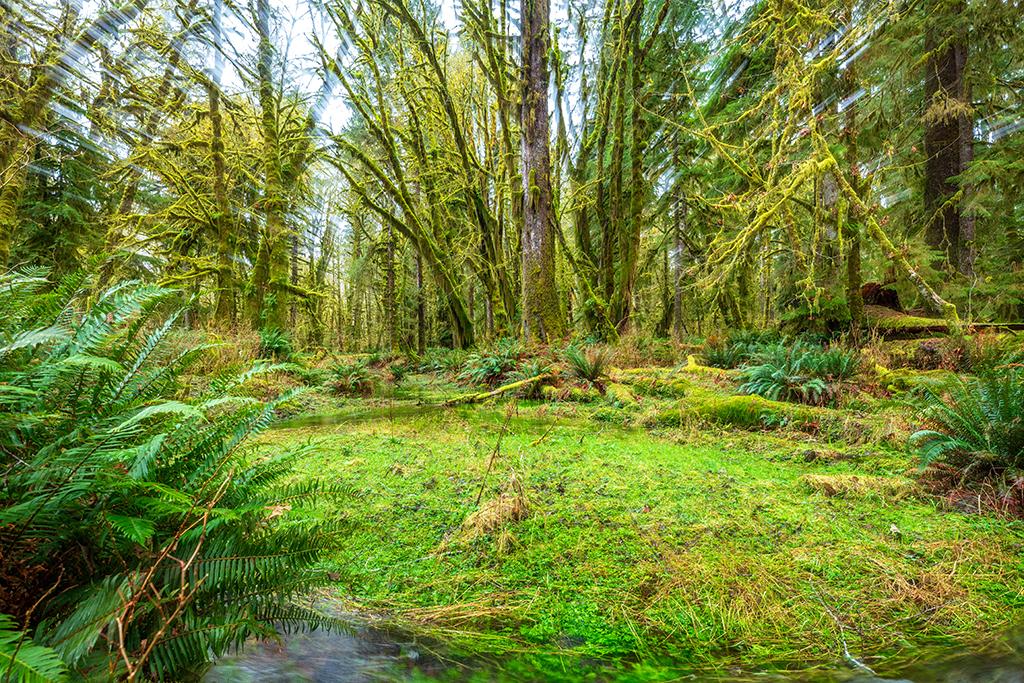
Dreaming in the rainforest, Quinault Rainforest, Olympic National Park / Rebecca Latson
Accommodations, no matter whether you sleep in a tent, a camper, an RV or a cabin at the Kalaloch Lodge, add a nice bit of scale and reference to the scene. I’m a big believer regarding inclusion of humans and man-made objects in some of my shots for this very reason. Don't think inclusion of man-made items makes your landscape any less lovely.
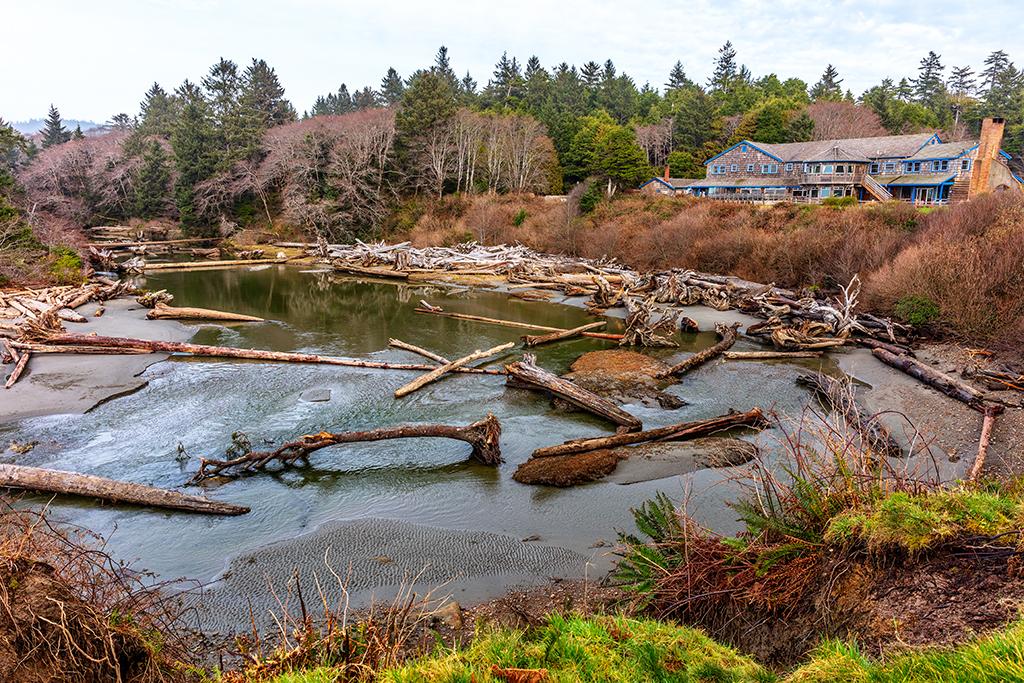
Kalaloch Lodge and Kalaloch Creek, Olympic National Park / Rebecca Latson
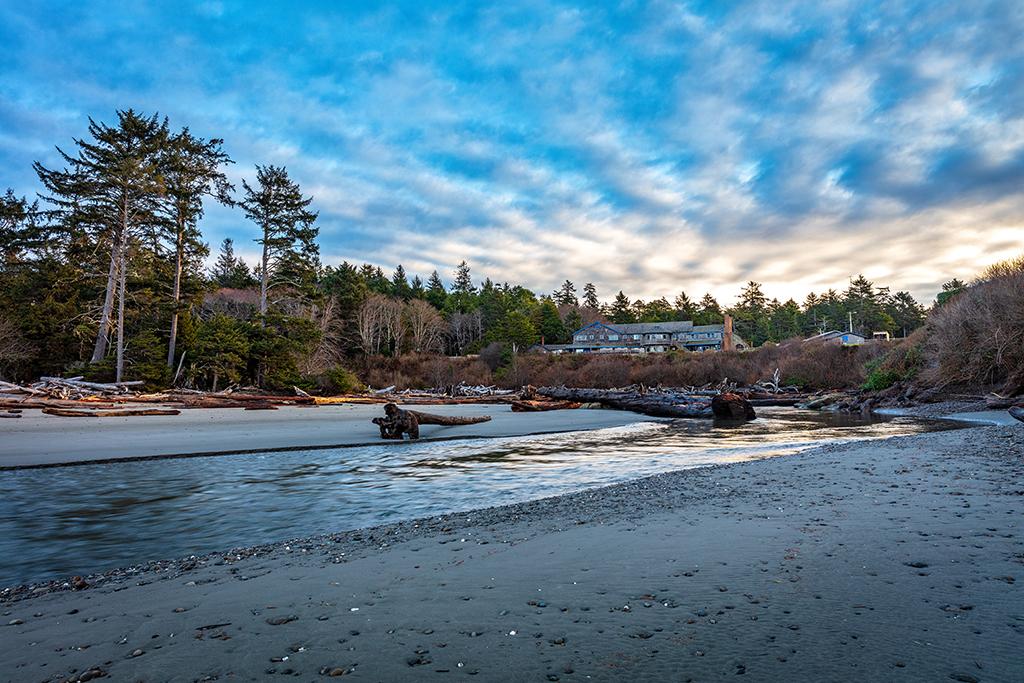
Kalaloch Lodge and Kalaloch Creek, Olympic National Park / Rebecca Latson
I’ll be re-visiting Olympic National Park during the spring and/or summer, when more roads are open and I can visit Hurricane Ridge, Sol Duc Falls, Crescent Lake, and the Hoh Rainforest. By the way, I like Mr. McNulty’s writing style. Filled with facts but far from dry. Just like the rainforests in this park.
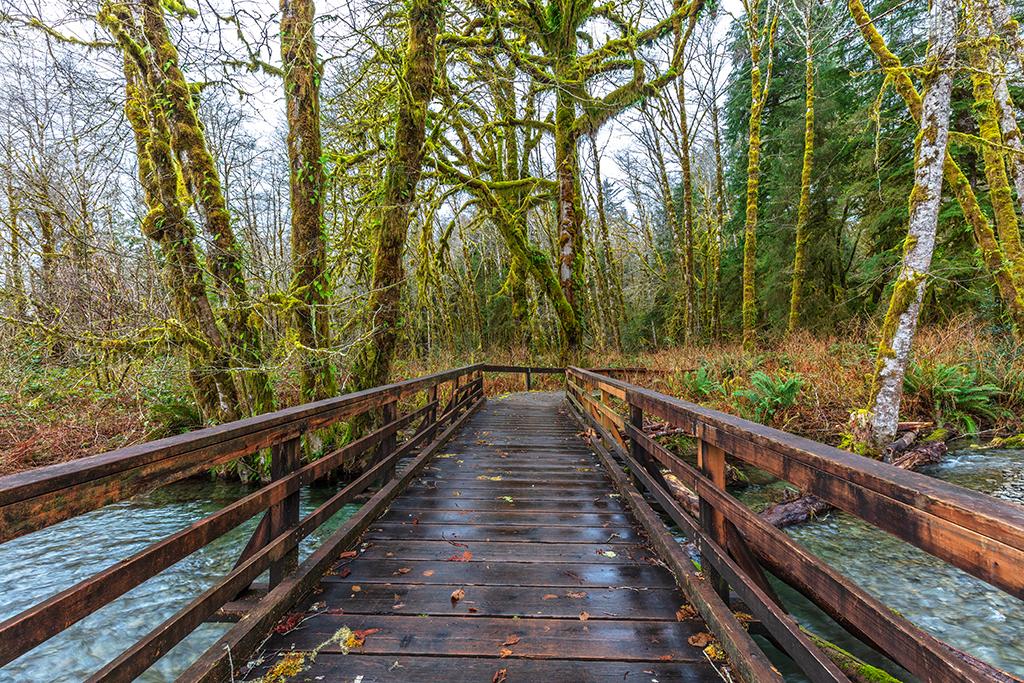
Where will that bridge take you? Olympic National Park / Rebecca Latson


Comments
Much variety of scenery in this park. Thanks for posting.
Seeing these pics brings back wonderful memories of my visit to the lodge, park & rainforest in 2005
Once again you have put together an informative, attractive and useful photo-essay. I envy your skills in this.
One of the places on my "bucket list" - and Rebecca - I like all your photos, but I really like the mushroom one "Brown on Green". Thanks for sharing your insights!!