Hovering above the lava flows, Hawai'i Volcanoes National Park / Rebecca Latson
During the latter part of February, I embarked upon a five-day “Wild Hawaii” organized photo tour. This trip encompassed photographic locations circling the entire Big Island of Hawaii, including Hawai’i Volcanoes National Park. Among the many really cool things we experienced were a lava boat ride to view and photograph the famous “fire hose” lava stream at the Kamokuna lava delta, an hourlong helicopter flight (doors off) over glowing lava flows emanating from the active Pu’u O’o vent, and sunset photography of Halemaumau Crater within Kilauea Caldera as seen from the Jagger Museum viewpoint. A wild ride, indeed!
I enjoy these photo tours not only for the locations to which we travel but also for picking up new tips, tricks, and techniques to get just the right shot. For example, photographing lava can be a little complex. While I have captured lava images before, I still can’t claim to be an expert. Needless to say, I was very happy when our tour leader, photographer Todd W. Pierce, shared exposure advice to us lava novices. My results pleased me so much that I thought I’d pass these recommendations along to you. Note: Settings are geared toward SLR cameras.
Here’s the main takeaway: When photographing lava, you don’t want any contrast. Why? Cooled lava (‘a’a and pahoehoe) with added contrast looks like one big mass of Dark, with little to no detail. Lava has detail, and we definitely wanted this in our shots because the freshly cooled pahoehoe over which we flew in our helicopters displayed wrinkles and cracks and ropy or smooth billowy surfaces that would have been hidden with the addition of too much contrast. Sure, you can remedy this issue post-process, but why do that when you can handle such things in-camera?
Where do you go in your camera’s menu to adjust contrast? For a Canon SLR, go into your camera’s menu and look for “Picture Style.” Select that, and you will see several styles from which to choose. Pick your style, then drill down until you see slider choices for saturation, sharpness, contrast, etc. Choose the contrast slider and move it all the way to the left (-4). Boom, you're done. For you Nikon users, look for “Picture Control” in your camera’s menu. For Sony users, look for "Creative Style." While you’re at it, check the in-camera sharpness. Lower it (in Canon cameras, move the slider to 2). If you want additional sharpening, do it in the editing stage where you have a little more control over the amount and part of the image applied.
Now, let’s talk about ISO, aperture (f-stop), and shutter speed. If you’re on the sea or in the air, you’ll not only be moving in general (the rocking waves or the battering wind), but you’ll also feel engine vibration. Camera settings aside, don’t make the mistake of leaning against something (like a railing or seatback) that carries the vibration up through you and into the camera. You want to “hang loose,” as they say in Hawai’i ... well, as loose as you can under the circumstances. In a helicopter, you’ll be strapped in pretty tightly.
Crank that ISO up. For the boat trip to the “fire hose,” we set our ISO at 1,000 (at times, I ratcheted it up to 3,200). For the helicopter flight, my ISO ranged anywhere from 8,000 to 10,000. Yup, that’s right: 8,000 to 10,000. But Becky, weren’t your images horribly grainy? Yes, there was noise (grain), but not as bad as you might think, and it certainly wasn’t anything a decent noise-reduction plug-in couldn’t mitigate. You see, the higher your ISO, the faster you can set your shutter speed. You need that speed in order to freeze motion for a sharp image. My shutter speeds ranged from 1/1600 to 1/5000. Keep your aperture relatively middle-of-the-road. For the aerial lava views, Todd suggested an aperture of 5.6, and for the boat images, an aperture of 8 (too wide-open of an aperture would have resulted in the steam from the lava hitting the water being greatly overexposed).

Aerial view of a tree's fragile toehold amongst the lava flows, Hawai'i Volcanoes National Park / Rebecca Latson

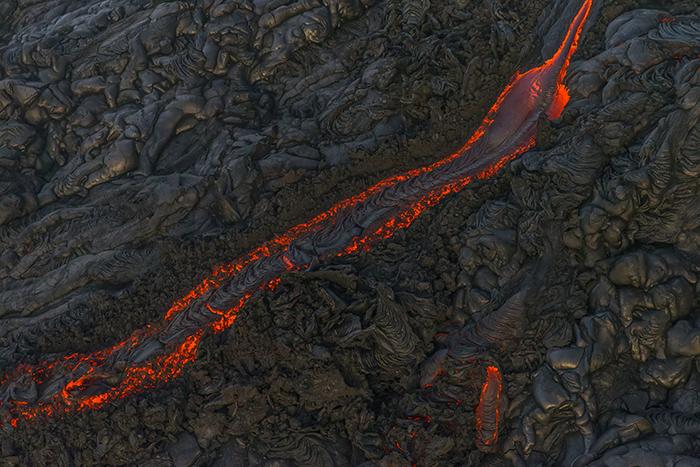
A ribbon of lava as seen from the air, Hawai'i Volcanoes National Park / Rebecca Latson
I don’t remember this being mentioned, and I’m not sure if it mattered, what with the fast shutter speeds, but I did go ahead and set my focus mode to AI Servo to track movement in order to focus sharply. Boat, helicopter, and lava were all moving, and every little bit helped when it came to sharp focus, as far as I was concerned. It’s also handy to use a camera with a fast fps (frame per second) count. In other words, you don’t want to take a digital medium format camera with an fps of 3 with you on one of these trips. I’m simply mentioning this as an aside - you don’t need to go fork over the big bucks to make a purchase (you could rent if you really wanted to try one of the faster models). Whatever SLR you have, apply the advice in this article and you will be fine.

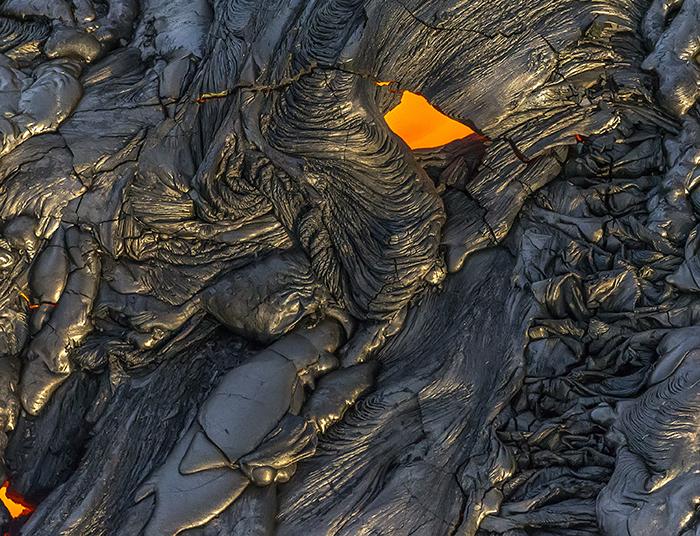
Looking down over a "skylight" and into the depths of magma, Hawai'i Volcanoes National Park / Rebecca Latson
Here’s a final tip: From time to time, put down the camera and take in with your own eyes the amazing geological spectacle developing right in front of you. Use your human senses in addition to your camera’s sensors to capture the full scene before you. Not only will you see the brilliant, orange-red hue of the lava flowing in front of you, but, depending upon how close you get, you’ll feel the heat and smell the acrid, sulfury tang of volcanic activity. Viewing and photographing lava is an experience to be savored and not forgotten. What a story you’ll have to tell friends and family, and your amazing photographs will be the proof.

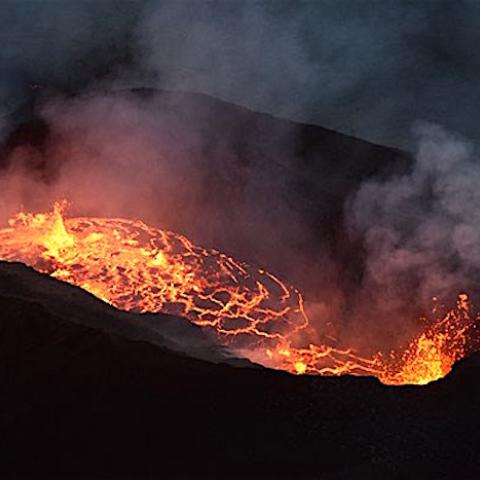
Explosive action at the "fire hose" as seen from a boat, Hawai'i Volcanoes National Park / Rebecca Latson


 Support Essential Coverage of Essential Places


