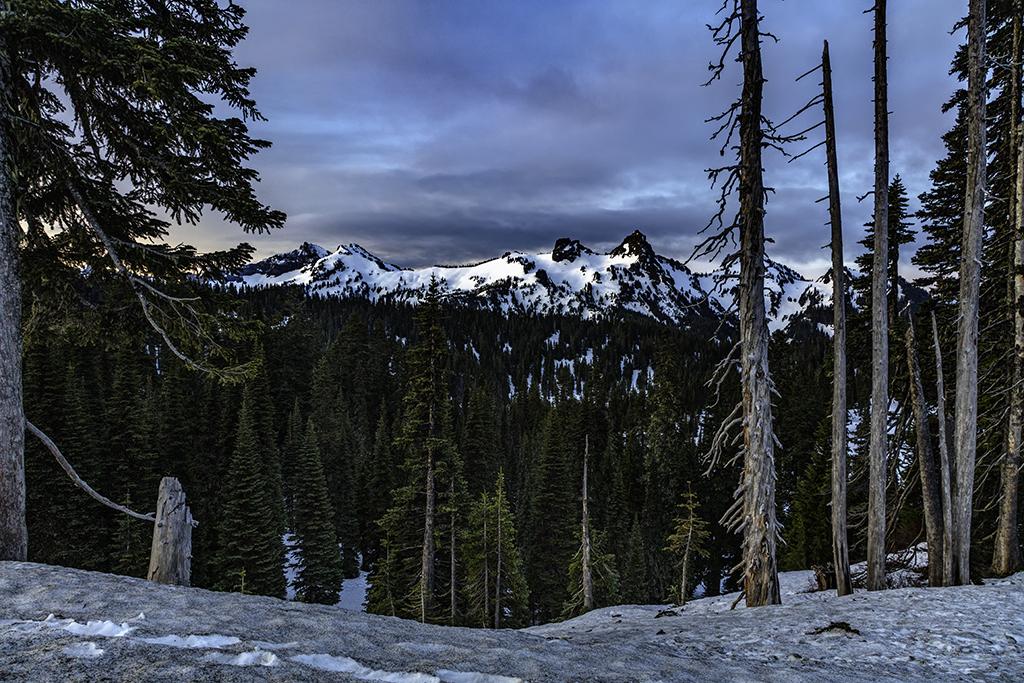
Dawn over the Tatoosh Range, Mount Rainier National Park / Rebecca Latson
In 2016, I wrote an article for the Traveler about the rewards of lowered expectations. In it, I cautioned you to lessen your expectations for seeing whatever it is that makes a particular national park famous. I used my spring trip to Big Bend National Park as an example because it was during a time when I should have witnessed all sorts of cactus sporting richly saturated blooms. Ultimately, I ended up locating only a patch or two during my last couple of days within the park. Not quite the outcome I'd expected.
This article is sort of a continuation of that 2016 story, only this spring trip deals with a visit to Mount Rainier National Park. After reading this, you’ll know what you can expect, as well as what you might actually get, in terms of photo ops.
May in the mountains. If you’ve ever traveled to any mountainous national park in the West or Northwest, then you know the lower elevations get rain and the higher elevations are still receiving (and retaining) snow. Mount Rainier is a perfect example. Yes, there will be dry, stunningly sunny days during the months of April and May, but you might also find yourself standing on soggy ground in a mist-filled forest around Longmire, rain gently pattering down upon your rainjacket’s hood. Or, you’ll find yourself maneuvering your way over deep snow, "The Mountain" hidden from view by fog and low-hanging clouds, with a chilly wind blowing snowflakes against your face. A May visit to this national park means you should pack raingear as well as something warm, like a fleece jacket or pullover.
You should realize, of course, that you can still capture some gorgeous shots of your trip. You may (or may not) see Mount Rainier, and I know that’s your focus during a visit to this national park, but don’t despair of returning home with no beautiful photos because of inclement weather. You can capture amazing images that will be the envy of your friends, colleagues, and other family members who were not lucky enough to see this park for themselves. Your images may, indeed, convince them that, even if the weather is “iffy,” they should still travel to the park for their own looksee.
If it’s raining, you’ll be wearing some sort of rain gear, of course. You should also have rain protection for your camera. This will allow you to wander around without worry of waterlogging yourself or your gear. Online camera sites like BHphotovideo.com or Adorama.com have a plethora of rain protection for your camera, such as Ruggard, Lenscoat, Op/tech USA, or Vortex Media. Just type “camera rain protection” in the site’s search field to pull up all the choices.
The only road that will be open during early-mid May will be Highway 706 (aka the National Park Highway) through Ashford, Washington. You’ll enter the park via the Nisqually Entrance, with the Nisqually River on your right side, and the lower-elevation interior forest all around you.
The interior lowland forest of Mount Rainier reminds me of the rainforests in Olympic National Park: ferns, nurse logs, moss-draped tree limbs, saturated shades of green, and a secret sort of quiet with only the sounds of dripping water, burbling streams, and the musical soliloquies of hidden birds. Every time I step away from my car and into the forest, I am reminded of Robert Frost’s words “The woods are lovely, dark, and deep …”
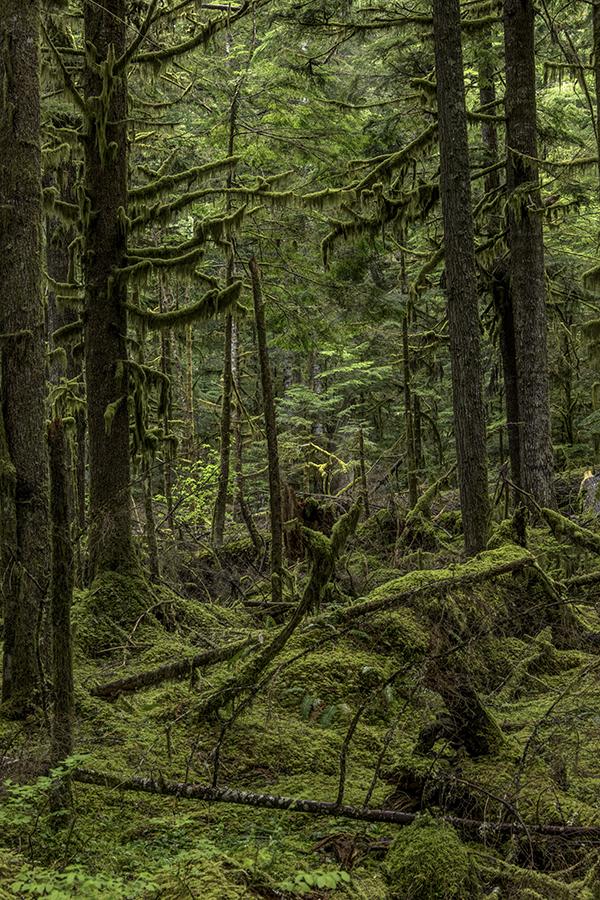
The lowland forest Interior, Mount Rainier National Park / Rebecca Latson
Because those woods are indeed darker than the outside world, I advise using a tripod. This allows you to keep your camera's ISO low, use a smaller aperture to increase your depth of field, and lighten up the darkness with a slower shutter speed that would otherwise create lens blur if you handhold your camera. The photos below were captured with an ISO of 400, an aperture of f/13, and a shutter speed between 1/4th and 1/6th of a second.
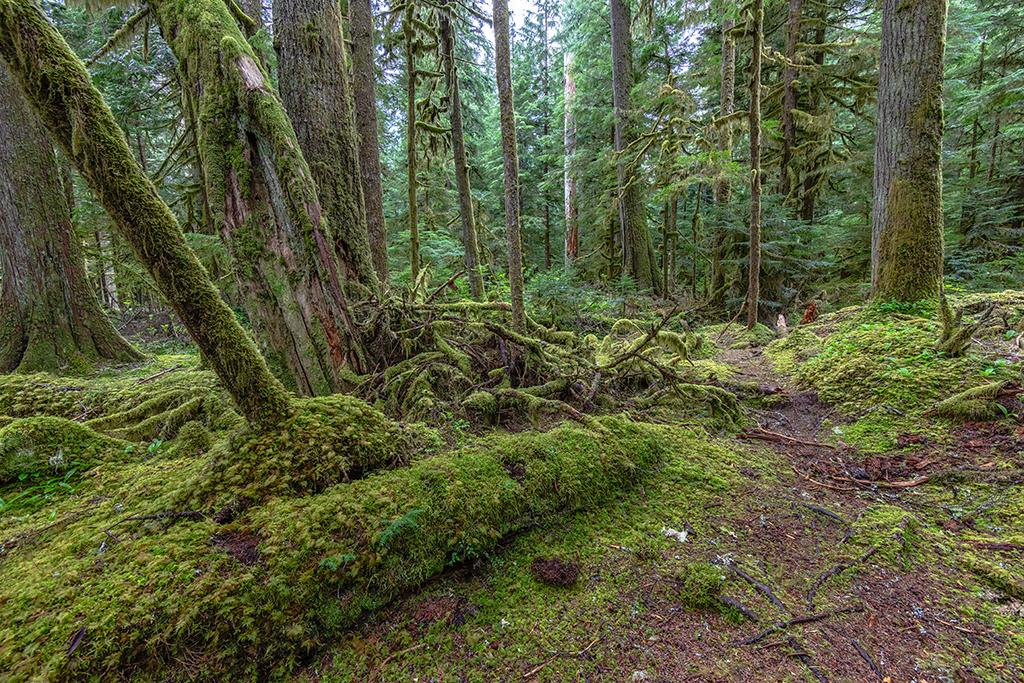
A path into the woods, Mount Rainier National Park / Rebecca Latson
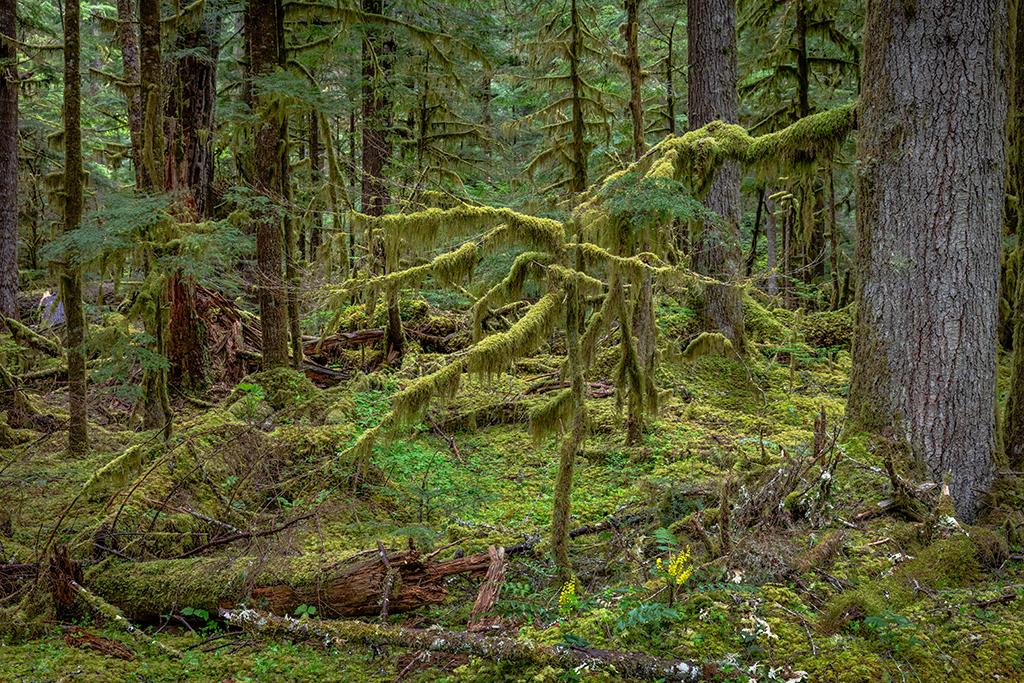
Moss-draped limbs, Mount Rainier National Park / Rebecca Latson
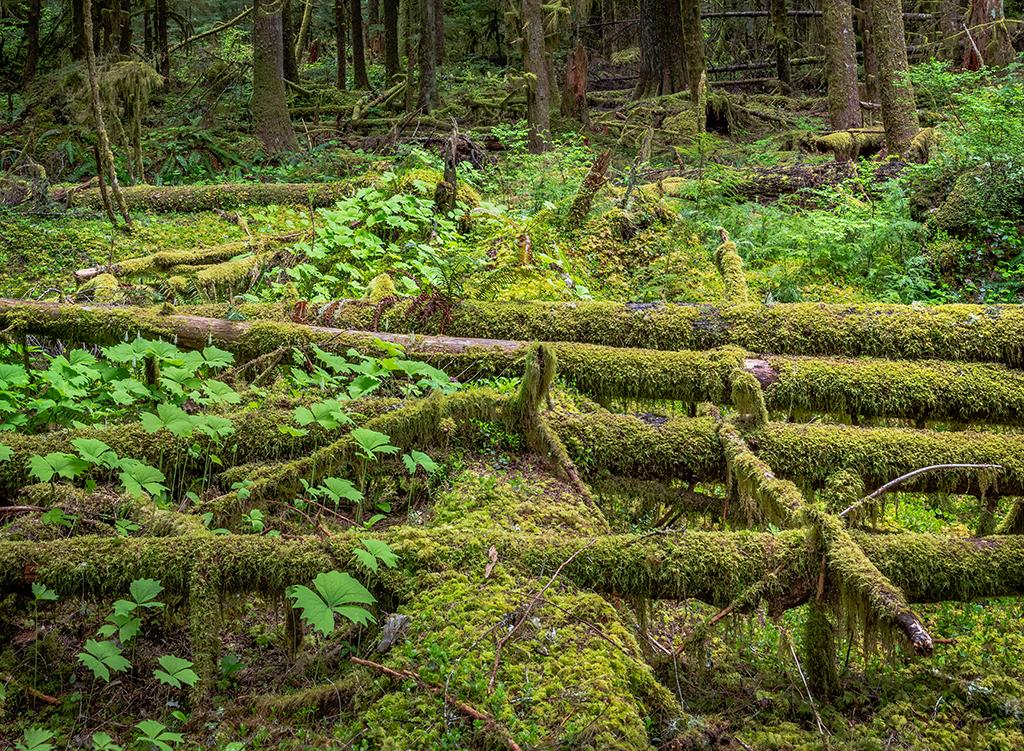
Nurse logs, Mount Rainier National Park / Rebecca Latson
If you do choose to forego the tripod and handhold your camera, then you should bump up that ISO to maybe 640-800, increase your shutter speed, and open up your aperture. Use the “burst method” of holding your finger on that shutter button for several clicks. You’ll achieve at least one, if not more, clear, sharp shots with this method. The caveat is that you’ll use up memory card space (so carry extra cards in your pocket or pack). Experiment with your manual controls or simply set your camera to auto and let it choose the settings for you to see what you like best.
Use your smartphone or point-and-shoot macro or telephoto setting, or a macro or telephoto lens on your SLR to capture images of delicate growth on nurse logs and whatever wildflowers you see. In the early spring, the wildflowers are just beginning to show themselves in the lower elevations. You’ll see trillium, Cascade Oregon grape, and other unnamed blooms. If it’s been raining, get close-ups of the water droplet-speckled petals for an added special touch.
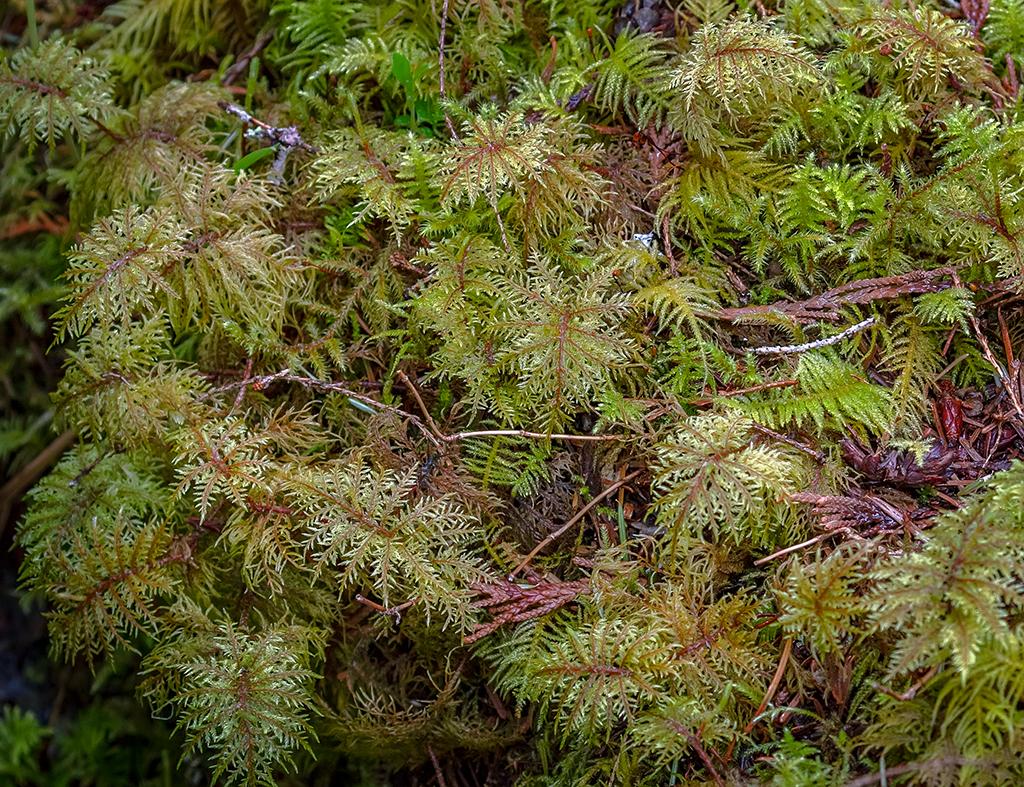
Delicate frills and fronds, Mount Rainier National Park / Rebecca Latson
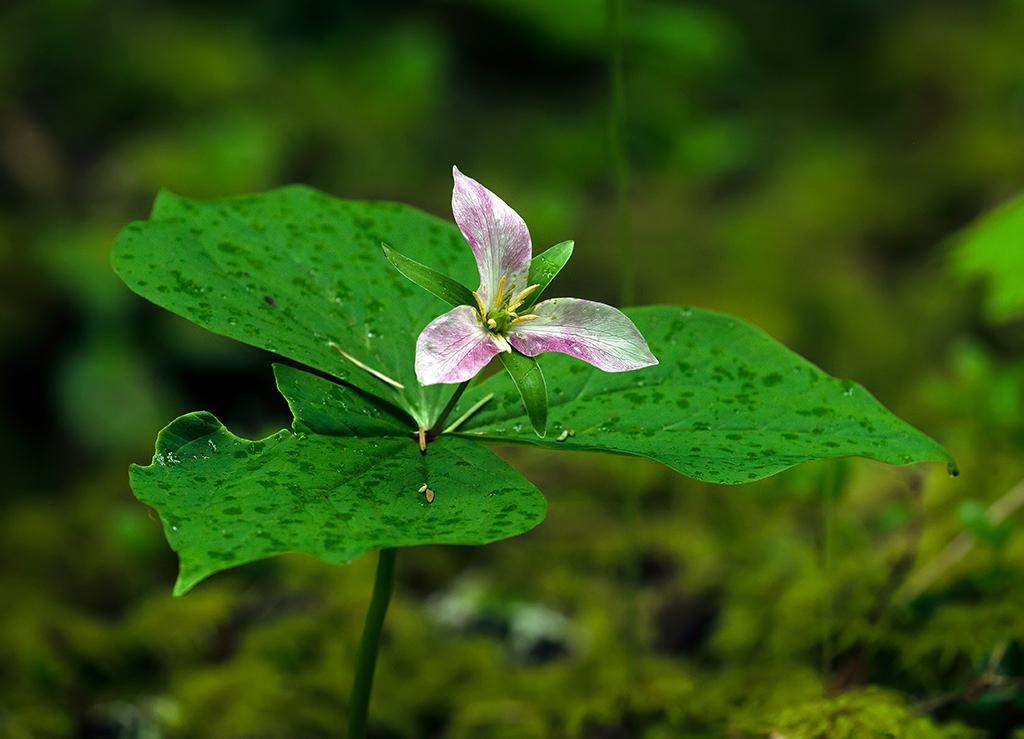
Trillium, Mount Rainier National Park / Rebecca Latson
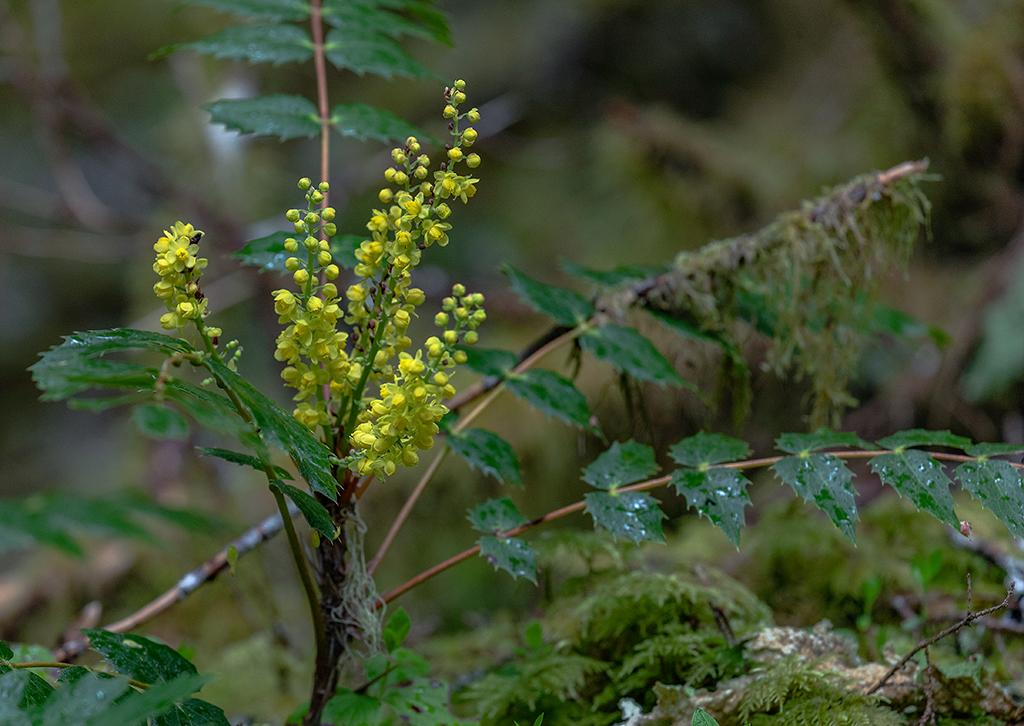
Cascade Oregon grape blooms, Mount Rainier National Park / Rebecca Latson
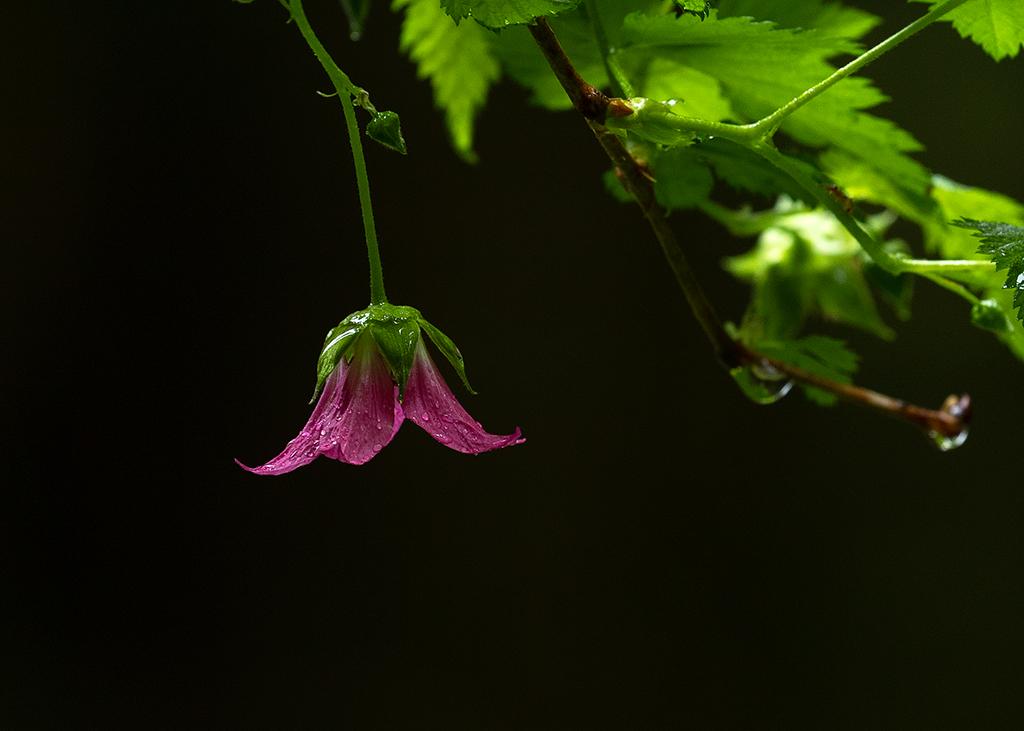
A rain-dappled wildflower, Mount Rainier National Park / Rebecca Latson
Depending upon the amount of snowmelt, the Nisqually River should be flowing fast and furious along the narrow, braided channels over the rocks. On sunny days, you’ll be able to see mountains in the background. On rainy or otherwise overcast days, mist lingers in the trees lining the riverbanks. Light from the cloudy days will have a blue cast to it. You might (or might not) want to adjust your camera's white balance to “Shade” or “Cloudy” for a warmer (yellower) tone. Use the surrounding trees and foliage to create a natural frame around your river shot, or zoom in for a close-up of some tree or rock in the river or along the riverbank.
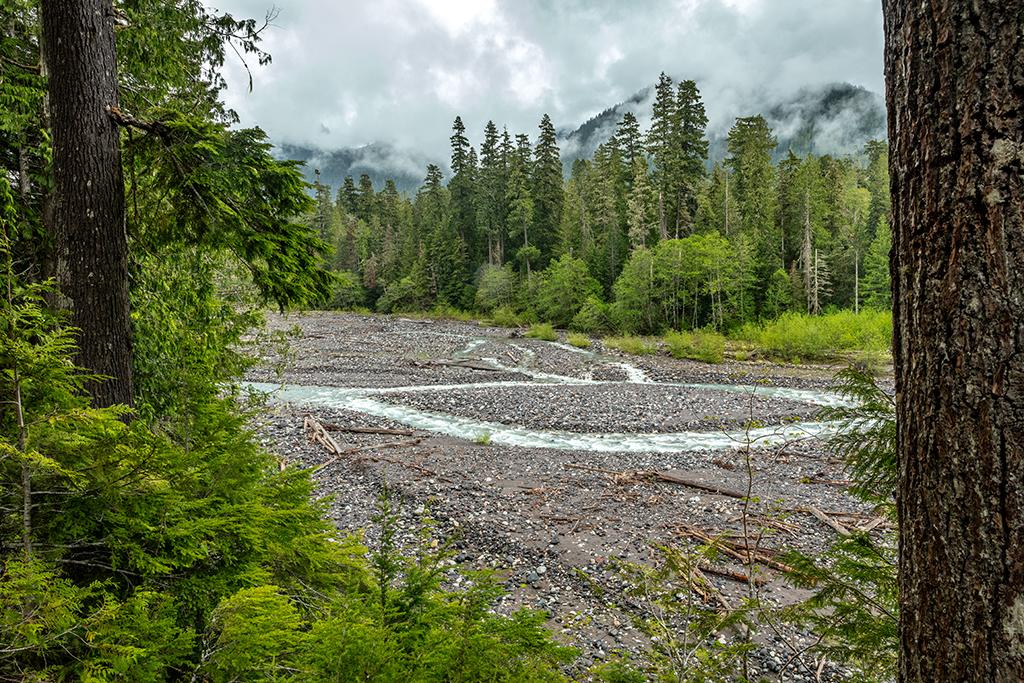
The Nisqually River, Mount Rainier National Park / Rebecca Latson
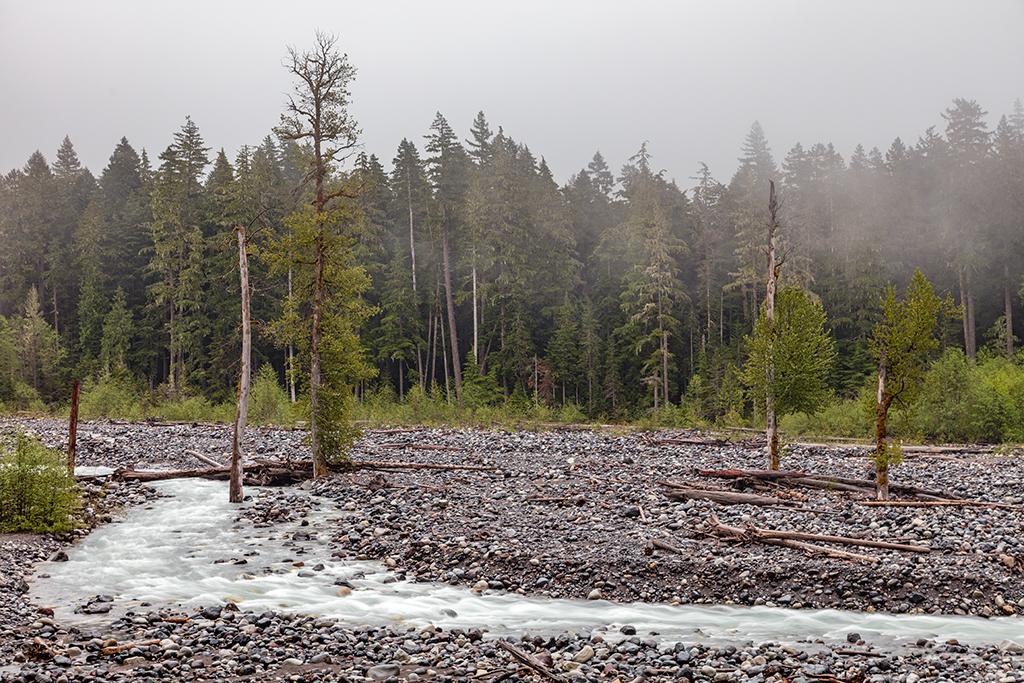
The Nisqually River on a misty, May day, Mount Rainier National Park / Rebecca Latson
Look into the trees near the river. What do you see that catches your eye? The shot below is of the forest next to the Nisqually River. I liked the scene because it looked so different from my other interior forest shots. I made use of the tree trunks’ lines, textures, and brightness against the shaded greenery.
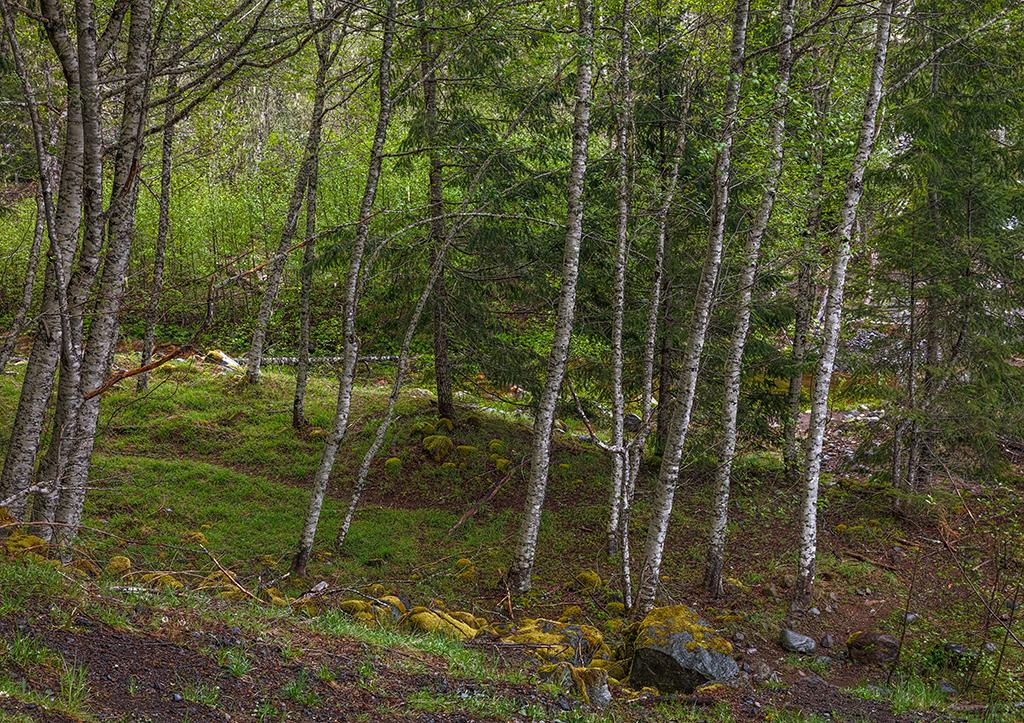
The forest alongside the Nisqually River, Mount Rainier National Park / Rebecca Latson
A damp spring day in Mount Rainier is a great time to stop at view areas normally packed to the gills with cars and people. Because of the rain, I was the only person at the Christine Falls view area for probably 15-20 minutes before anybody else stopped by, and they didn’t stay for very long in the rain. I spent a little time practicing with the camera settings to get silky water shots of the waterfall. The “silky water” technique is achieved by setting your camera on a tripod and affixing either a circular polarizing filter (CPL) or a neutral density filter (ND) on your lens, then slowing your shutter speed to create a sort of satiny-silky effect with the flowing water. You might or might not be a fan of this technique. Get a shot or two of the waterfall with and without this technique and see which you like best.
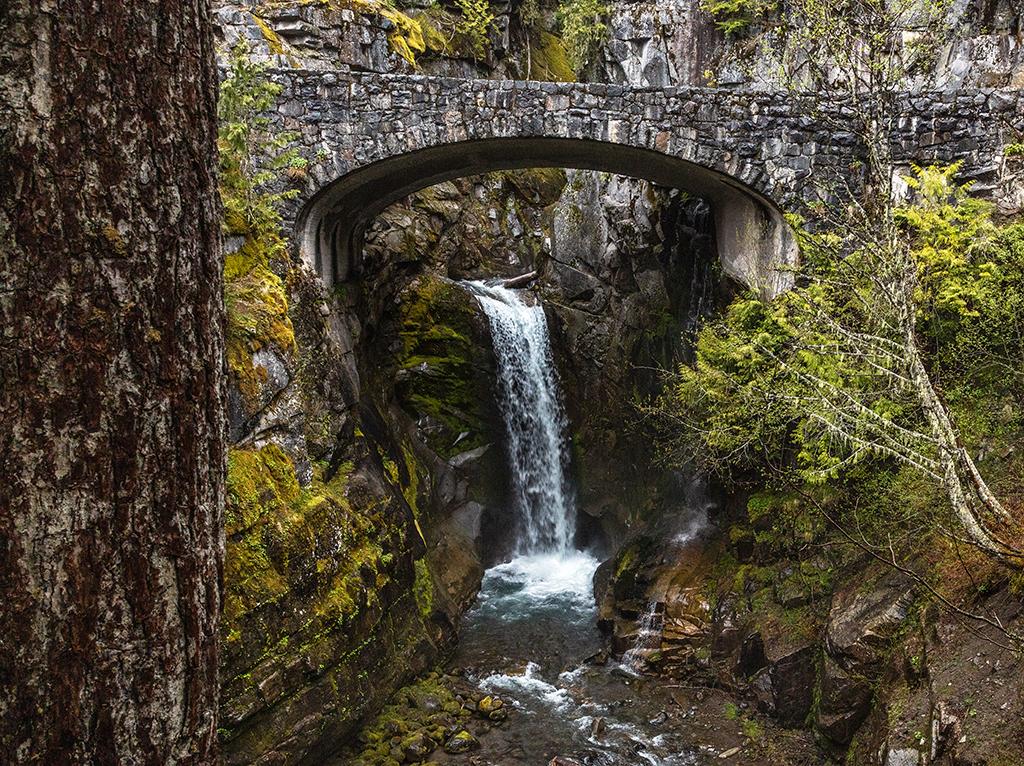
Christine Falls, Mount Rainier National Park / Rebecca Latson
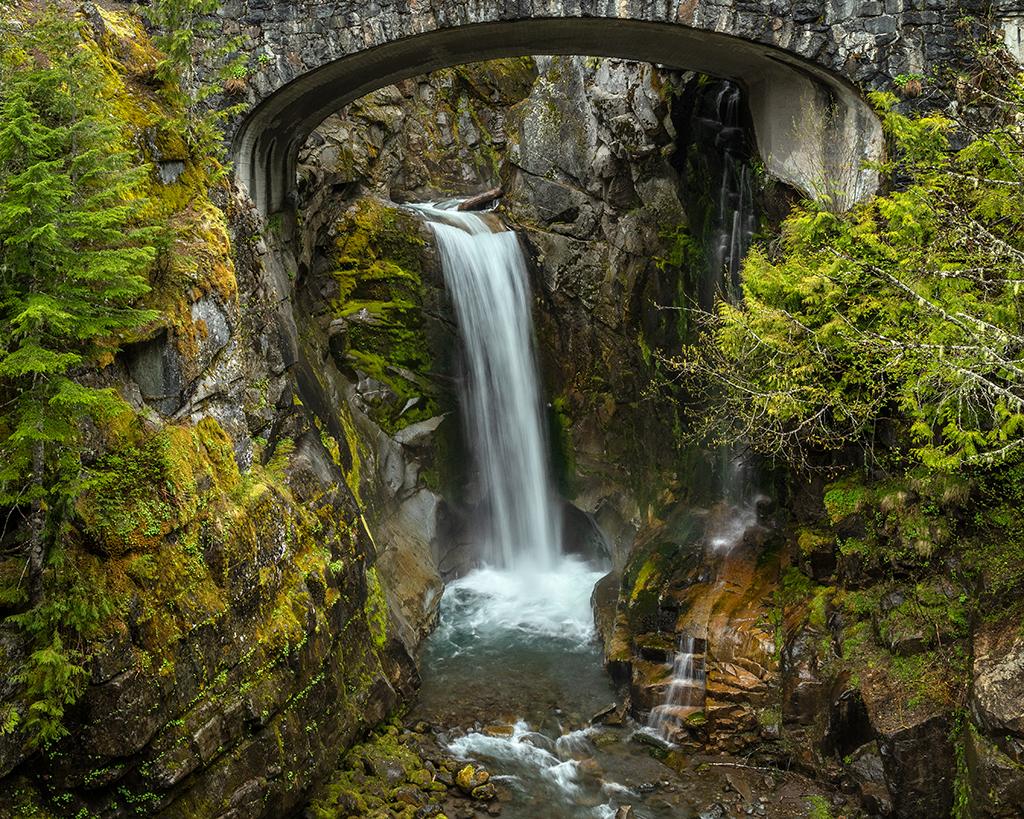
Christine Falls using the "silky water" technique, Mount Rainier National Park / Rebecca Latson
Look around you. You'll see quite a bit of geometry in nature: lines arcs, circles, triangles. Think about capturing that geometry in some of your images. While at Christine Falls, I captured a wide-angle shot that included the waterfall and the lines and angles created by the timber railing.
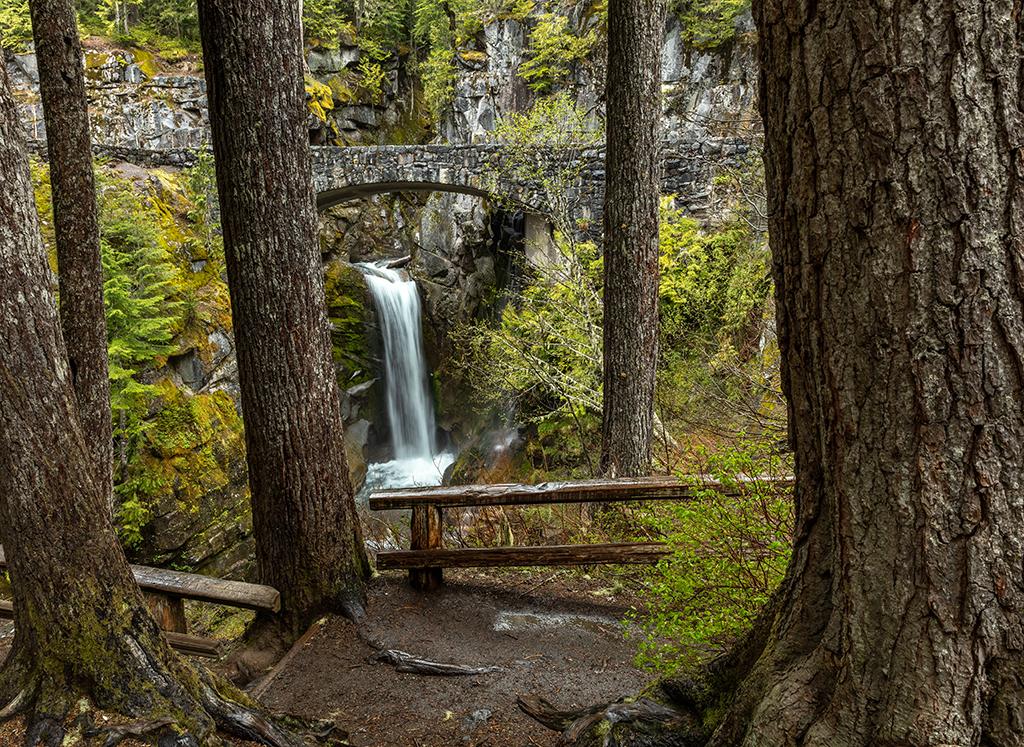
Tree trunk and log rail geometry at Christine Falls, Mount Rainier National Park / Rebecca Latson
I did the same thing using the arcs and circle of the rocked-in mineral spring along the Trail of Shadows, across the road from the National Park Inn.
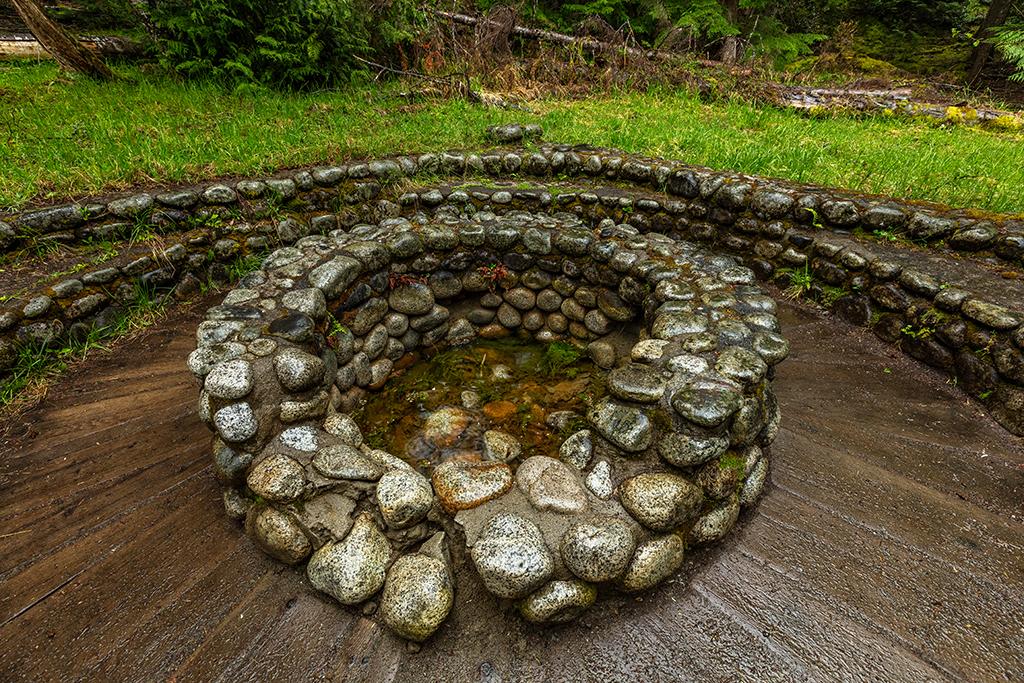
Rock arcs and a rock circle at a bubbling mineral spring, Mount Rainier National Park / Rebecca Latson
Moving higher in elevation, from Longmire to Paradise, you’ll begin to see snow lingering on the ground. By the time you reach the Paradise parking lot, the snow will be piled high above your head in places, covering the Paradise trail network. Pack some snowshoes or skis to move about without worries of “post-holing.” For those of you unfamiliar with that term, to “post-hole” in the snow means planting your shin to your thigh deep into the snow, causing an unpleasant surprise at the very least, and a holiday-ruining injury, at the most.
If you’ve set your camera for the shadowy scenes of the park’s lower elevation, you’ll need to reset it for the snow and brighter light in the Paradise area. You’ll be able to lower your ISO and use a smaller aperture as well as faster shutter speed.
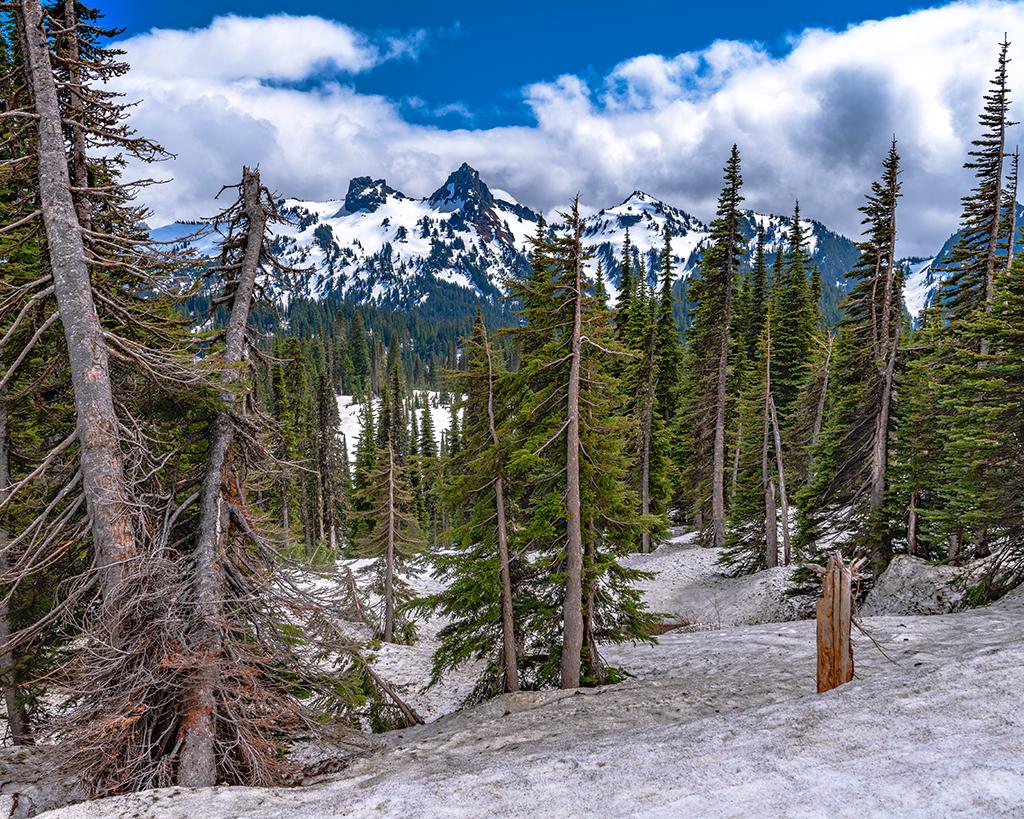
Snow, trees, and the Tatoosh Range on a May day, Mount Rainier National Park / Rebecca Latson
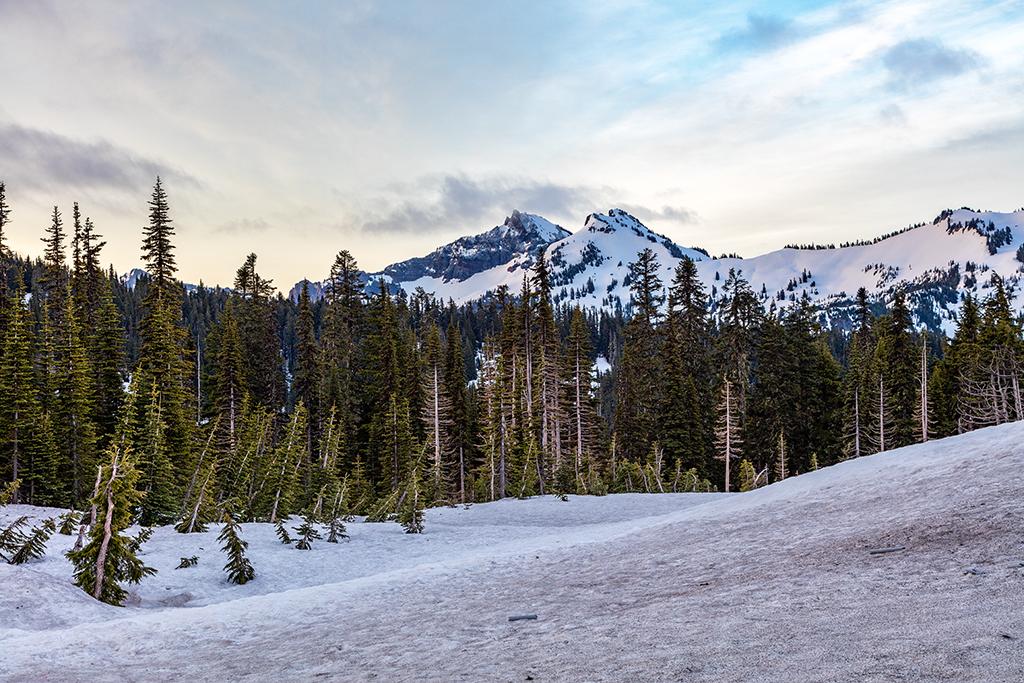
Another view of snow, trees, and the Tatoosh Range on a May morning, Mount Rainier National Park / Rebecca Latson
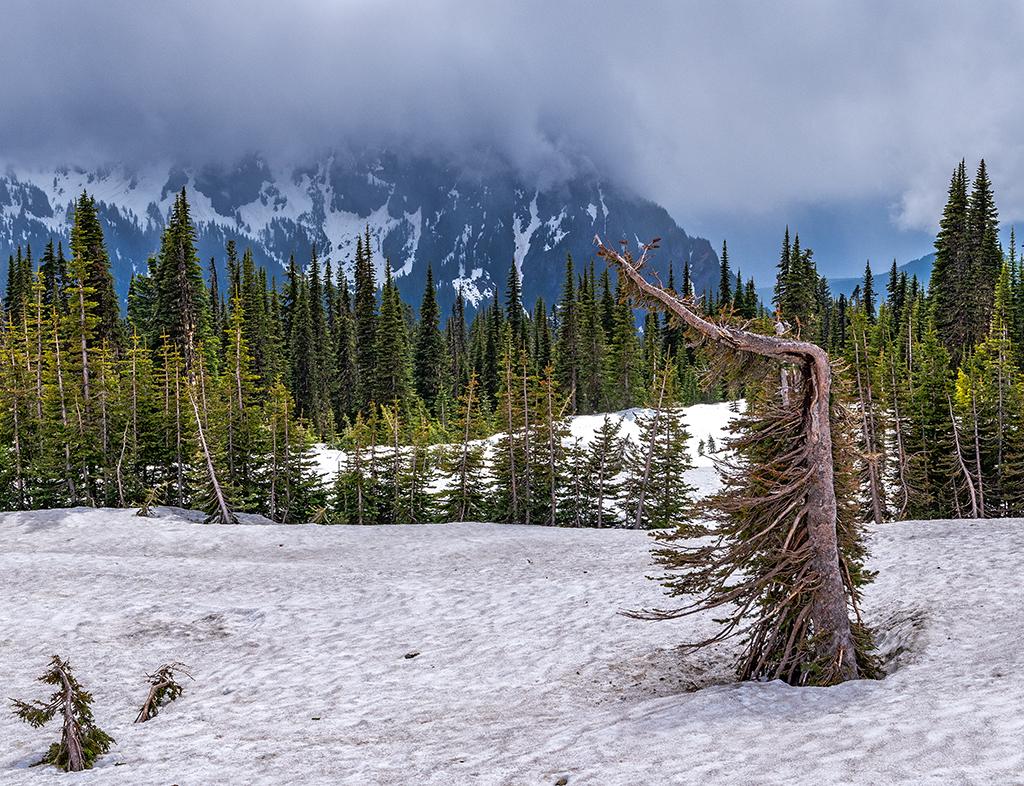
Which way does the wind blow? Mount Rainier National Park / Rebecca Latson
You can expect Mount Rainier to probably be hidden during your spring trip to the park, in which case you should turn your powers of observation to your immediate surroundings. You’ll still return from your trip with gorgeous shots which might include a little wildlife bidding you a safe journey home.
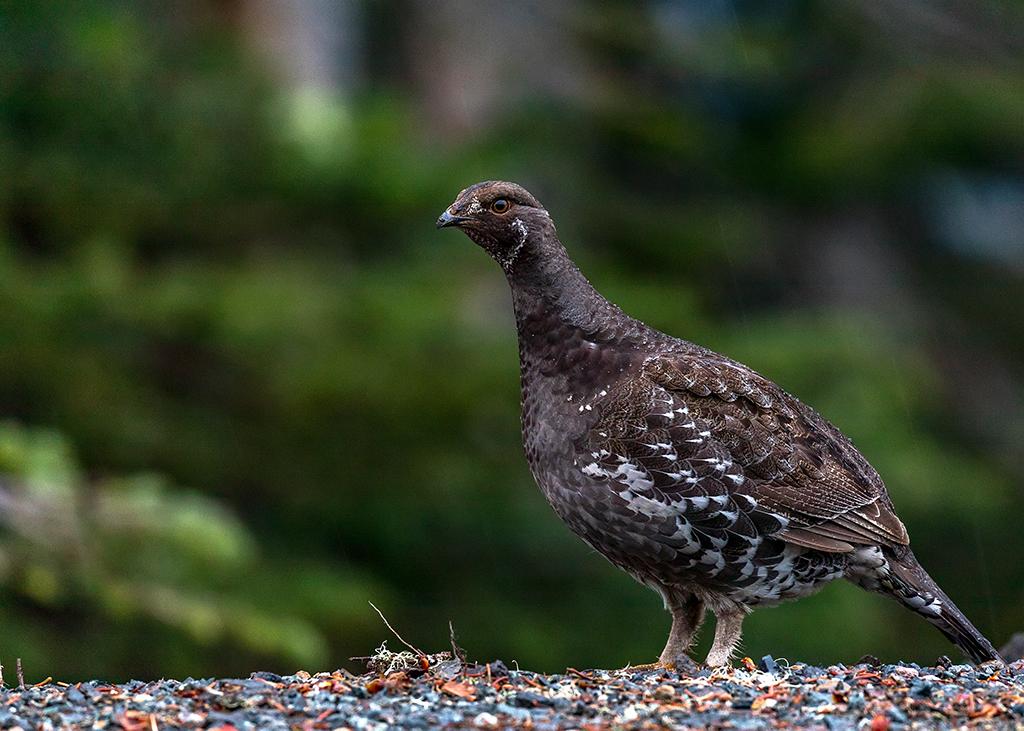
A sooty grouse sighting, Mount Rainier National Park / Rebecca Latson
You might feel Serendipity’s tap on your shoulder, however, and ultimately receive more than you ever expected for a May visit to Mount Rainier.
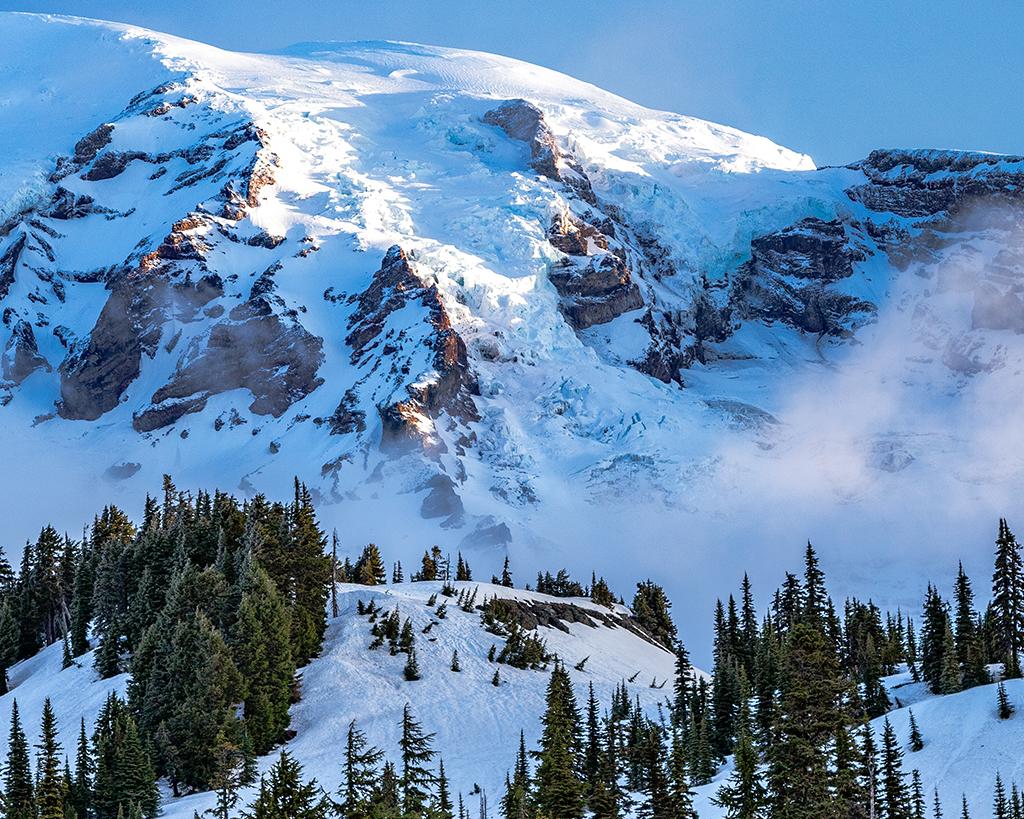
The Mountain coming out to play, Mount Rainier National Park / Rebecca Latson
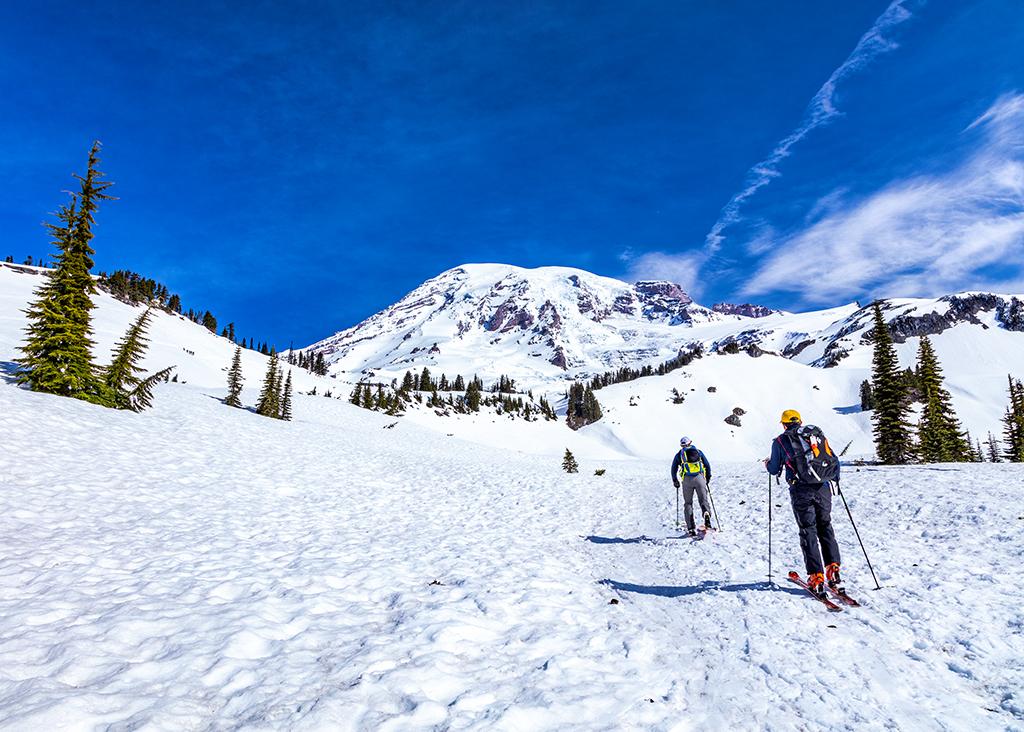
Skiers in Paradise, Mount Rainier National Park / Rebecca Latson
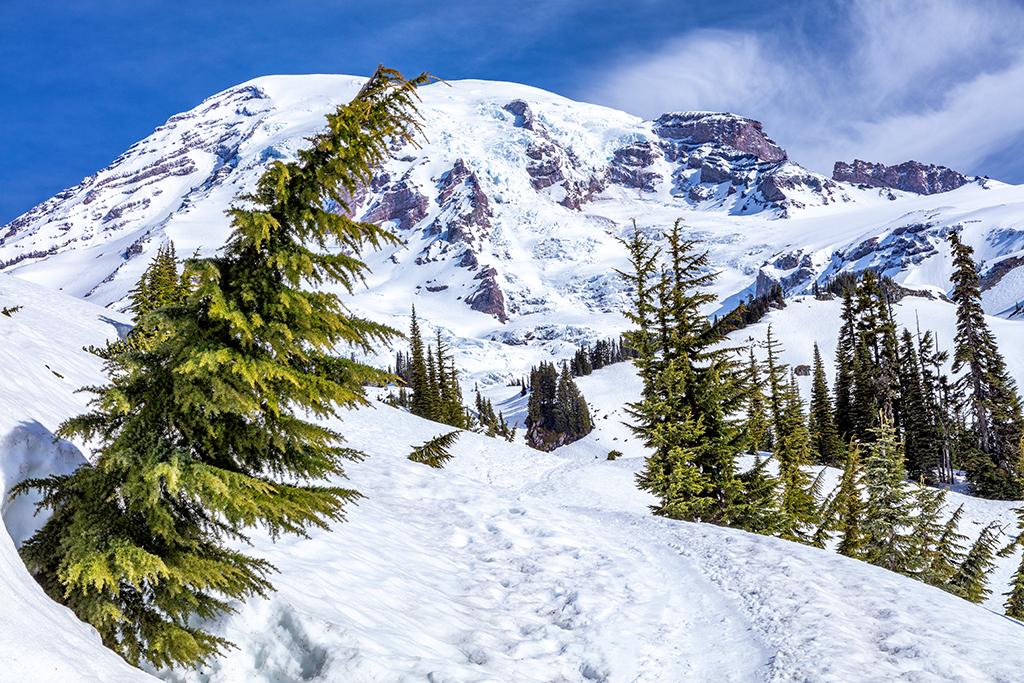
A clear May day in Paradise, Mount Rainier National Park / Rebecca Latson
Where will that snowy trail in May take you?


Add comment